Easy ways to make tiny cakes
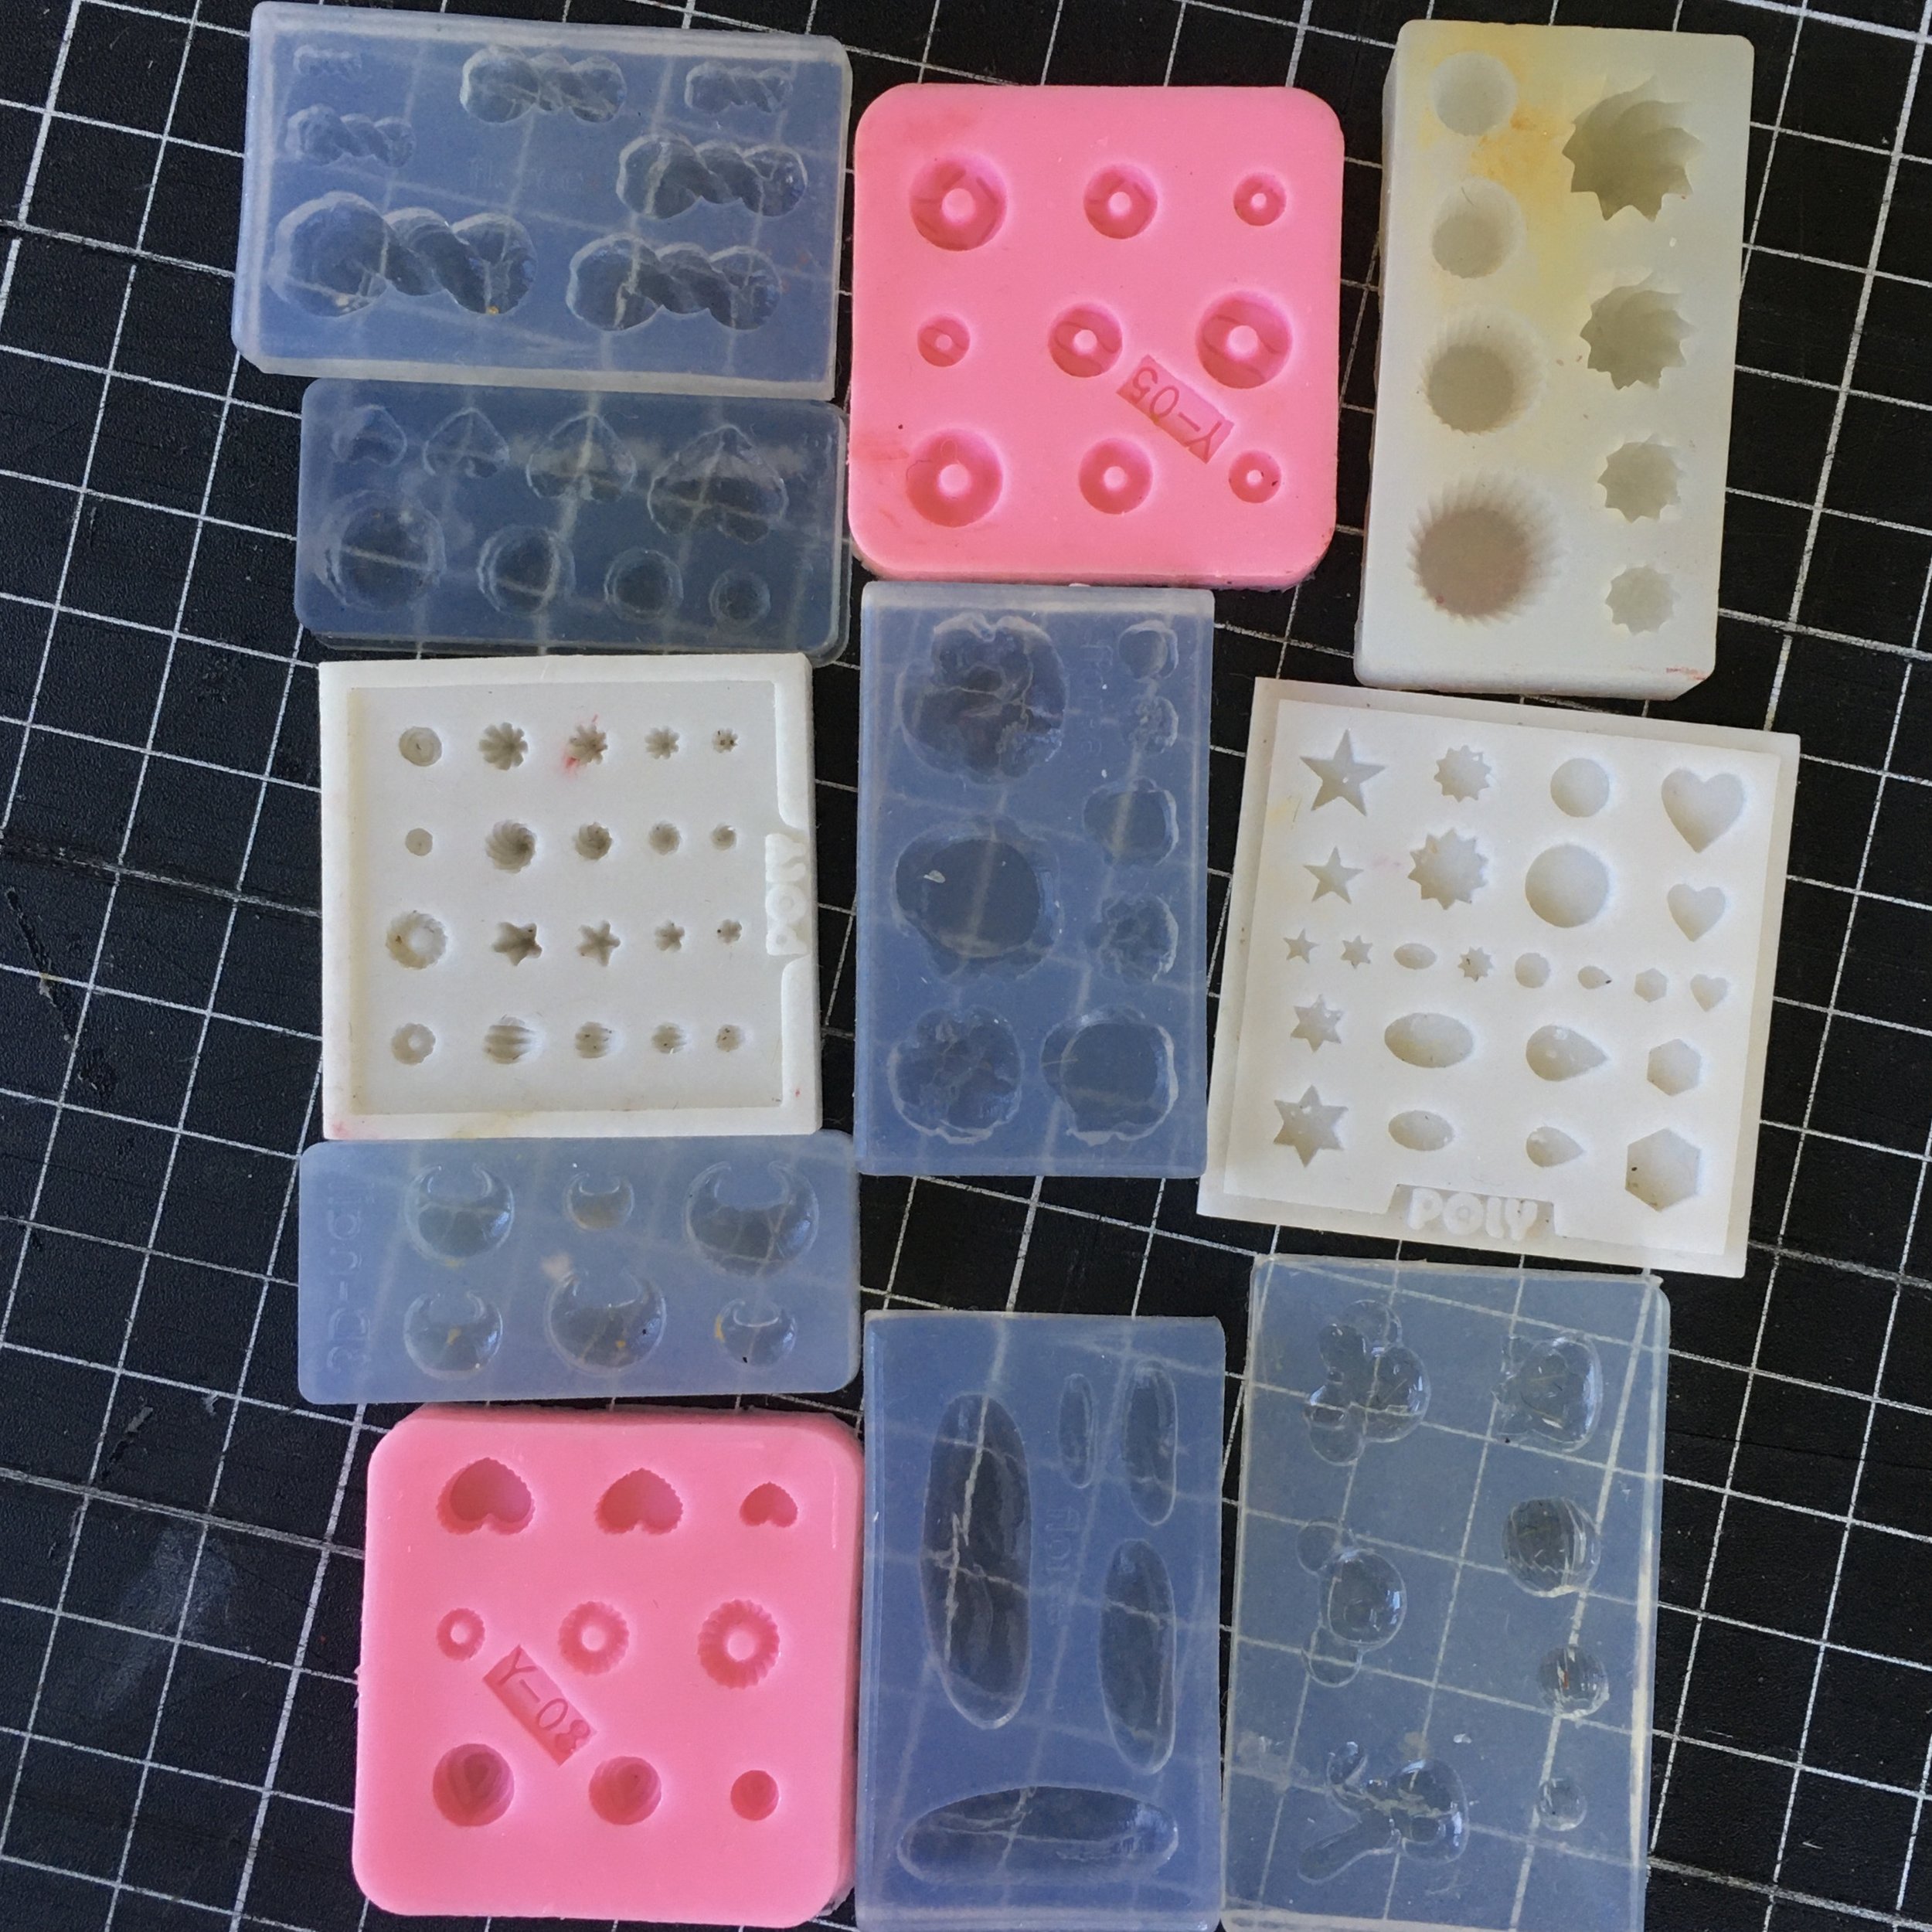
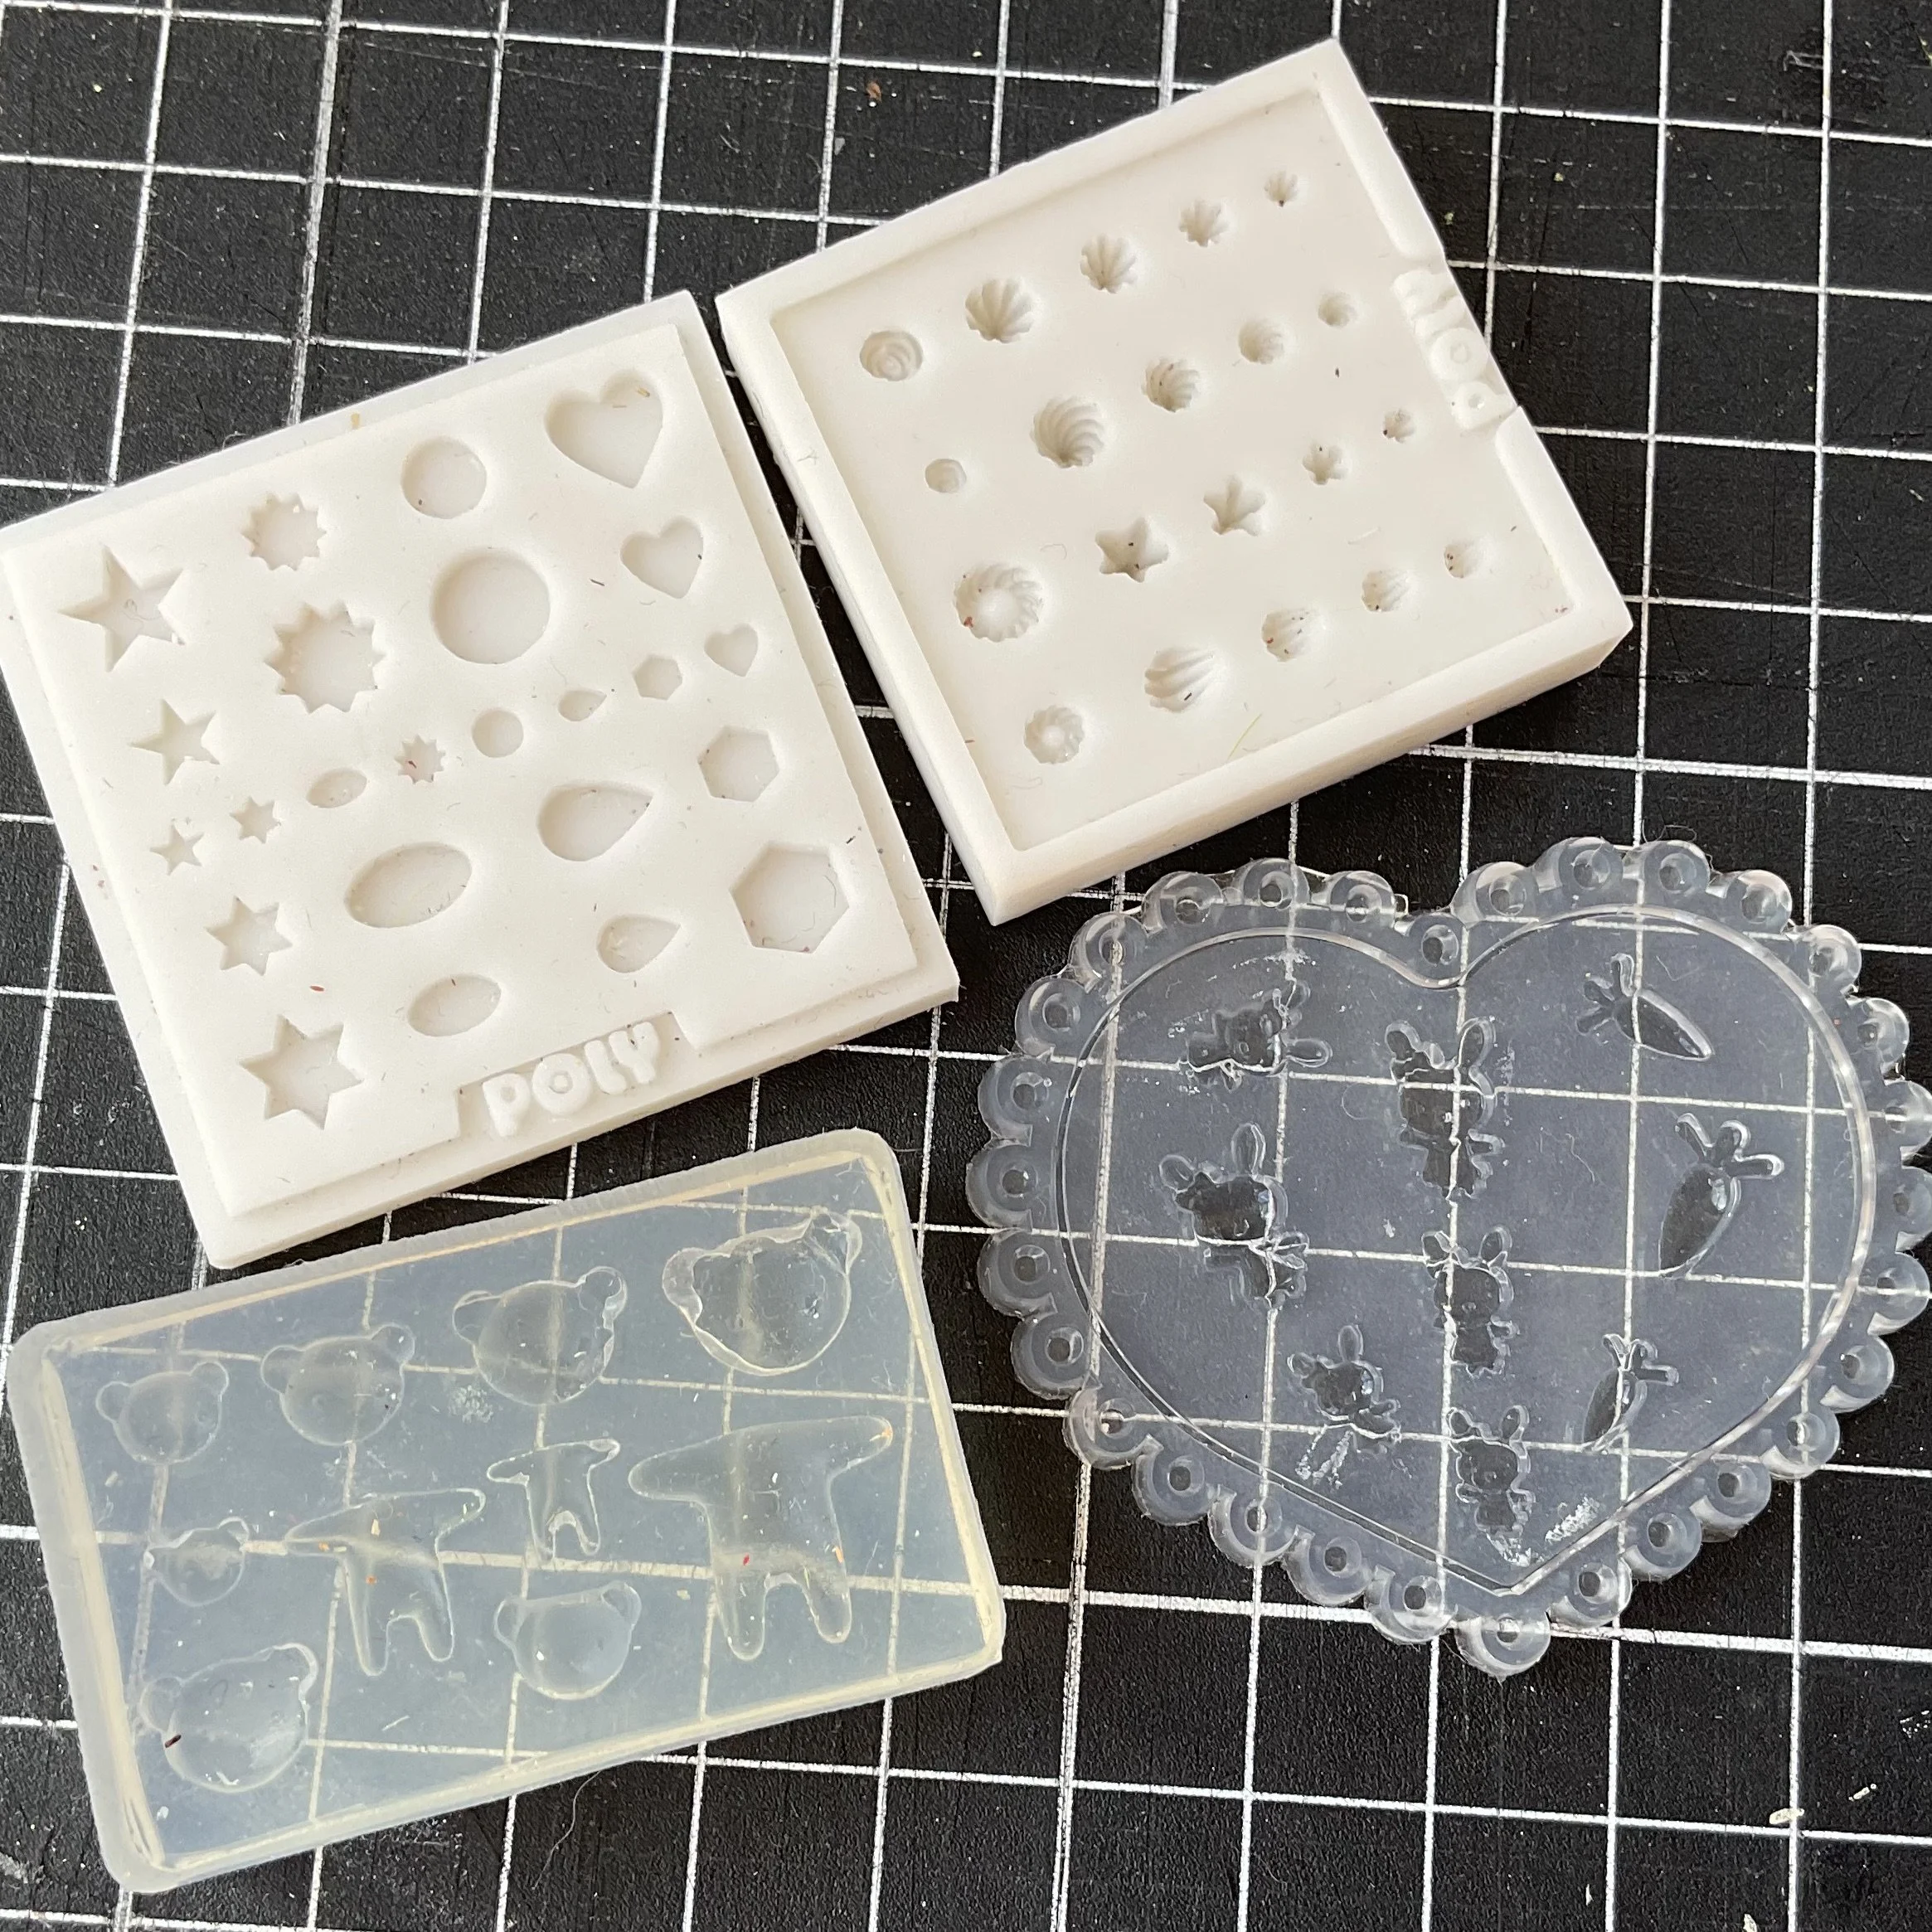
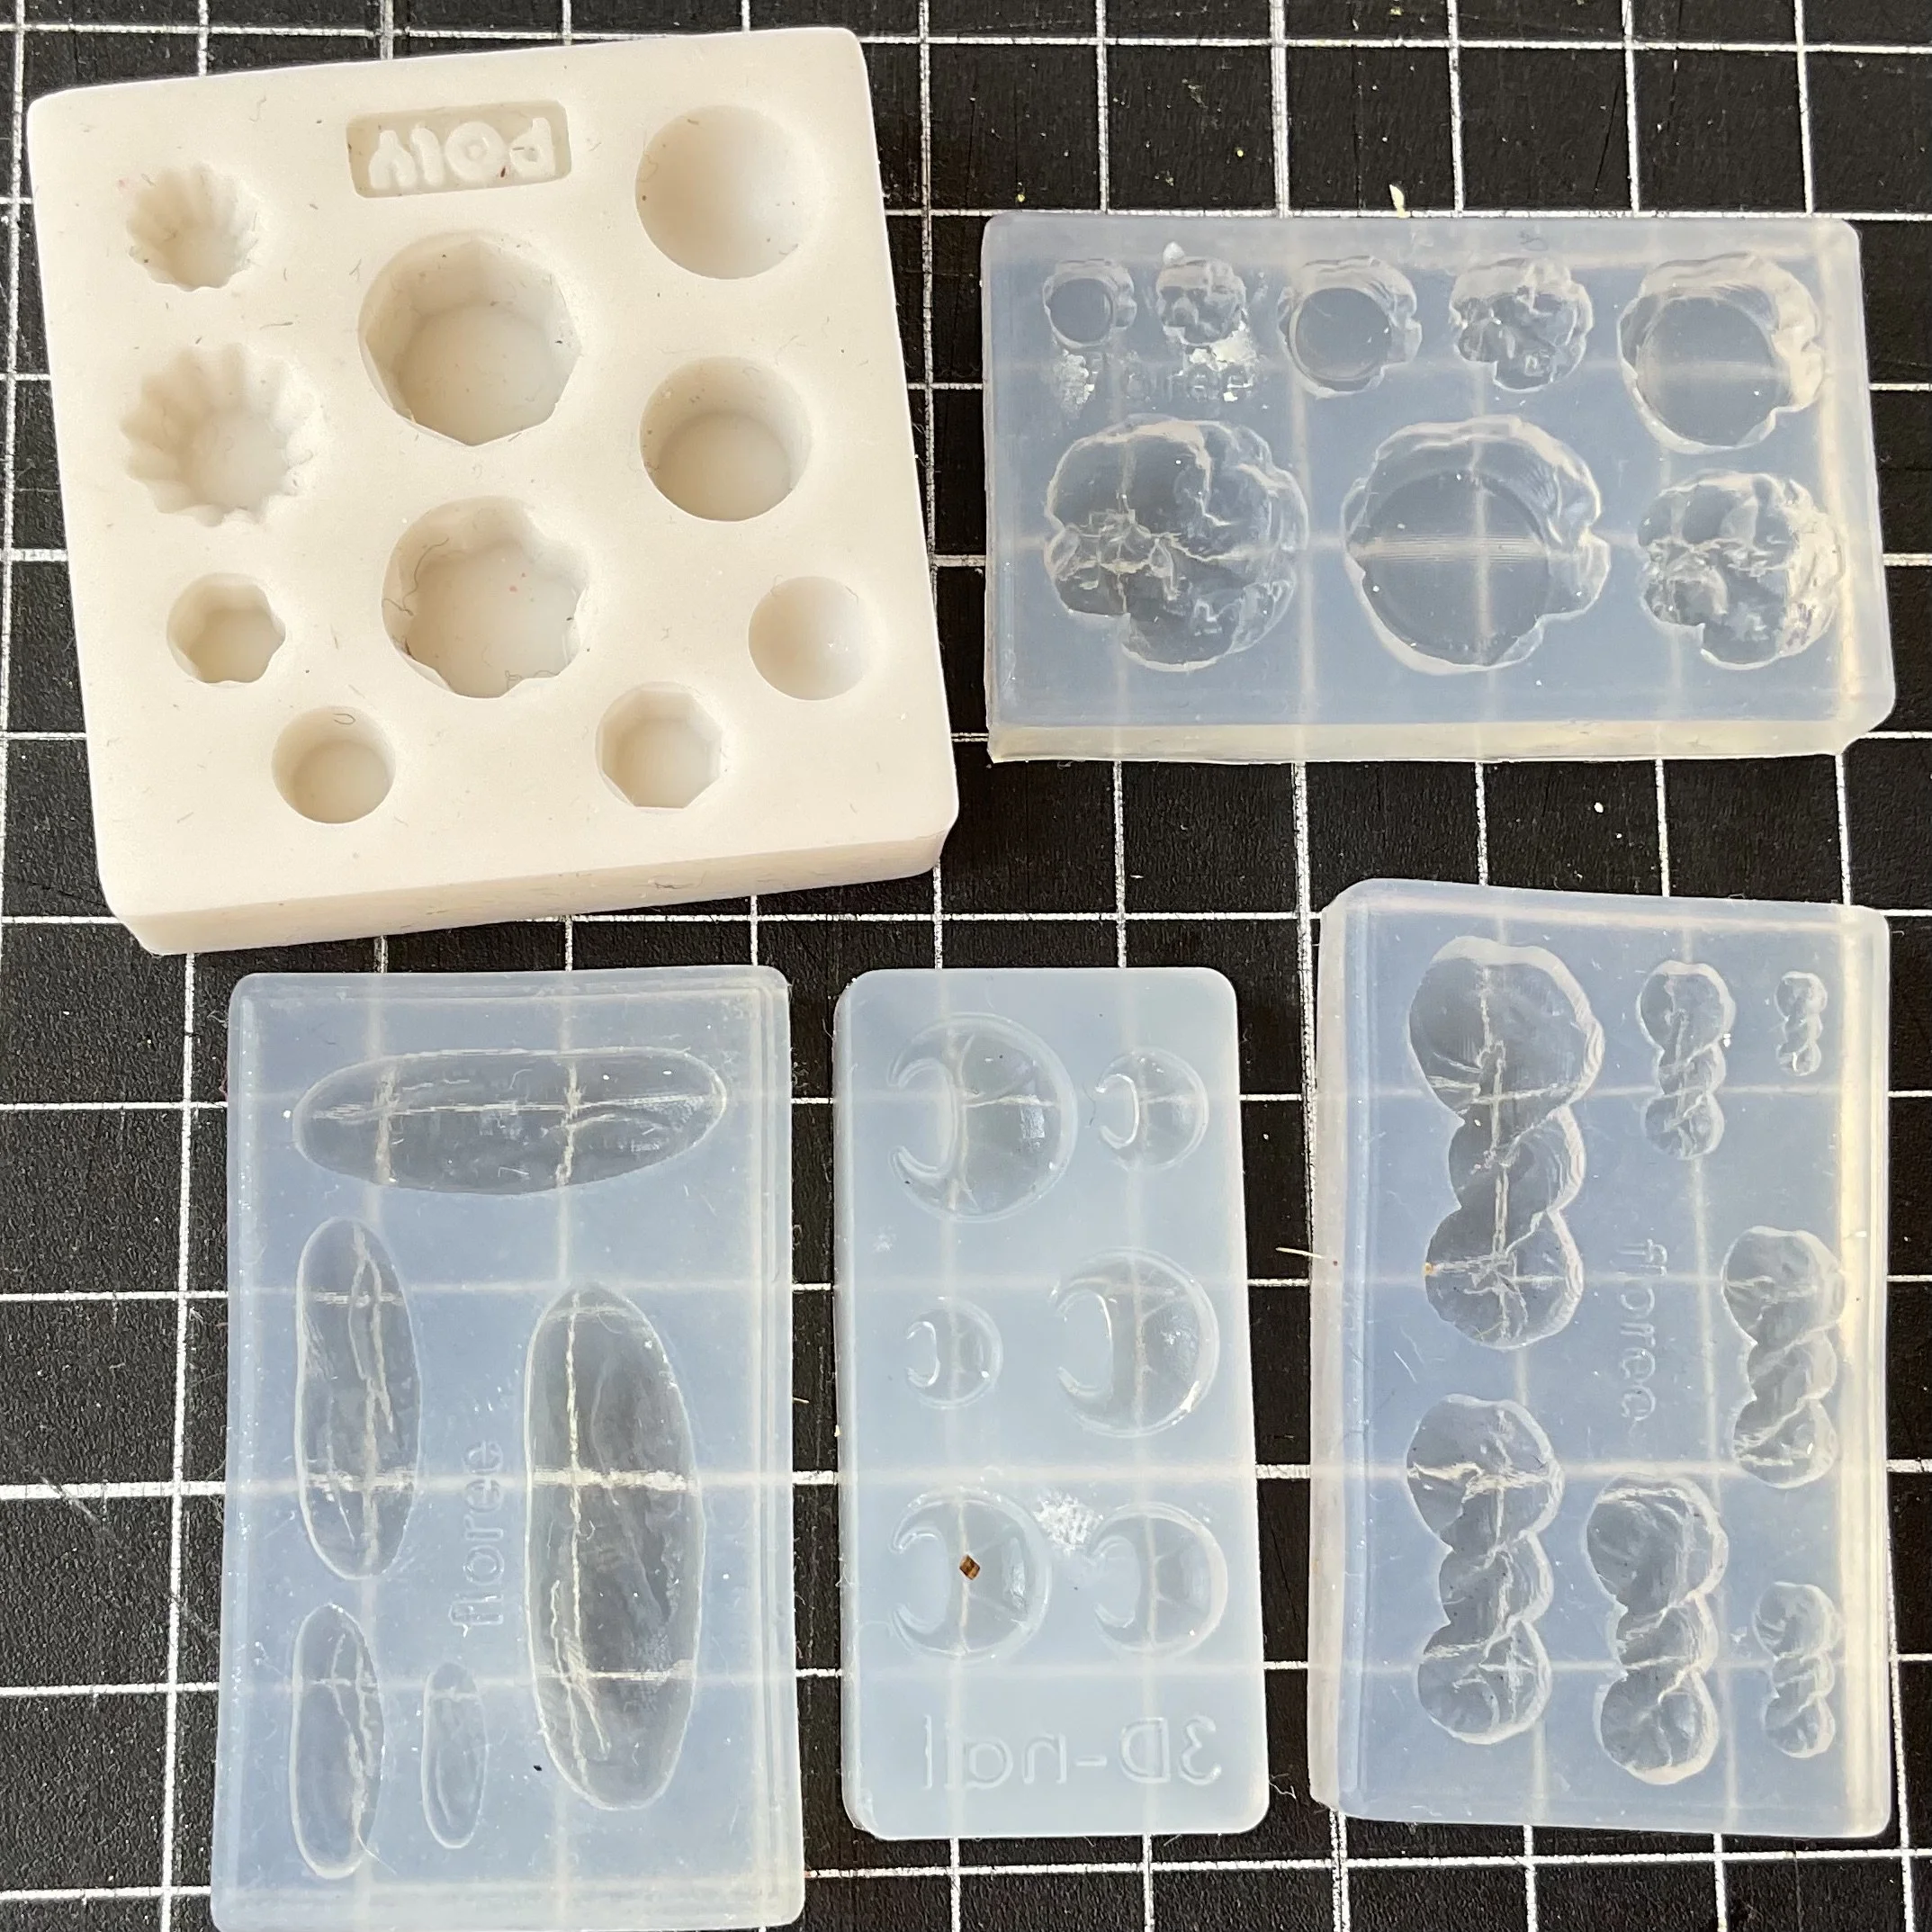
Hello all. As you are aware I recently designed a new little shop, the Sweetpea Patisserie, and it is of course not much of a patisserie without any cakes. I am not the most patient of people, and in my quest to make a good selection of mini cakes, I purchase the silicone nail art moulds. They are available for a few dollars on Ebay, Aliexpress or Etsy, and mostly I have not paid more than $2-3aud. The bonus is many of them come with multiple sizes within the one mould, making it suitable for multiple scales. Below are some of the moulds I used.
So let’s jump in. I am by no means an expert on polymer clay cake making, and I am yet to master the art of the baking, but I do find it quite fun. It is time consuming, but at least it is a good way to get lots of uniform cakes. Here is a list of things you will need:
polymer clay
something to roll it out with
an old toothbrush
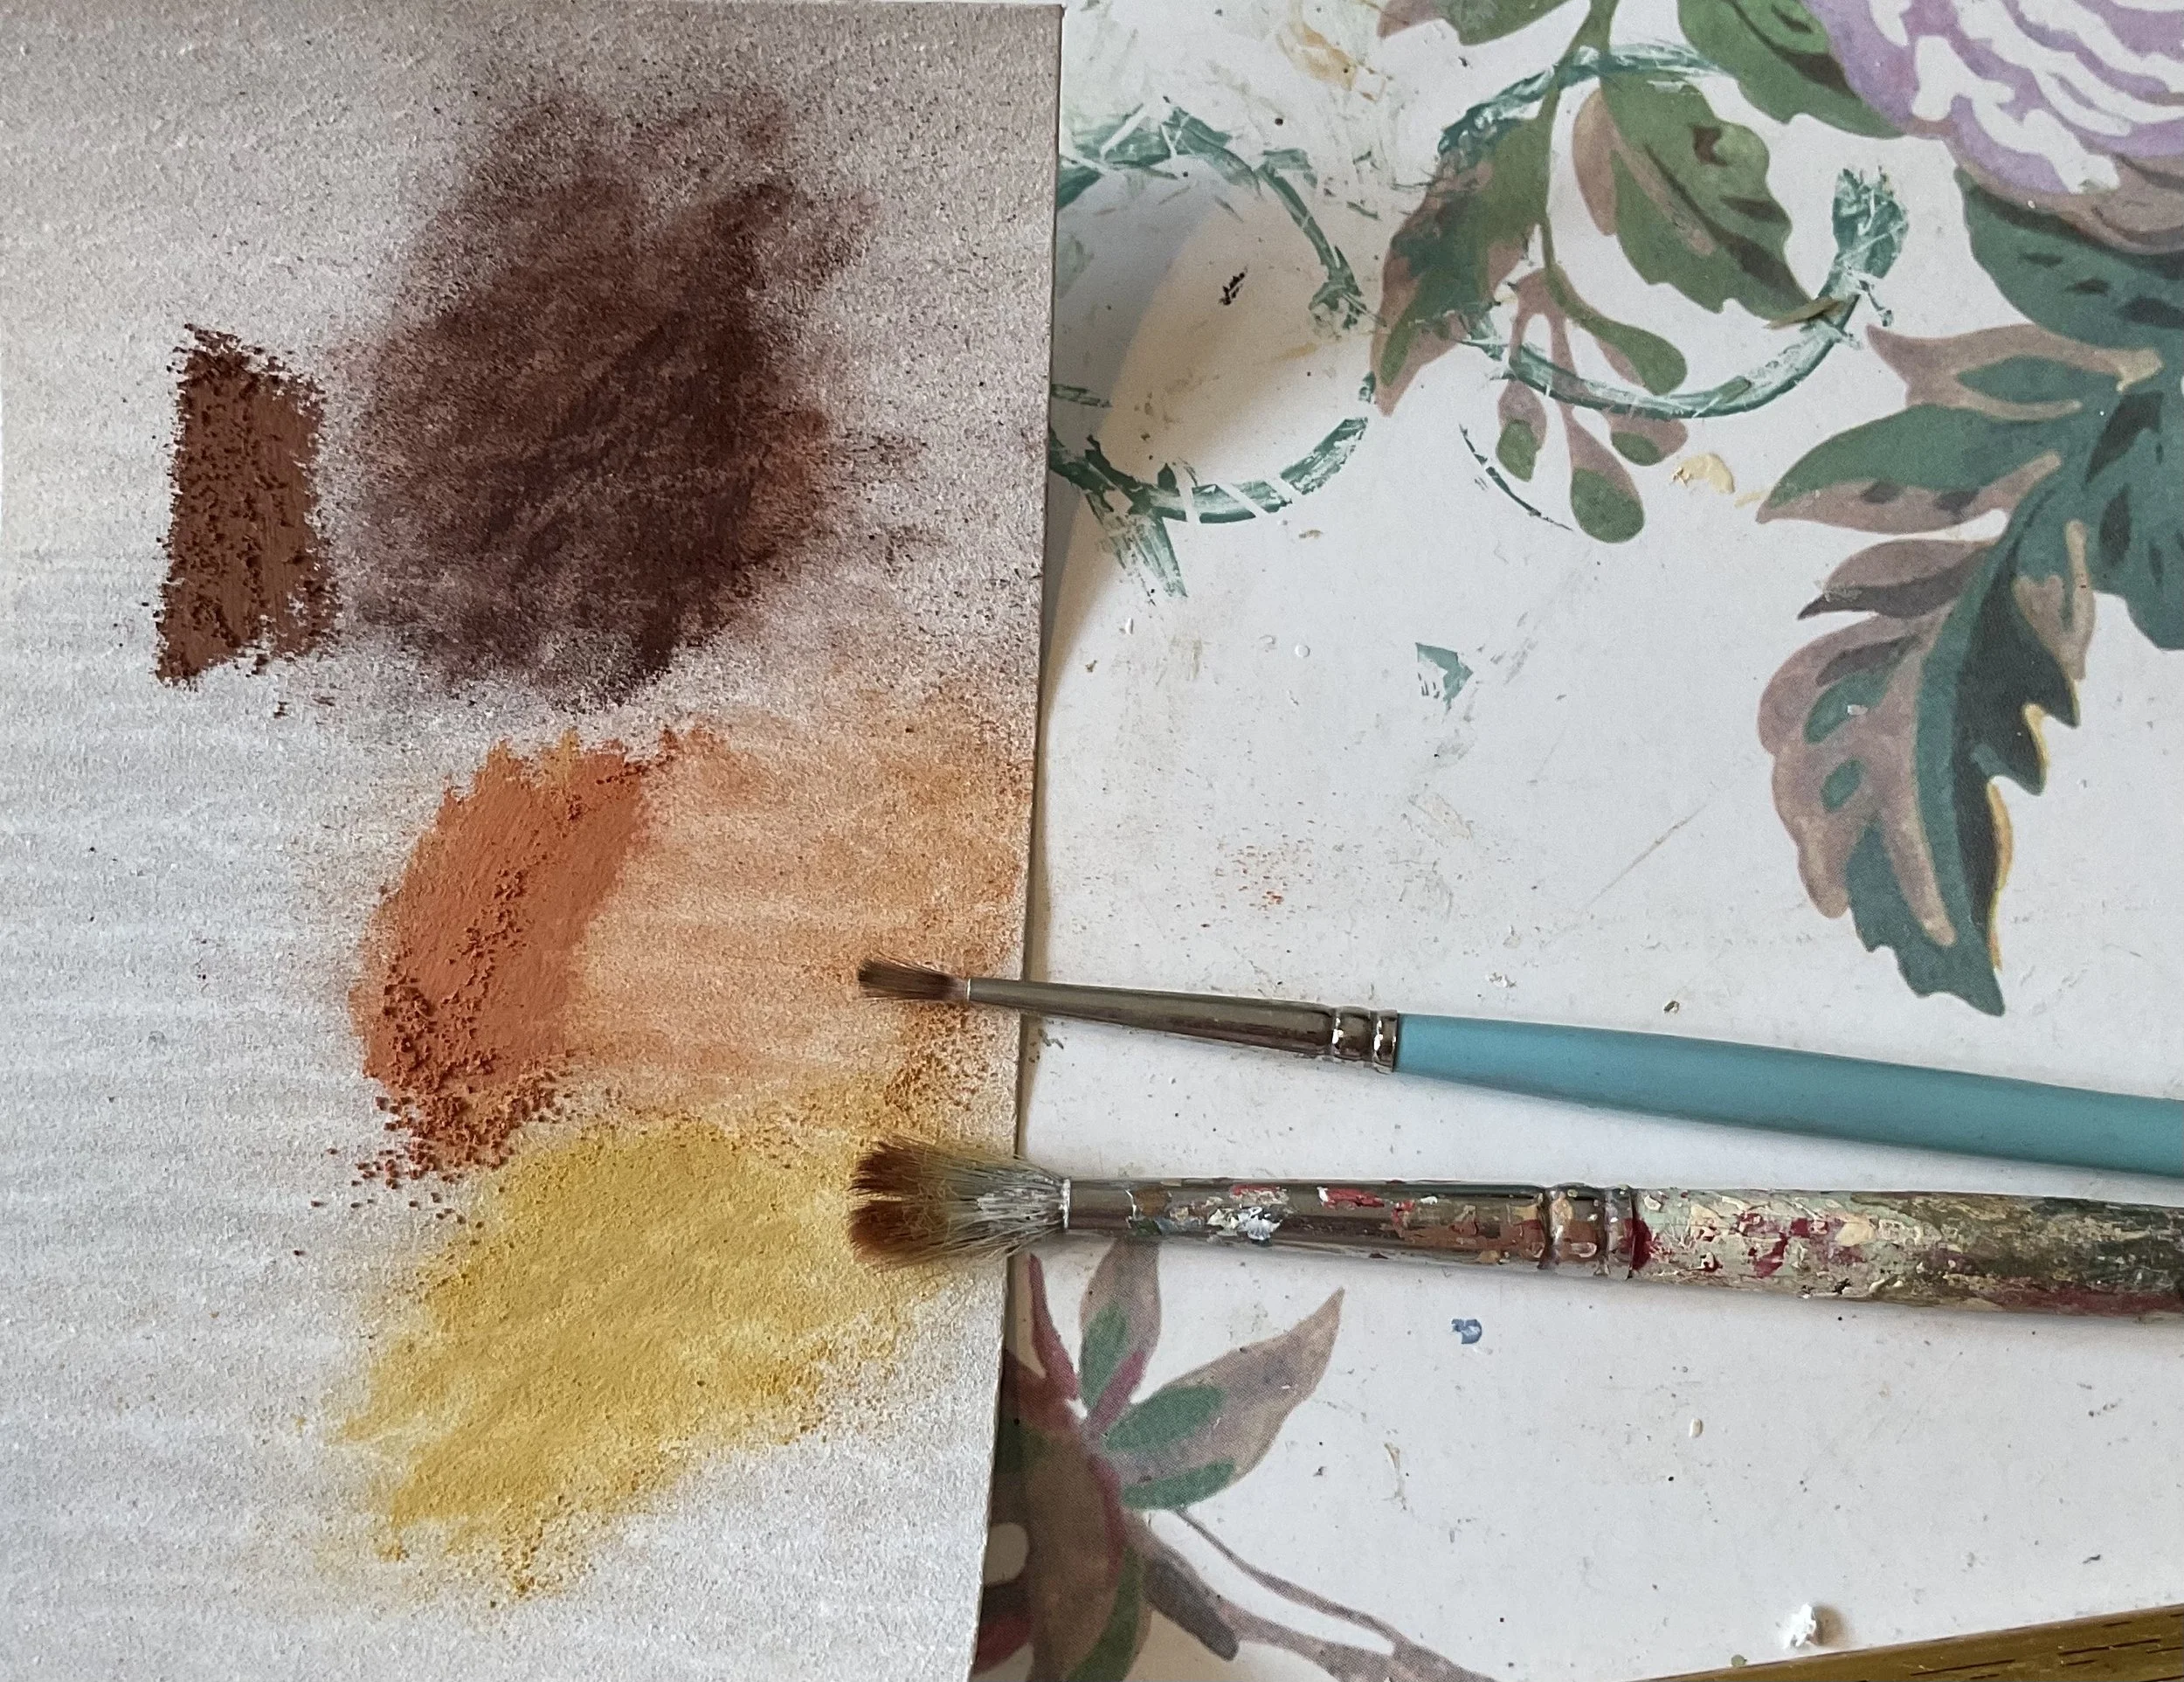
soft pastels in yellow ochre, burnt sienna and burnt umber (or other similar colours) or paints in similar colours
small old paint brushes - the round ones are good
Sculpey bake n bond or similar
nail art moulds
tiny circle cutter
talcum powder
sewing pin/needle or needle tool
a tray to bake your cakes on (and I usually line it first with a little baking paper)
To decorate your cakes (optional):
no-hole beads/nail caviar
varnish
embossing powder
You can see in the photo below my scrappy old brushes I use and the pastel colours.
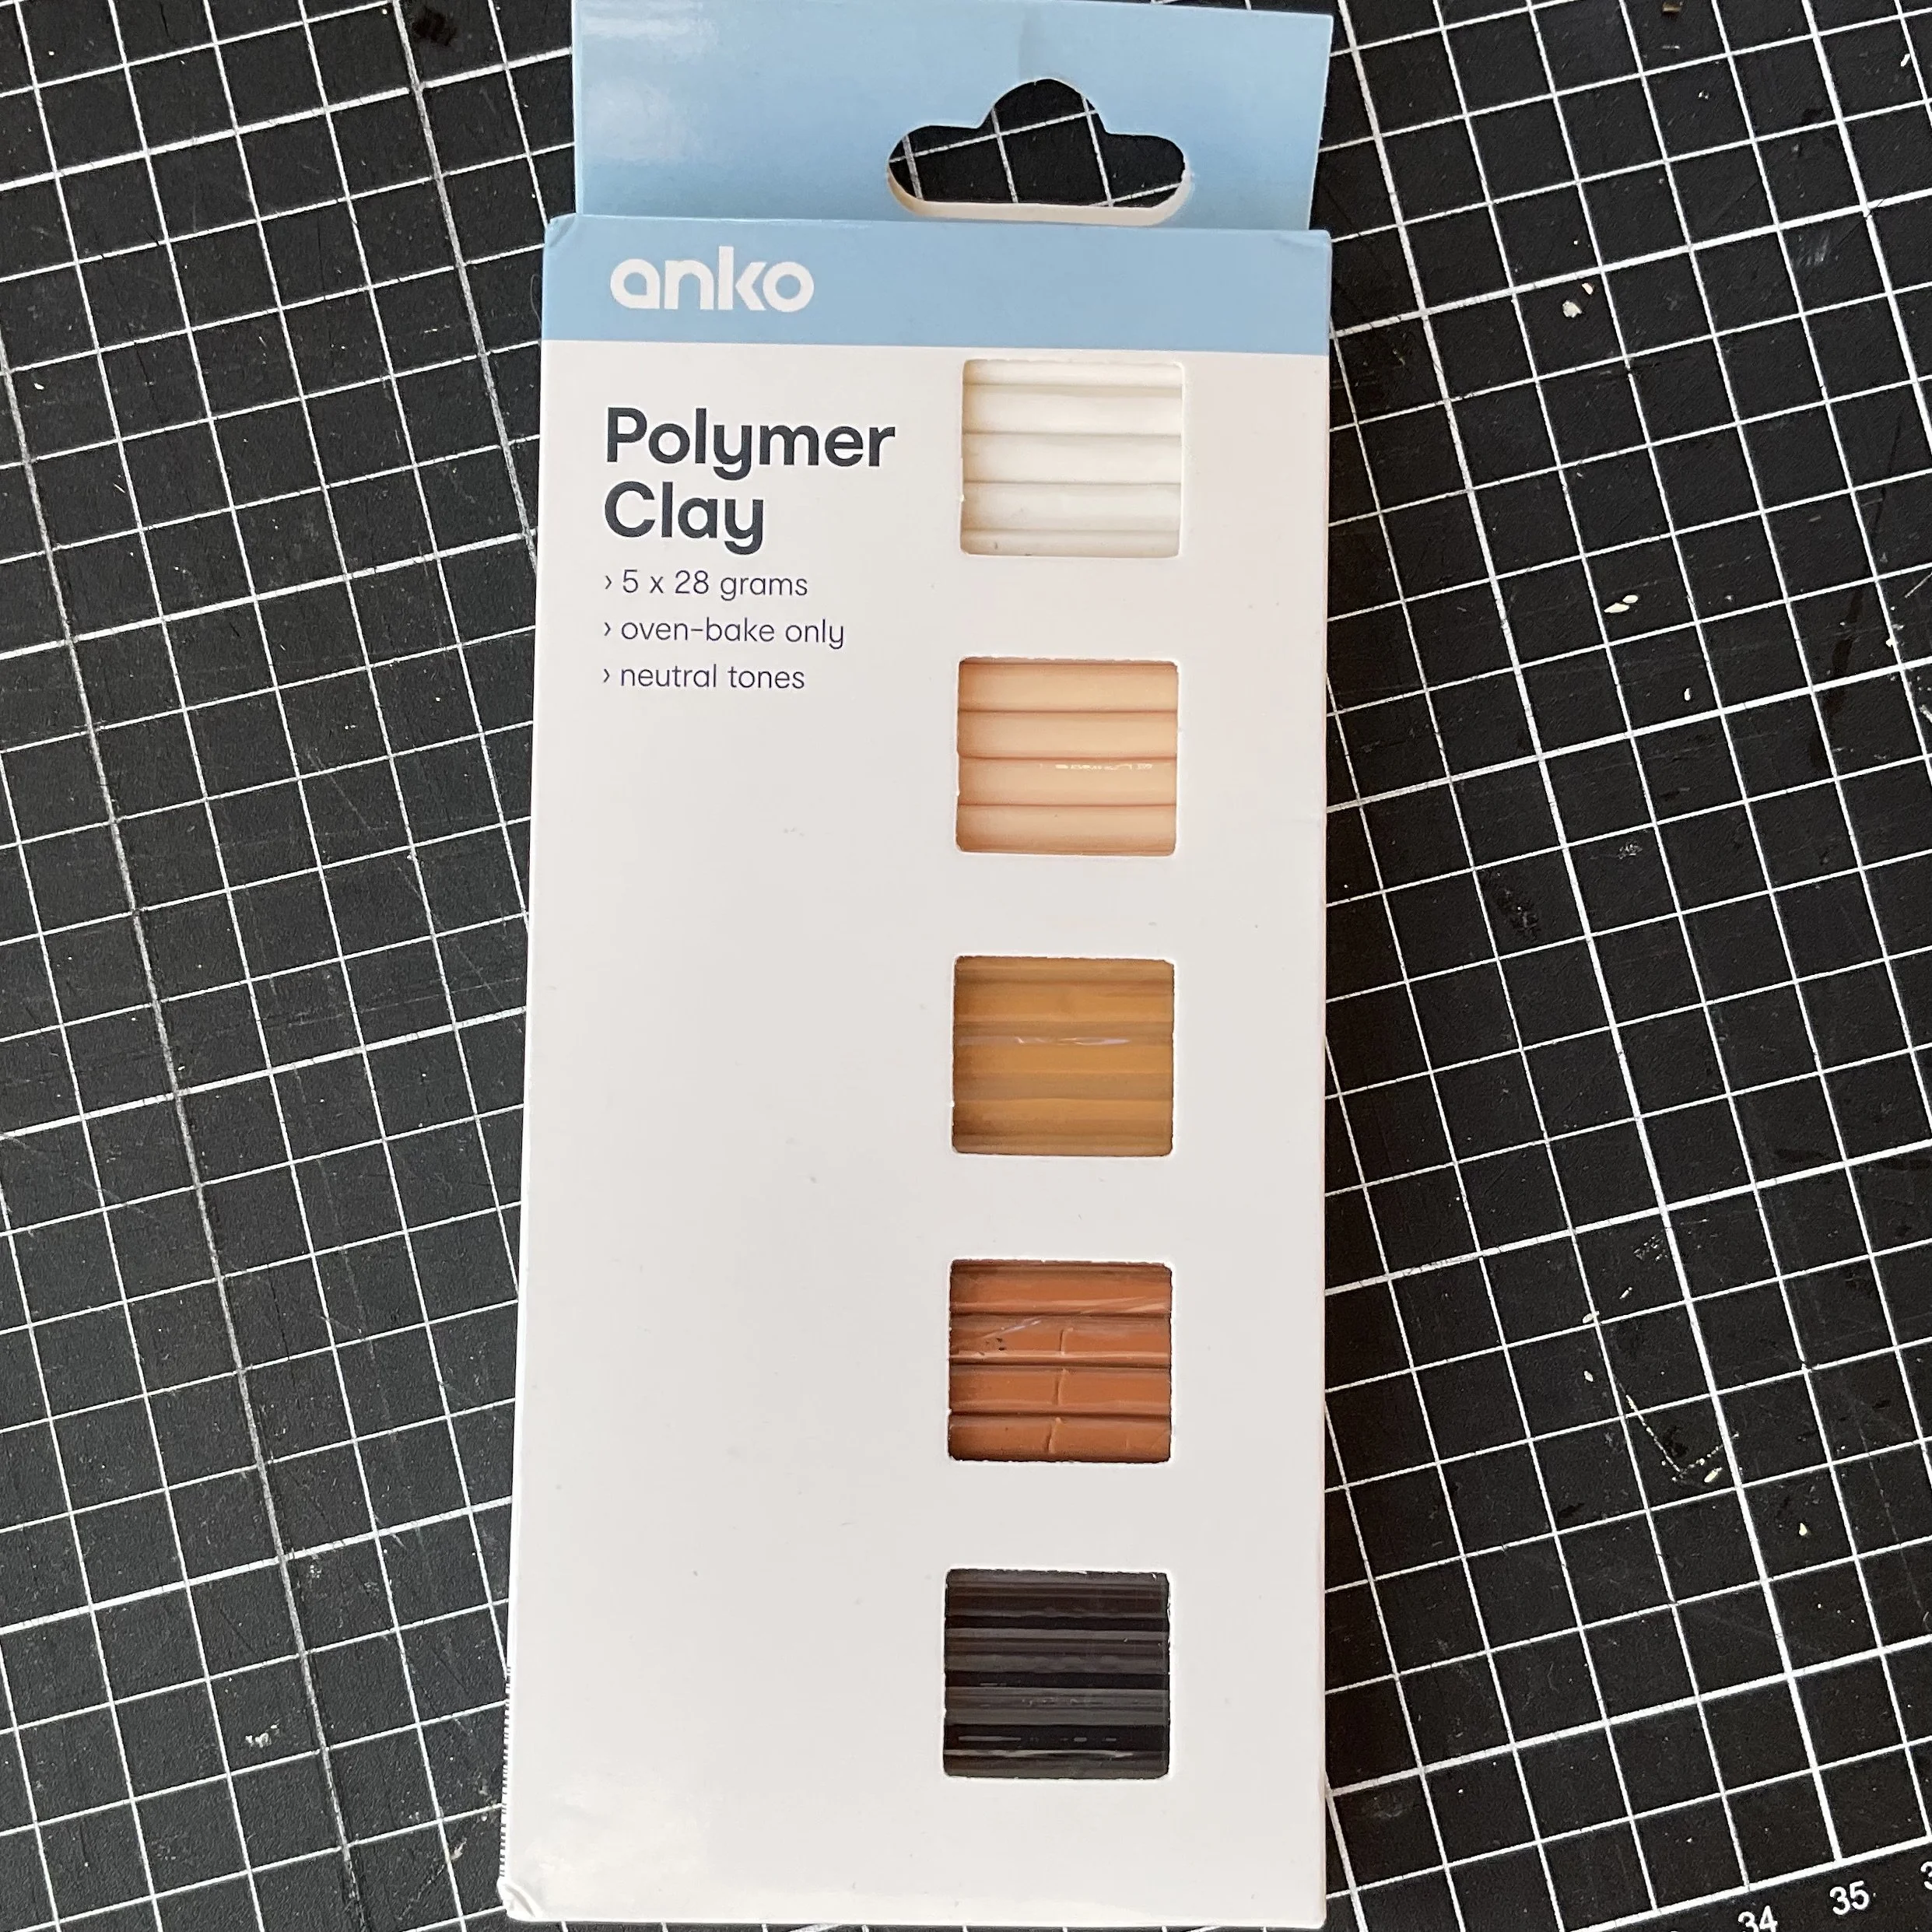
And I found this pack of clay in Kmart (below) (I can’t vouch for its quality but I have used cheap clays with good results).
Firstly some mini buns:
I mixed white clay with a tiny bit of yellow and brown to make an off-white mix. I pinched off a tiny amount and pushed it into the mould, smoothing off the top flat and removing any excess clay. I then pulled the sides of the mould around a bit to loosen the bun and popped the bun out using a pin to coax it. You may find it easier to lightly coat the mould with talcum powder first to get the bun out easily. Make as many as you want.
Scrape a little of the yellow ochre pastel onto some scrap paper (or rub the pastel onto some fine sandpaper) and brush a coat all over the bun. It doesn’t need to be even. Next, brush on some golden brown, concentrating on the top and bottom edges, then a final brush of the burnt umber on the top, or anywhere else you think it needs a little darkening. Put the buns on a tray and bake according to your clay instructions.
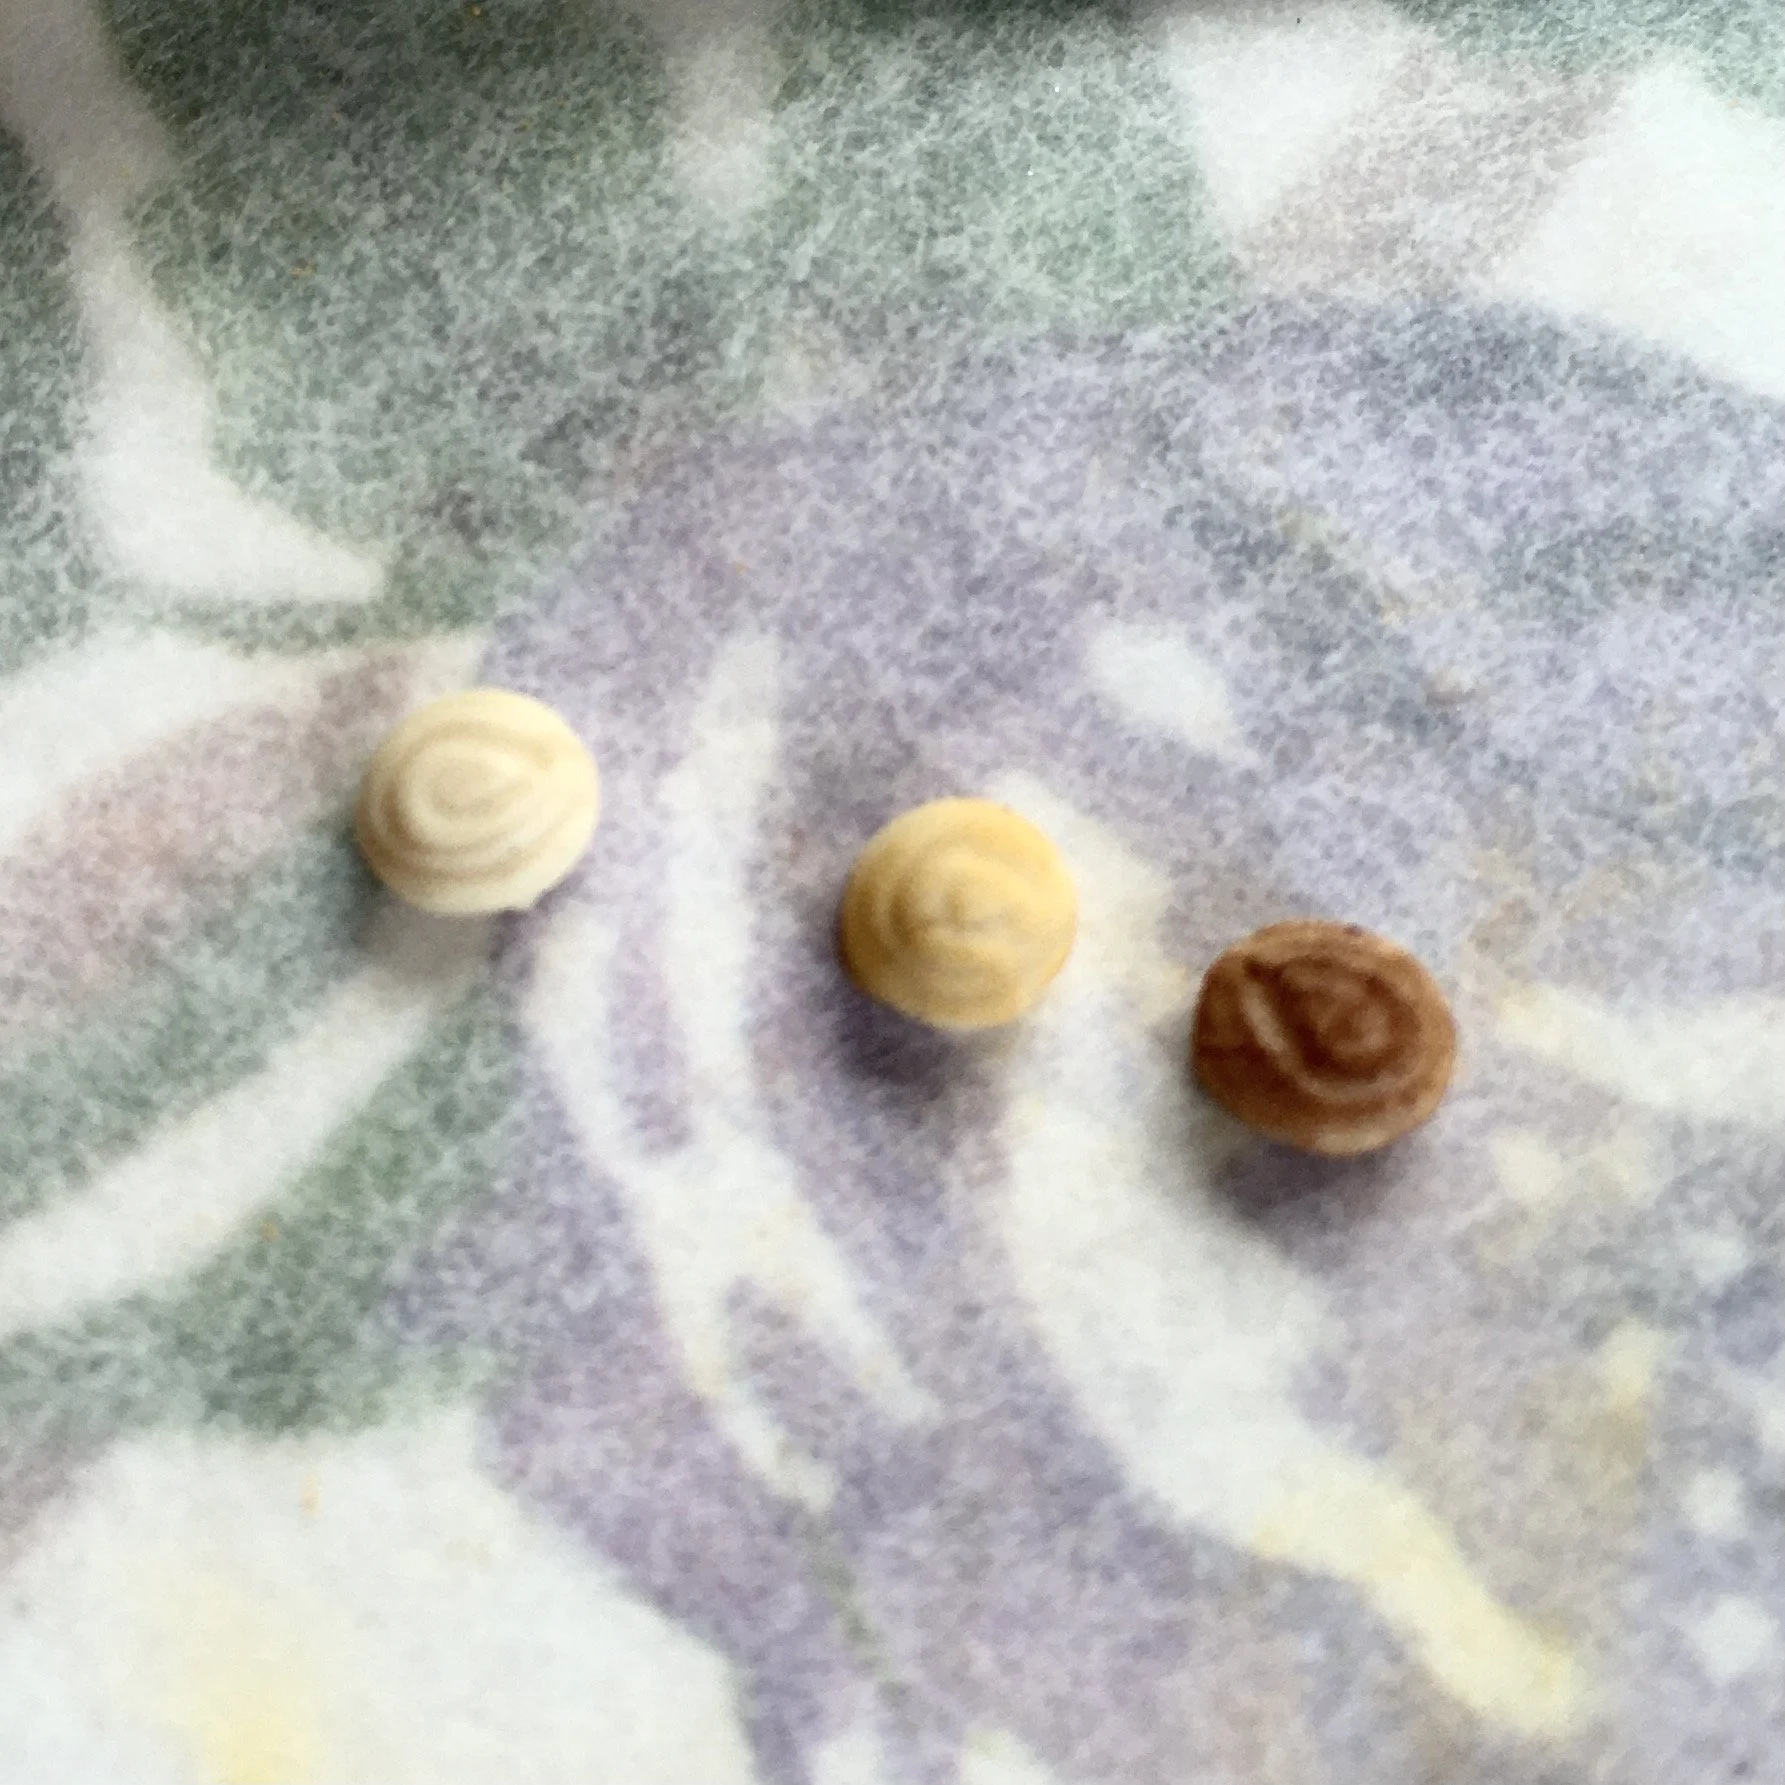
Sorry for the blurry photo below! Left to right: natural bun without any pastel dust, bun with yellow ochre and bun with browns.
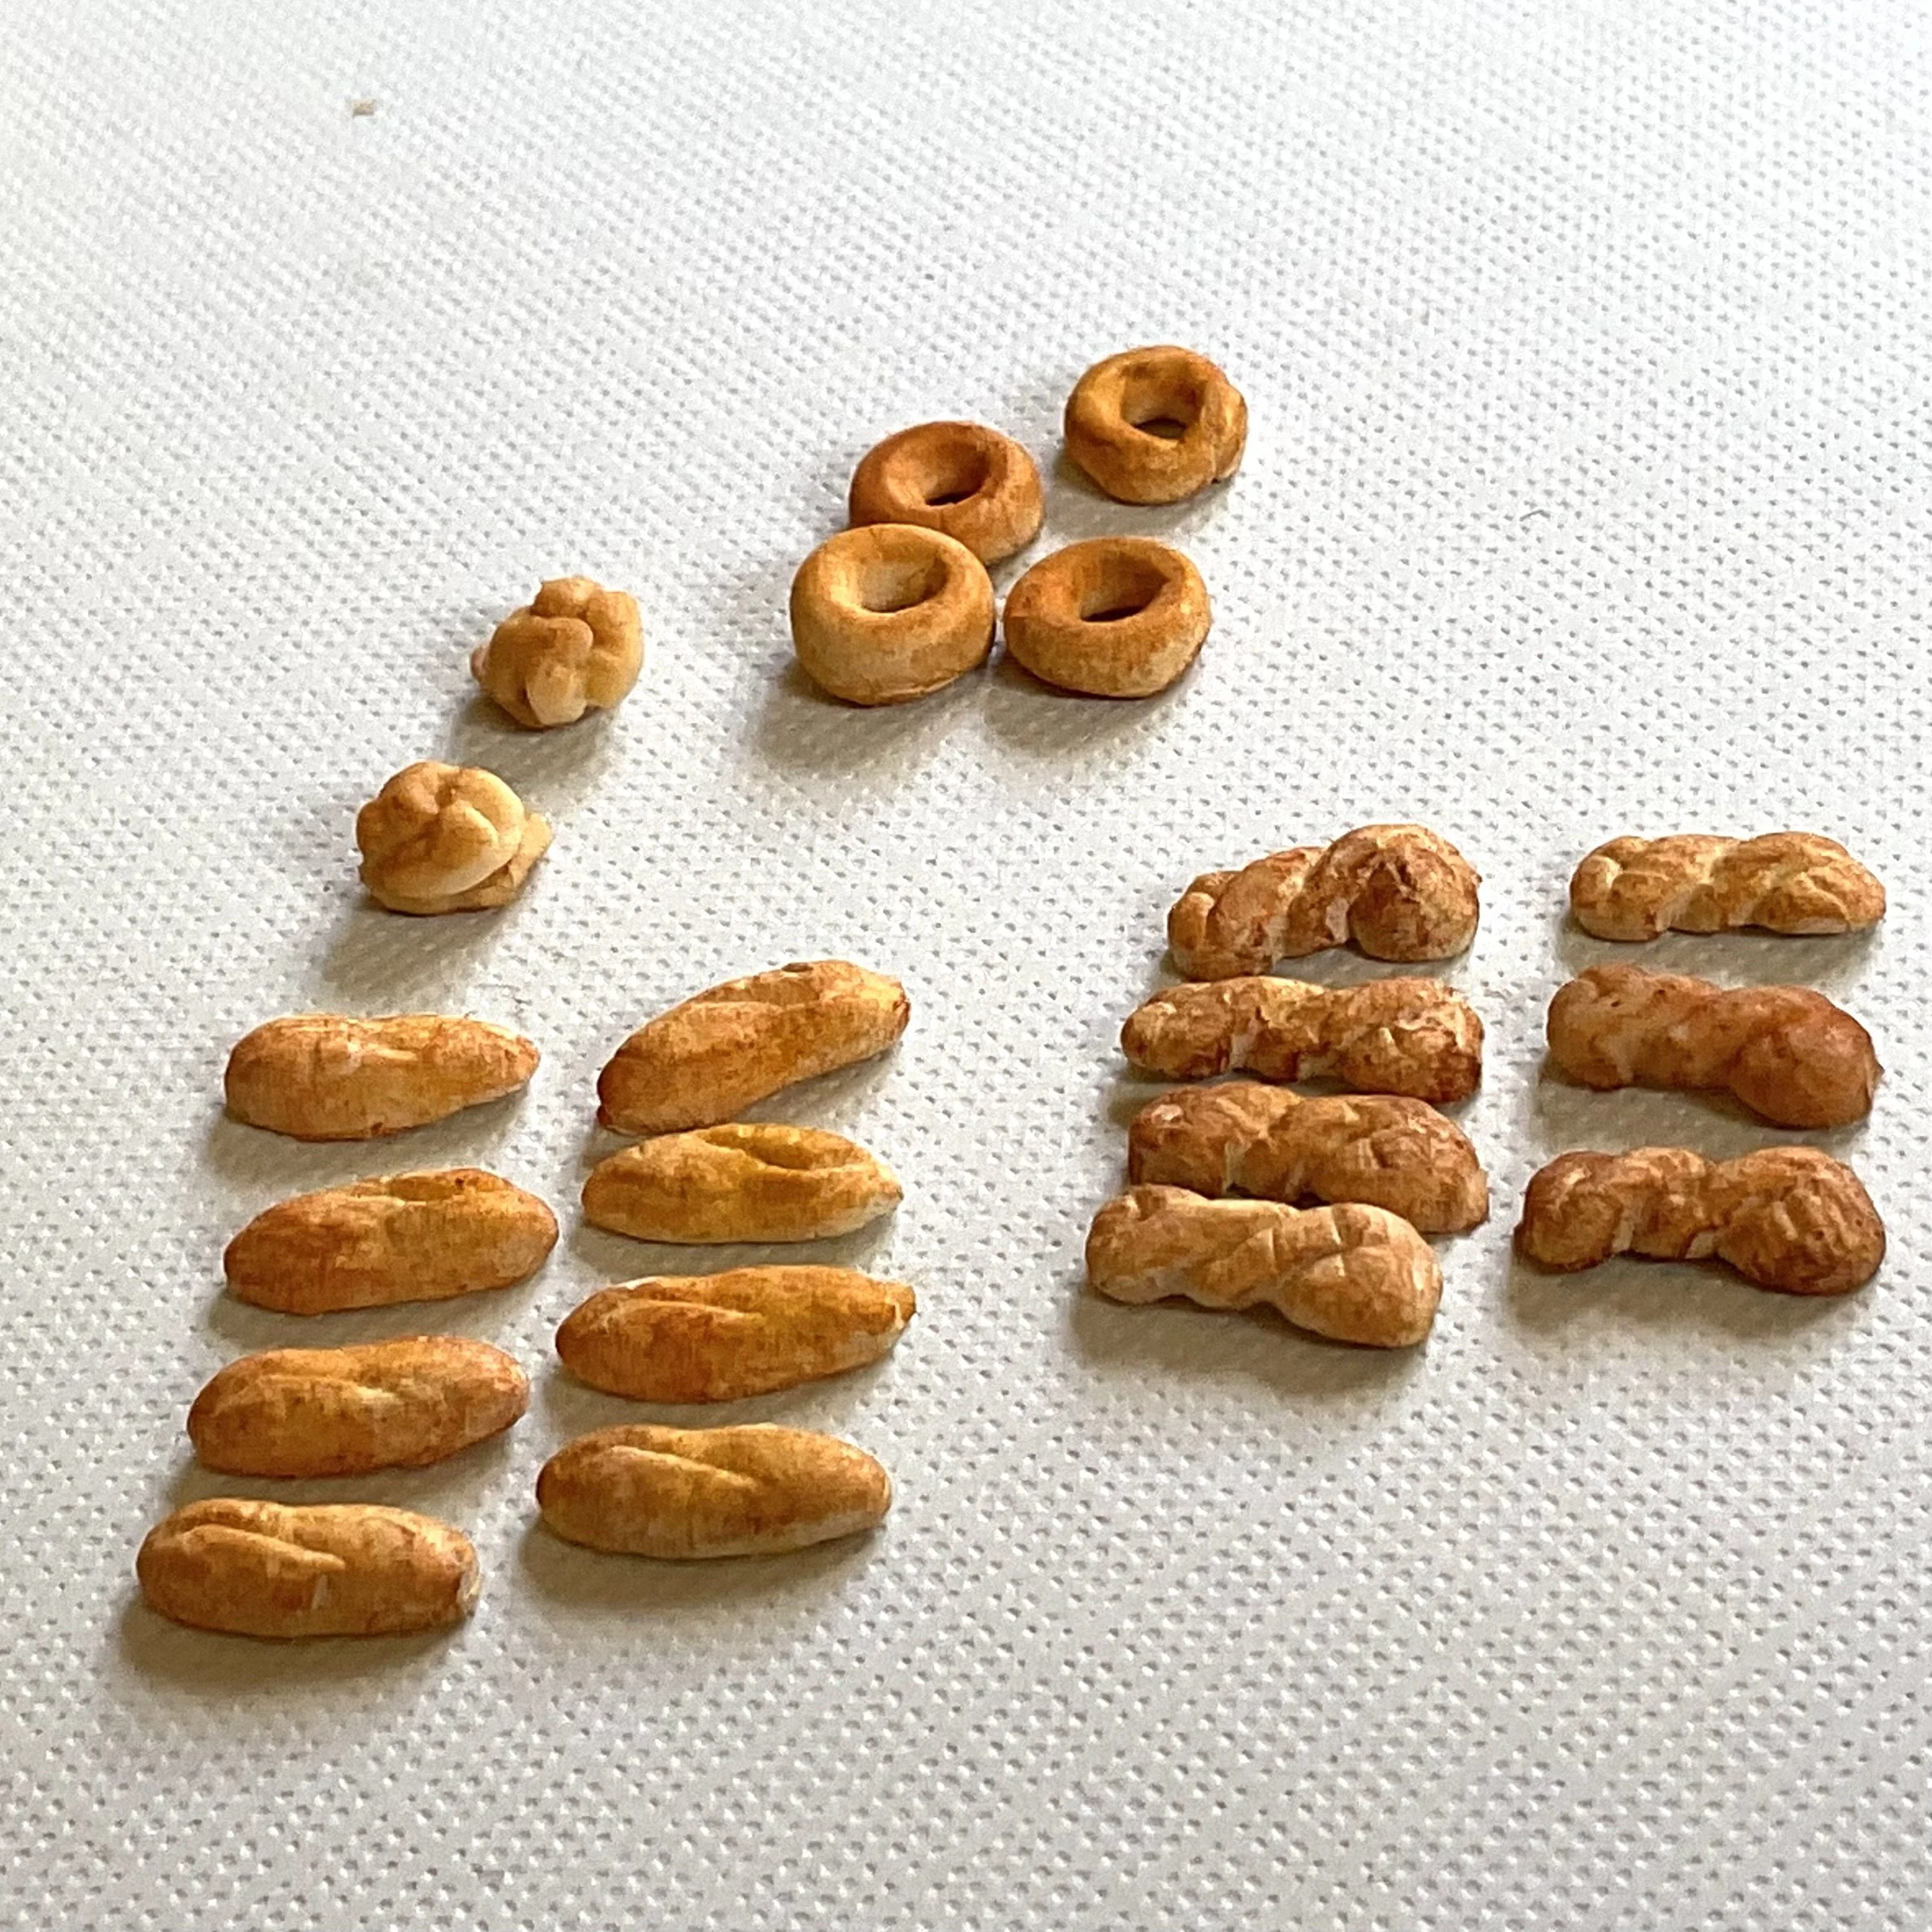
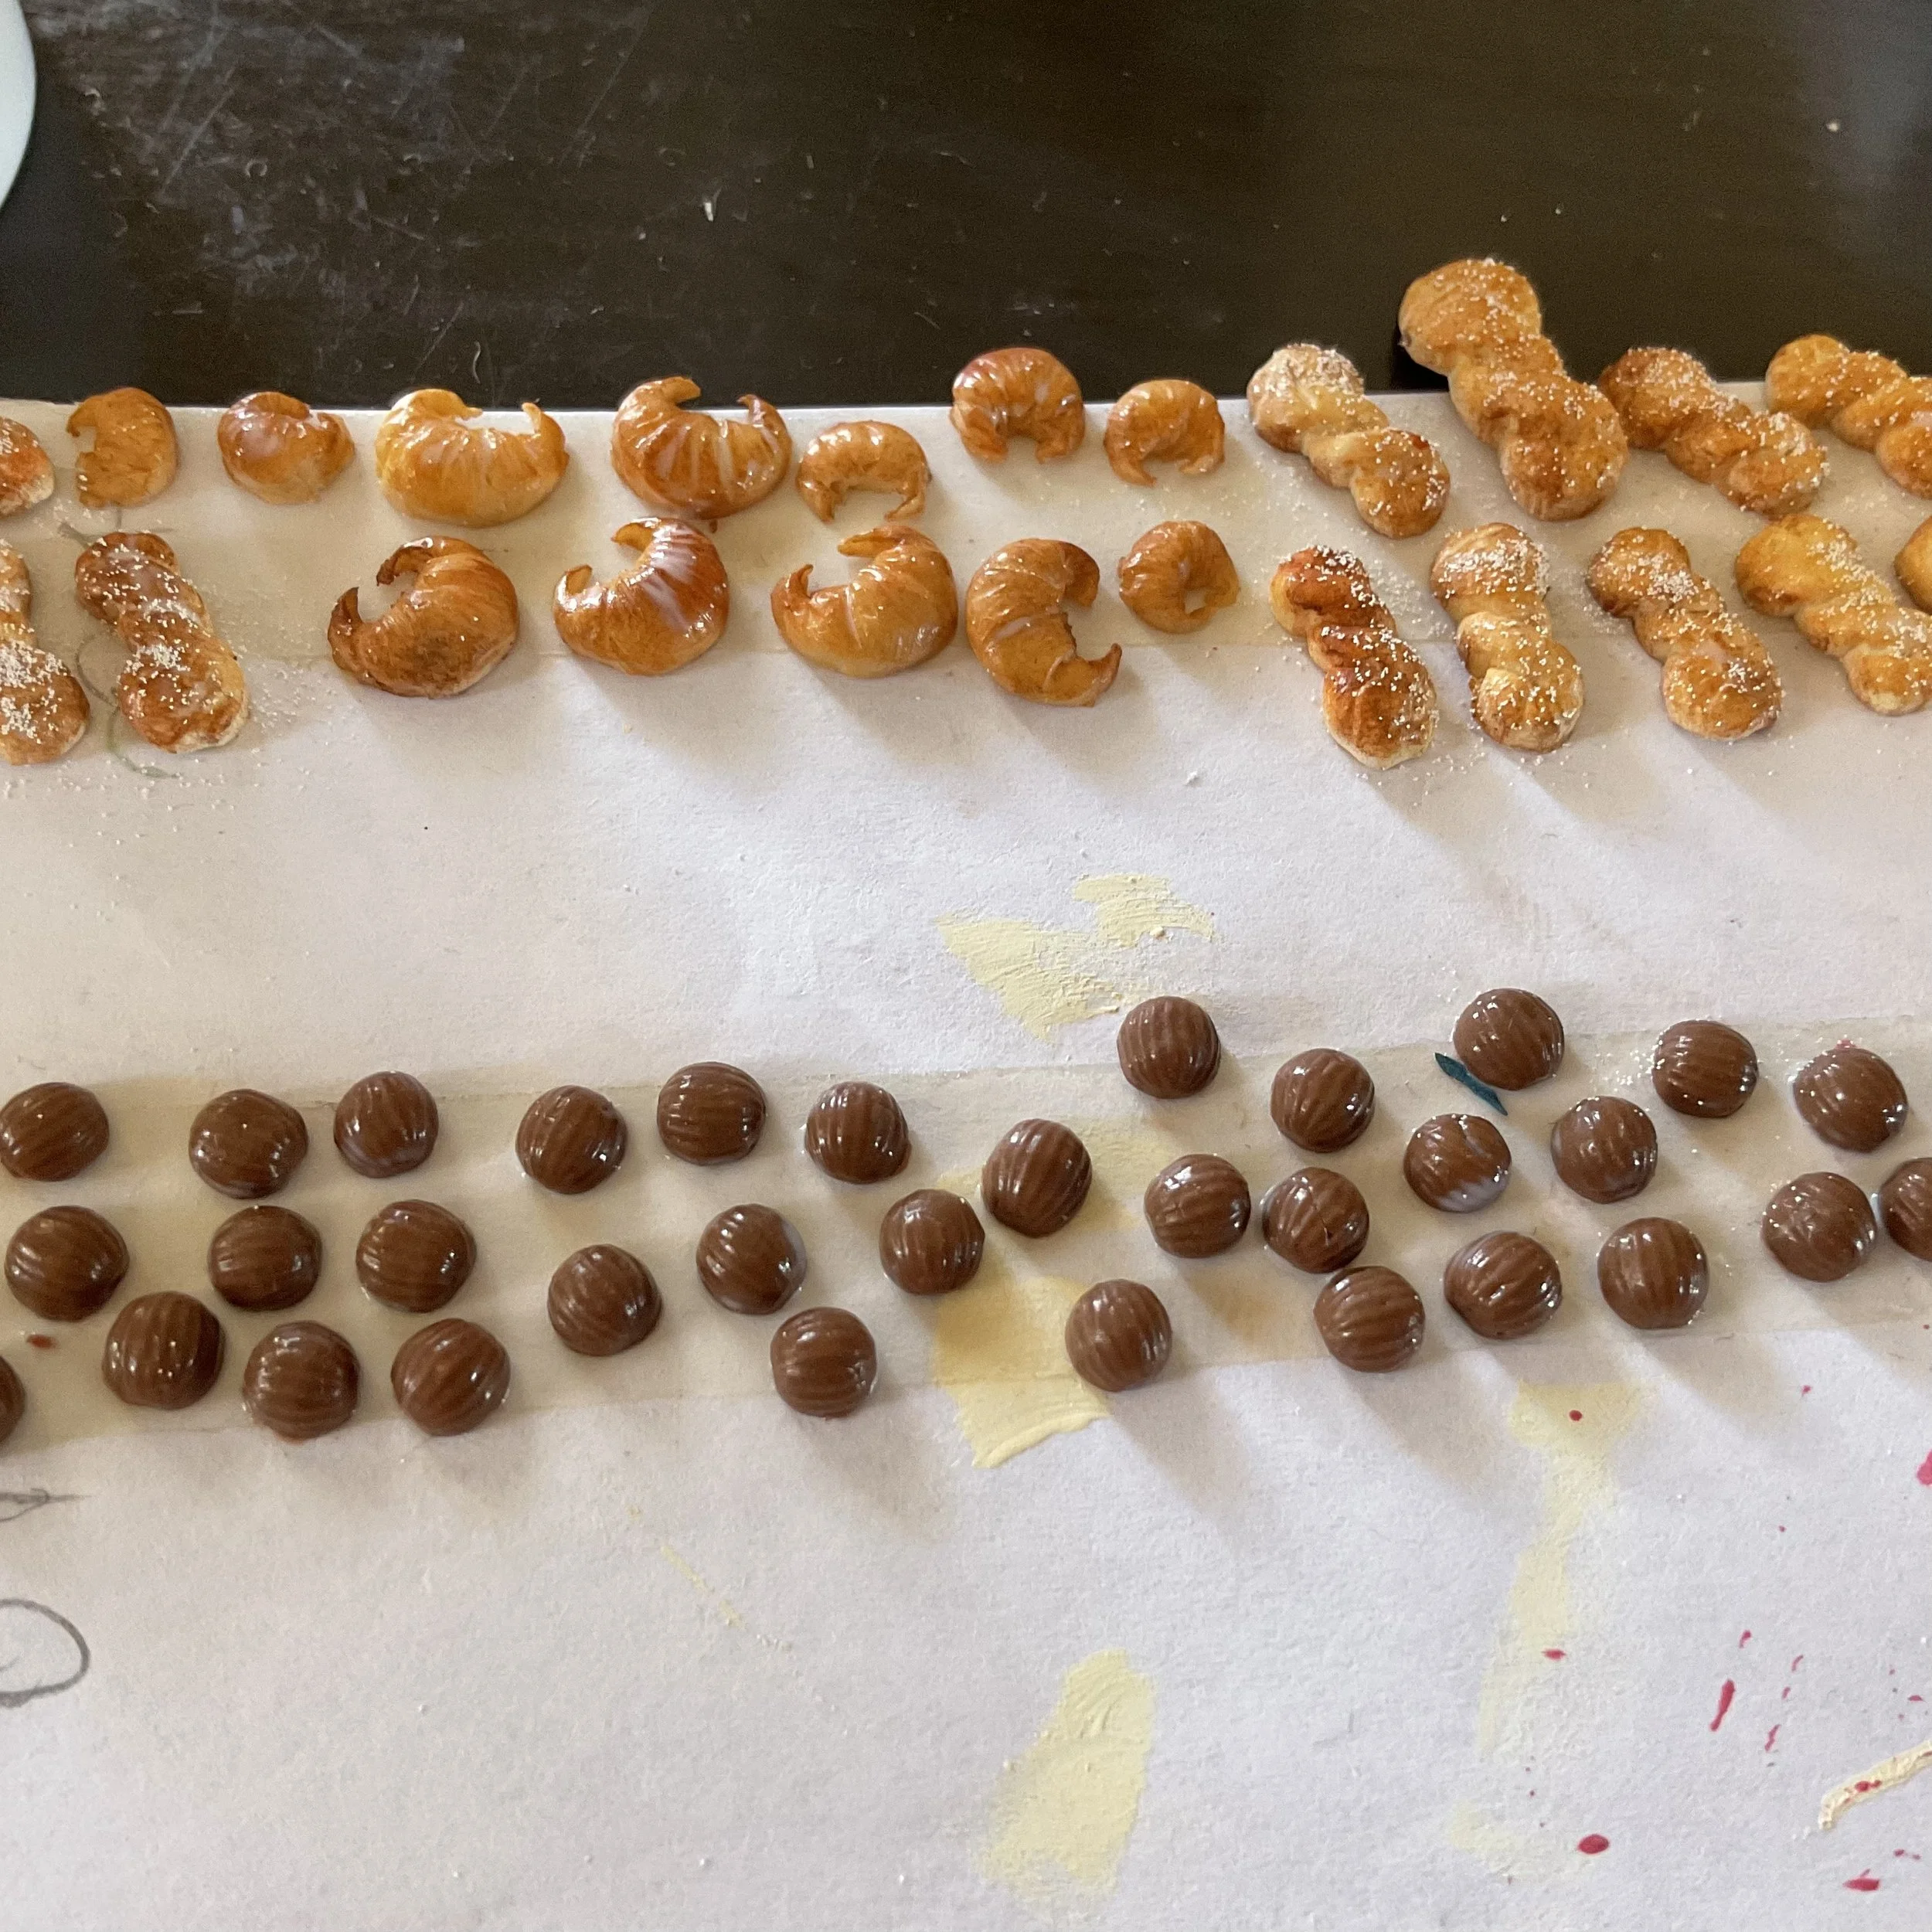
As an alternative, you could paint the buns after they are baked with acrylic craft paints, but I find it harder to get a good soft finish. Below are some cream puffs, eclairs, donuts and pastry twists, all made from nail art moulds and dusted with pastels.
When cooled, you can coat the top with a little varnish if desired. (Apparently not all varnishes will work, so do your research. Most practiced clay artists recommend acrylic varnishes or those made by the clay brands.) I added embossing powder to some for some fake sugar.
I will hopefully have more decorating ideas for these pastries in the next blog post.
Next some cakes:
OK, I realise some look a little large for 1:24 scale but cakes come in all sizes, so for now at least I am going with it!
I mixed a white pearl clay with a tiny amount of red to get a pink pearl clay, then made a marbled effect by mixing with the white pearl clay. I rolled some snakes of each colour then wrapped them together, twisted then mushed up. I twisted and mushed a few times until I got some marbling but a not-too-uniform clay. Use your rolling pin to roll the clay into a uniform thickness (I cheat and use a pasta machine). Use the tiny round cutter to cut circles. I then baked these circles.
Now roll out some brown/chocolate coloured clay but make this thinner (approximately 1mm thick or so) and cut one for each cake. Apply a tiny bit of Bake n Bond to the underside of your baked cake and attach the brown circle making sure the edges are all flush and neat. Use the toothbrush bristles to add texture dots to the edge of the brown, then bake. (Sorry I didn’t get a photo of this stage but if you scroll down you will see them in photos below)
And now to decorate!
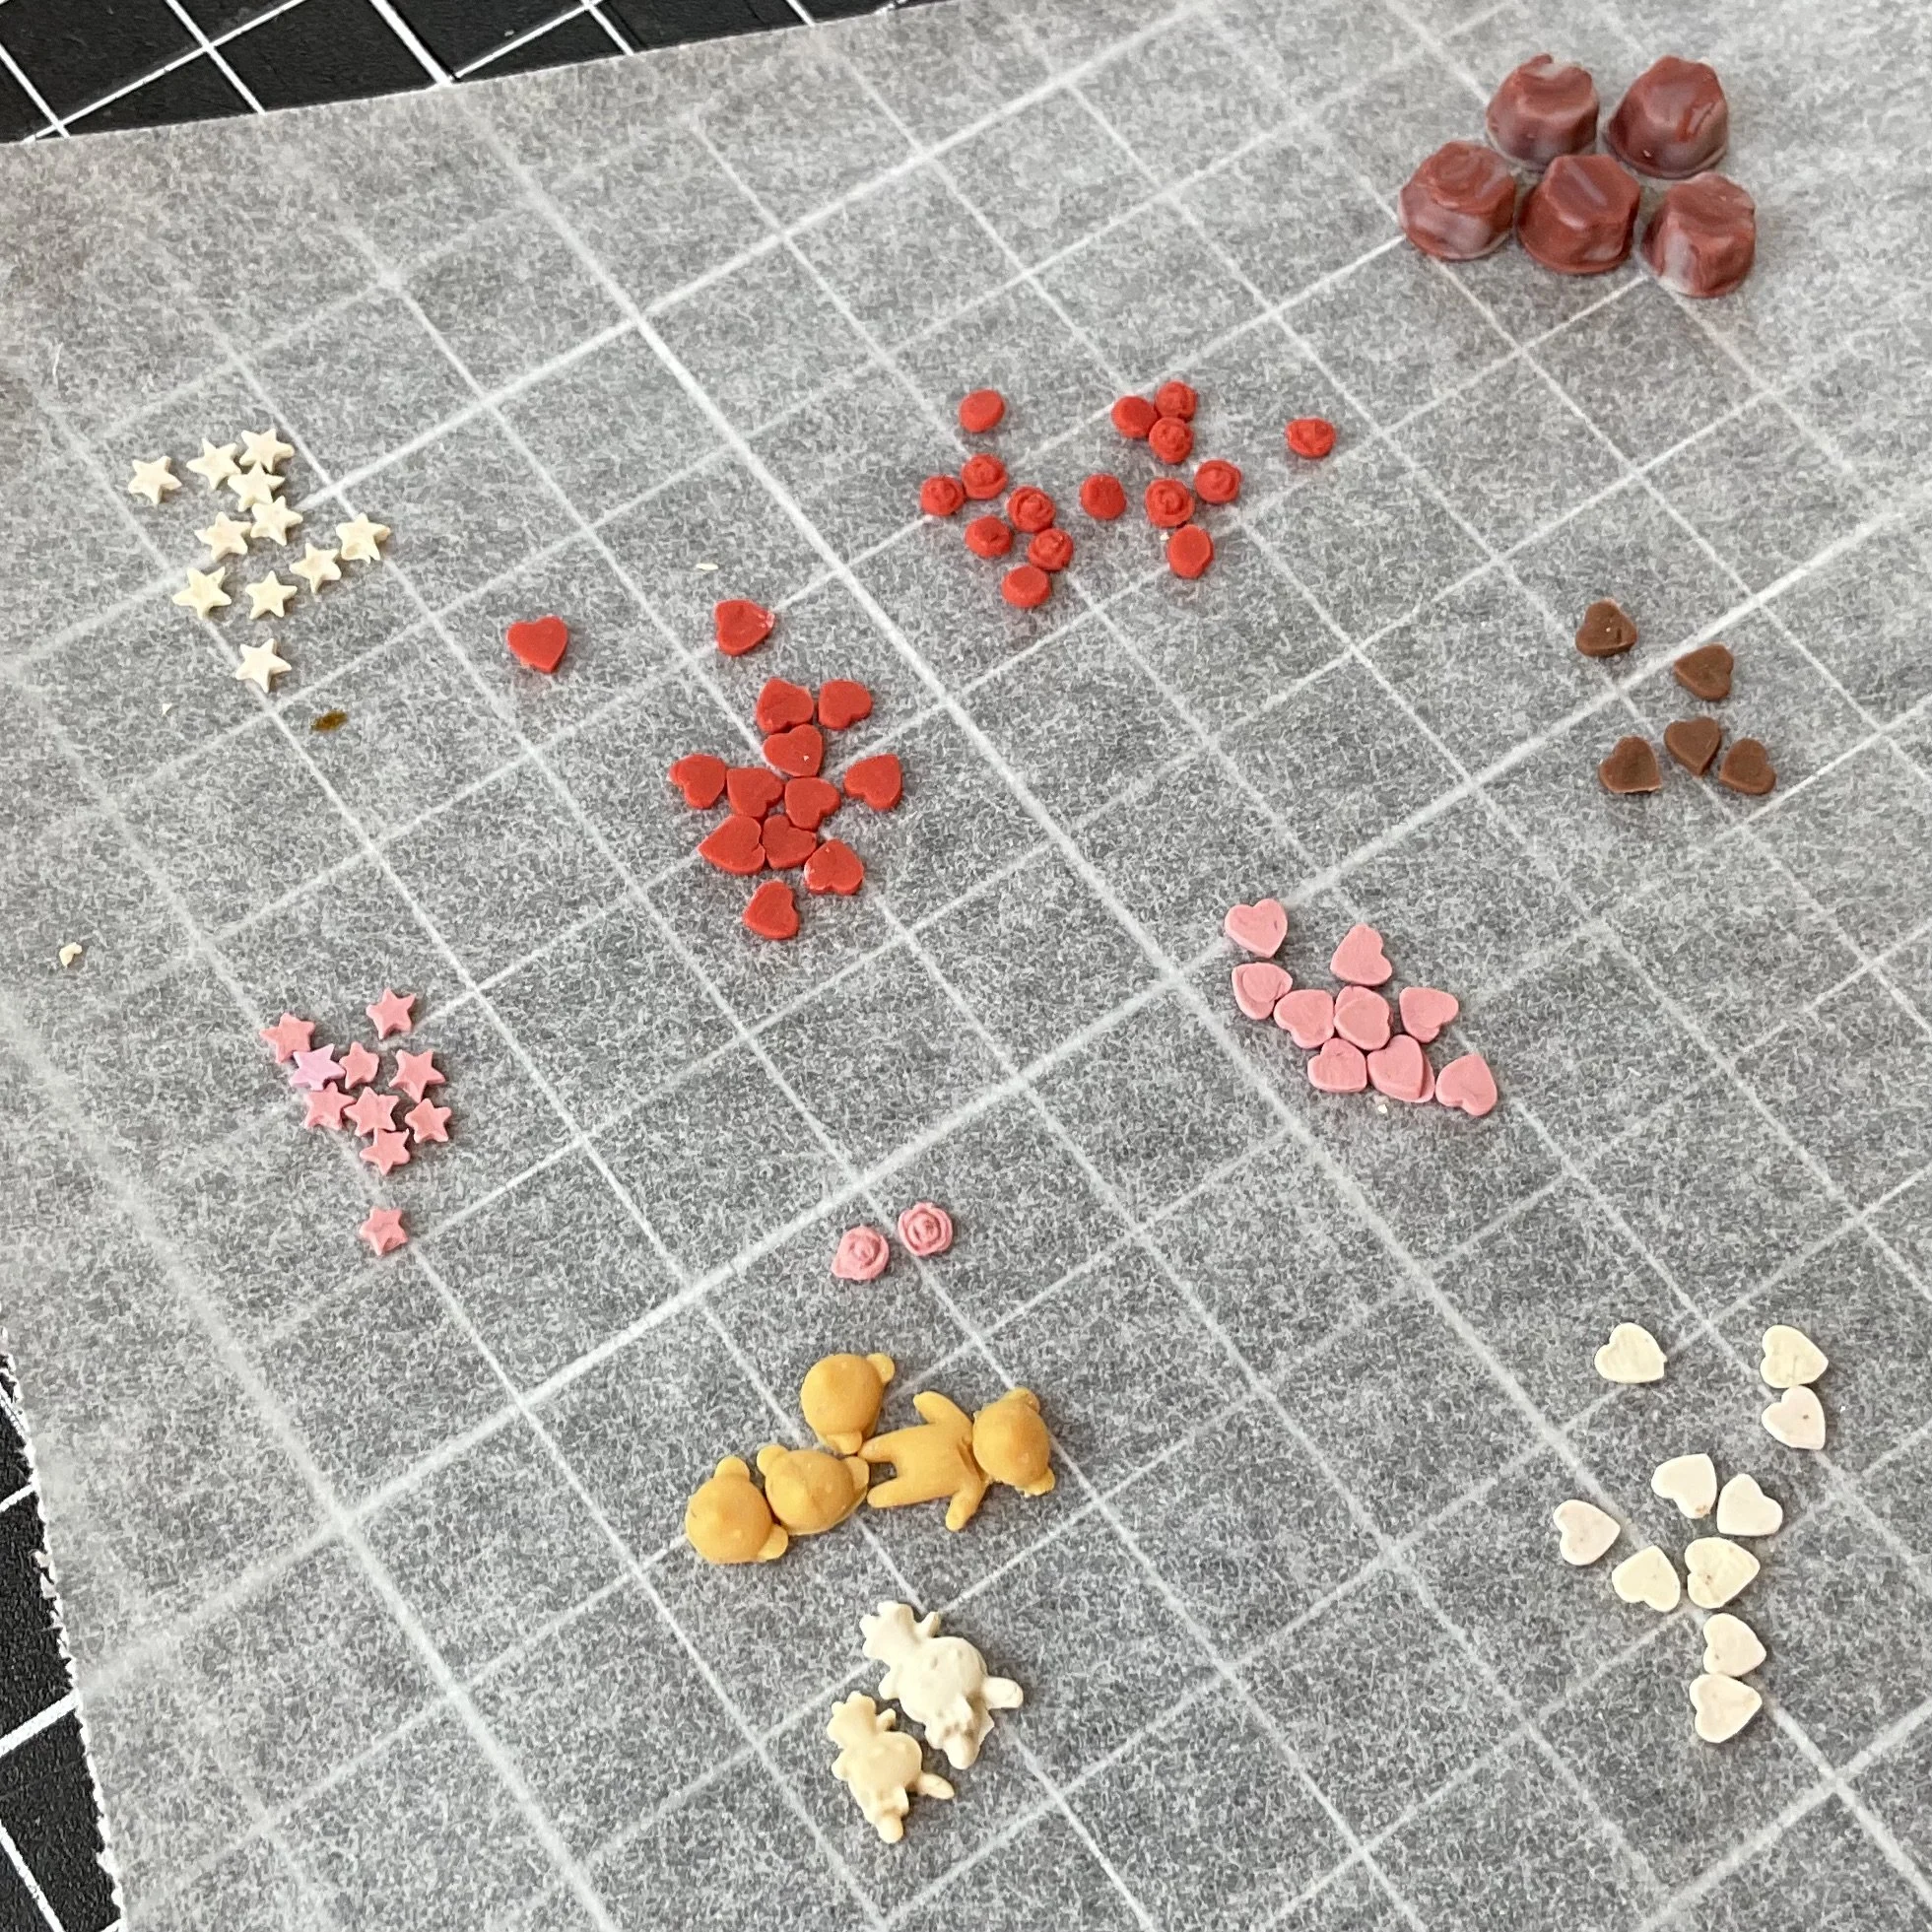
Below are some shapes I made using the nail art moulds shown above, and at the back right some little chocolate flower shaped puddings. You can make all sorts of moulded cakes using just the nail art moulds.
Make your shapes by rolling a tiny ball of clay and pushing into the moulds same as for making the buns. Make lots. They are handy to have. Then bake.
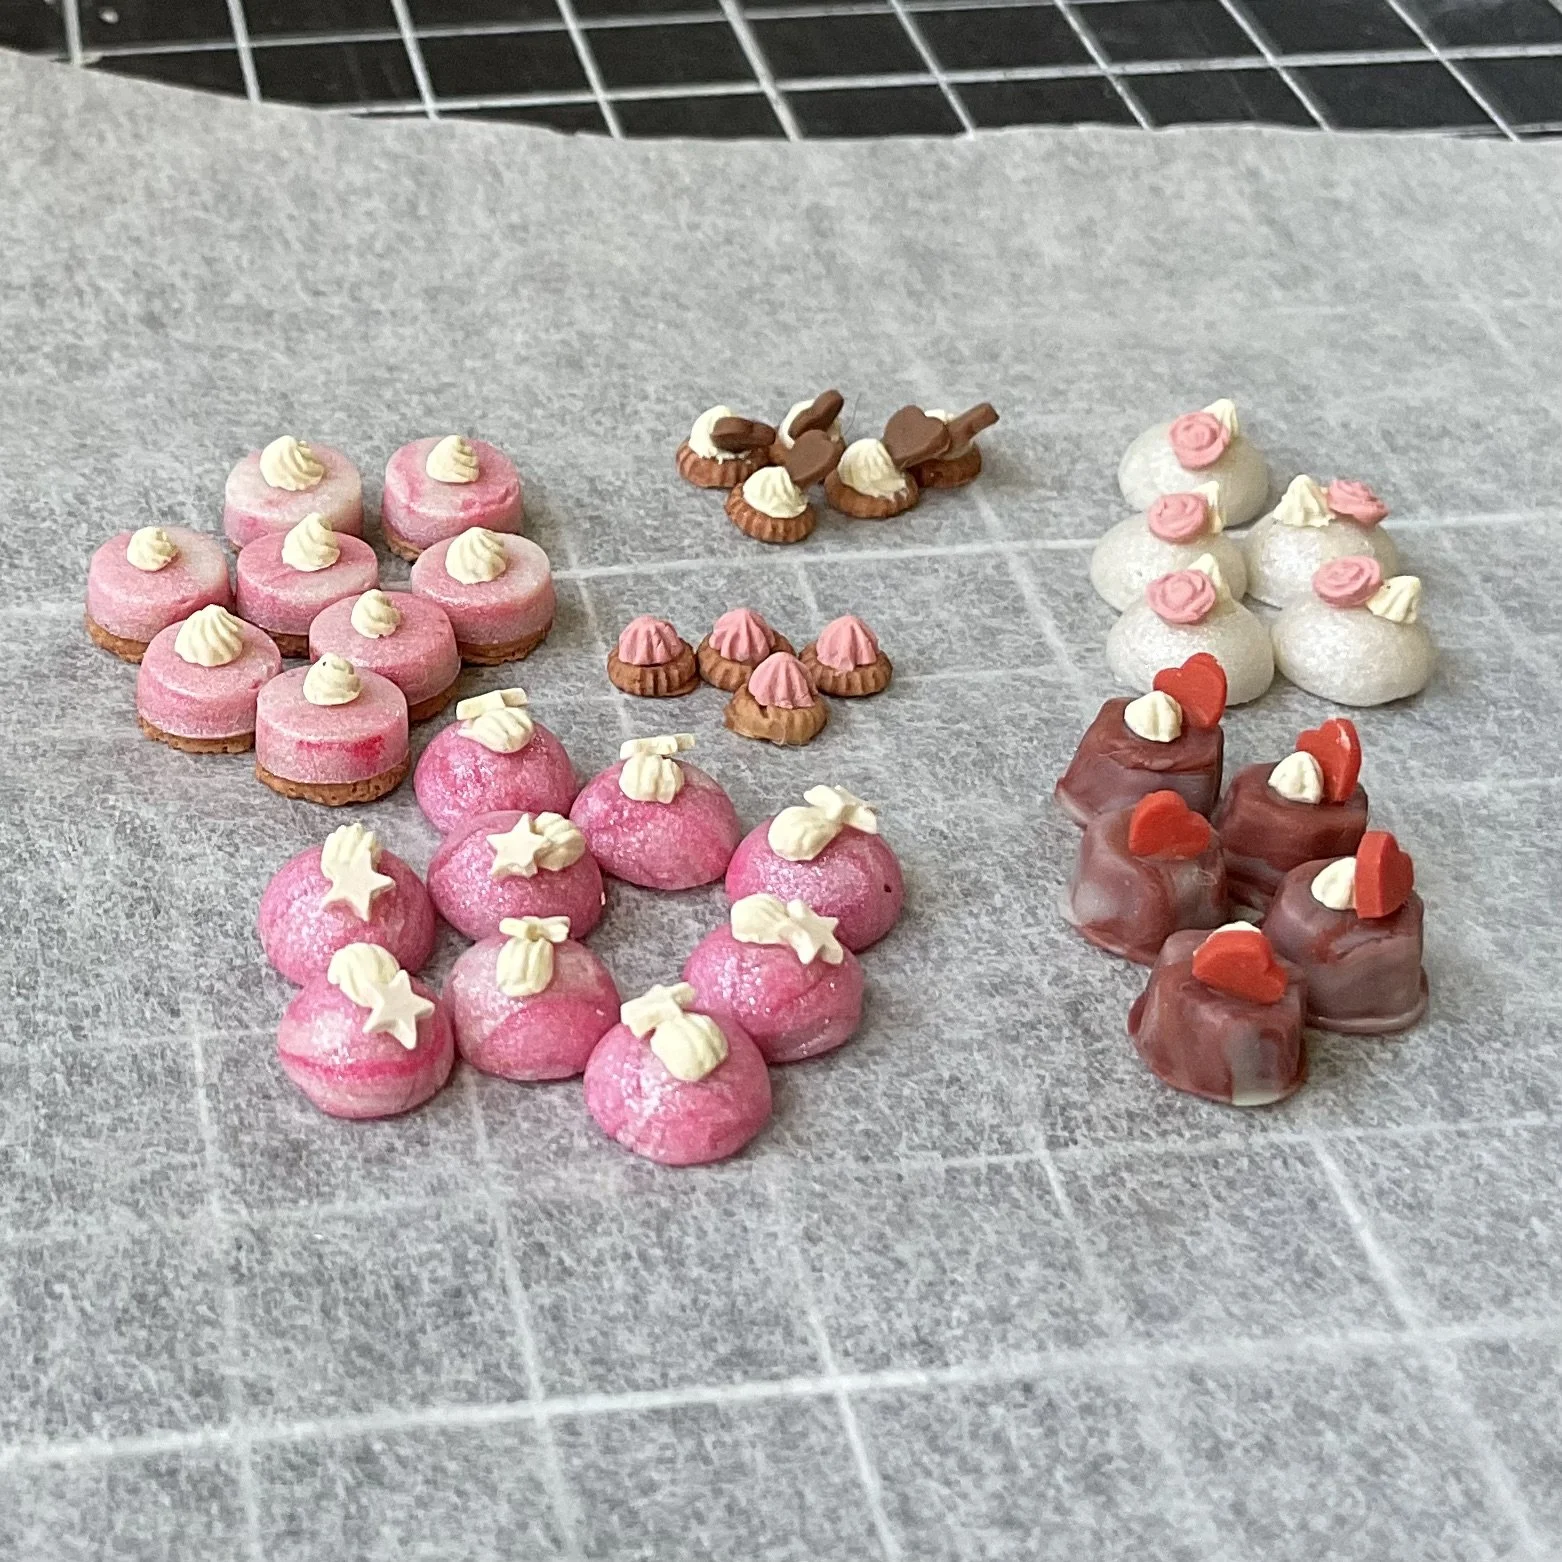
Get your mini cakes and start decorating! I made little piped cream rosettes using the same off-white clay and the nail art moulds shown above. I put a tiny dab of Bake n Bond onto the cake, attached the cream rosette, dipped a decoration into the Bake n Bond and attached the decoration. Some I poked into the cream. Then bake again. Below are some of my cakes now decorated in this manner.
All the cakes in this photo were made with nail art moulds, except for the layered cakes on the front right.
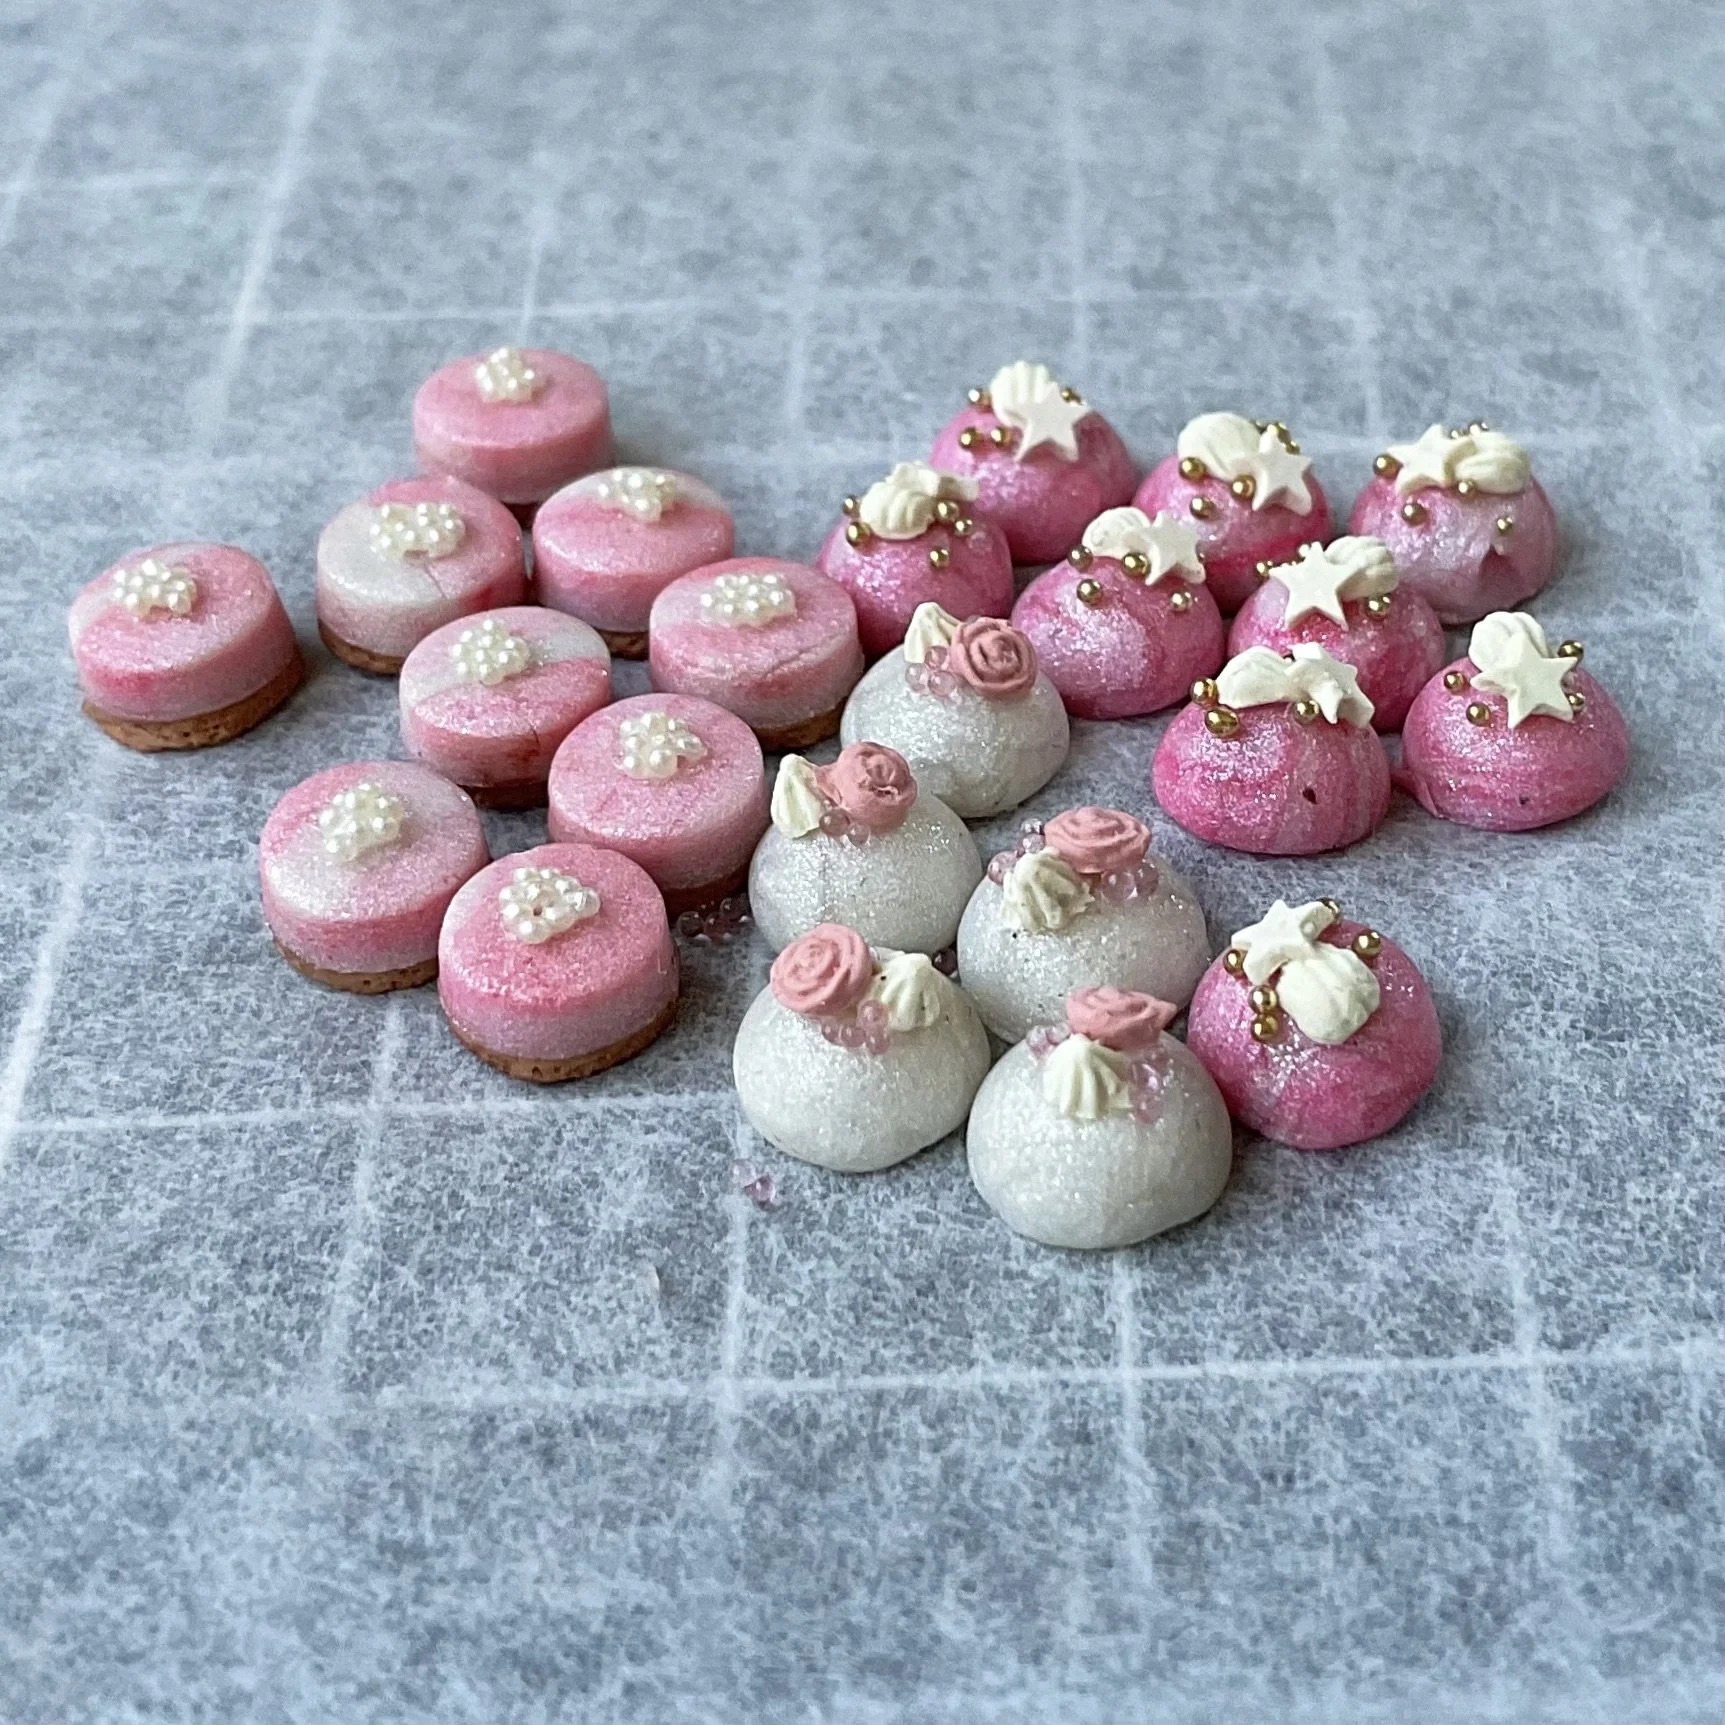
For some, I added the tiny nail caviar/no-hole beads using a good white glue (I like Weldbond, Selley’s Exterior PVA or X-press It Powertac glue).
OK, so that was a pretty rough tutorial, but hopefully it gives a little inspiration for you. There are so many possibilities with just a few moulds so I suggest getting some clay and a few moulds and seeing how you go!
As mentioned above, I do hope to have some more ideas in my next blog post! Have a great day!
