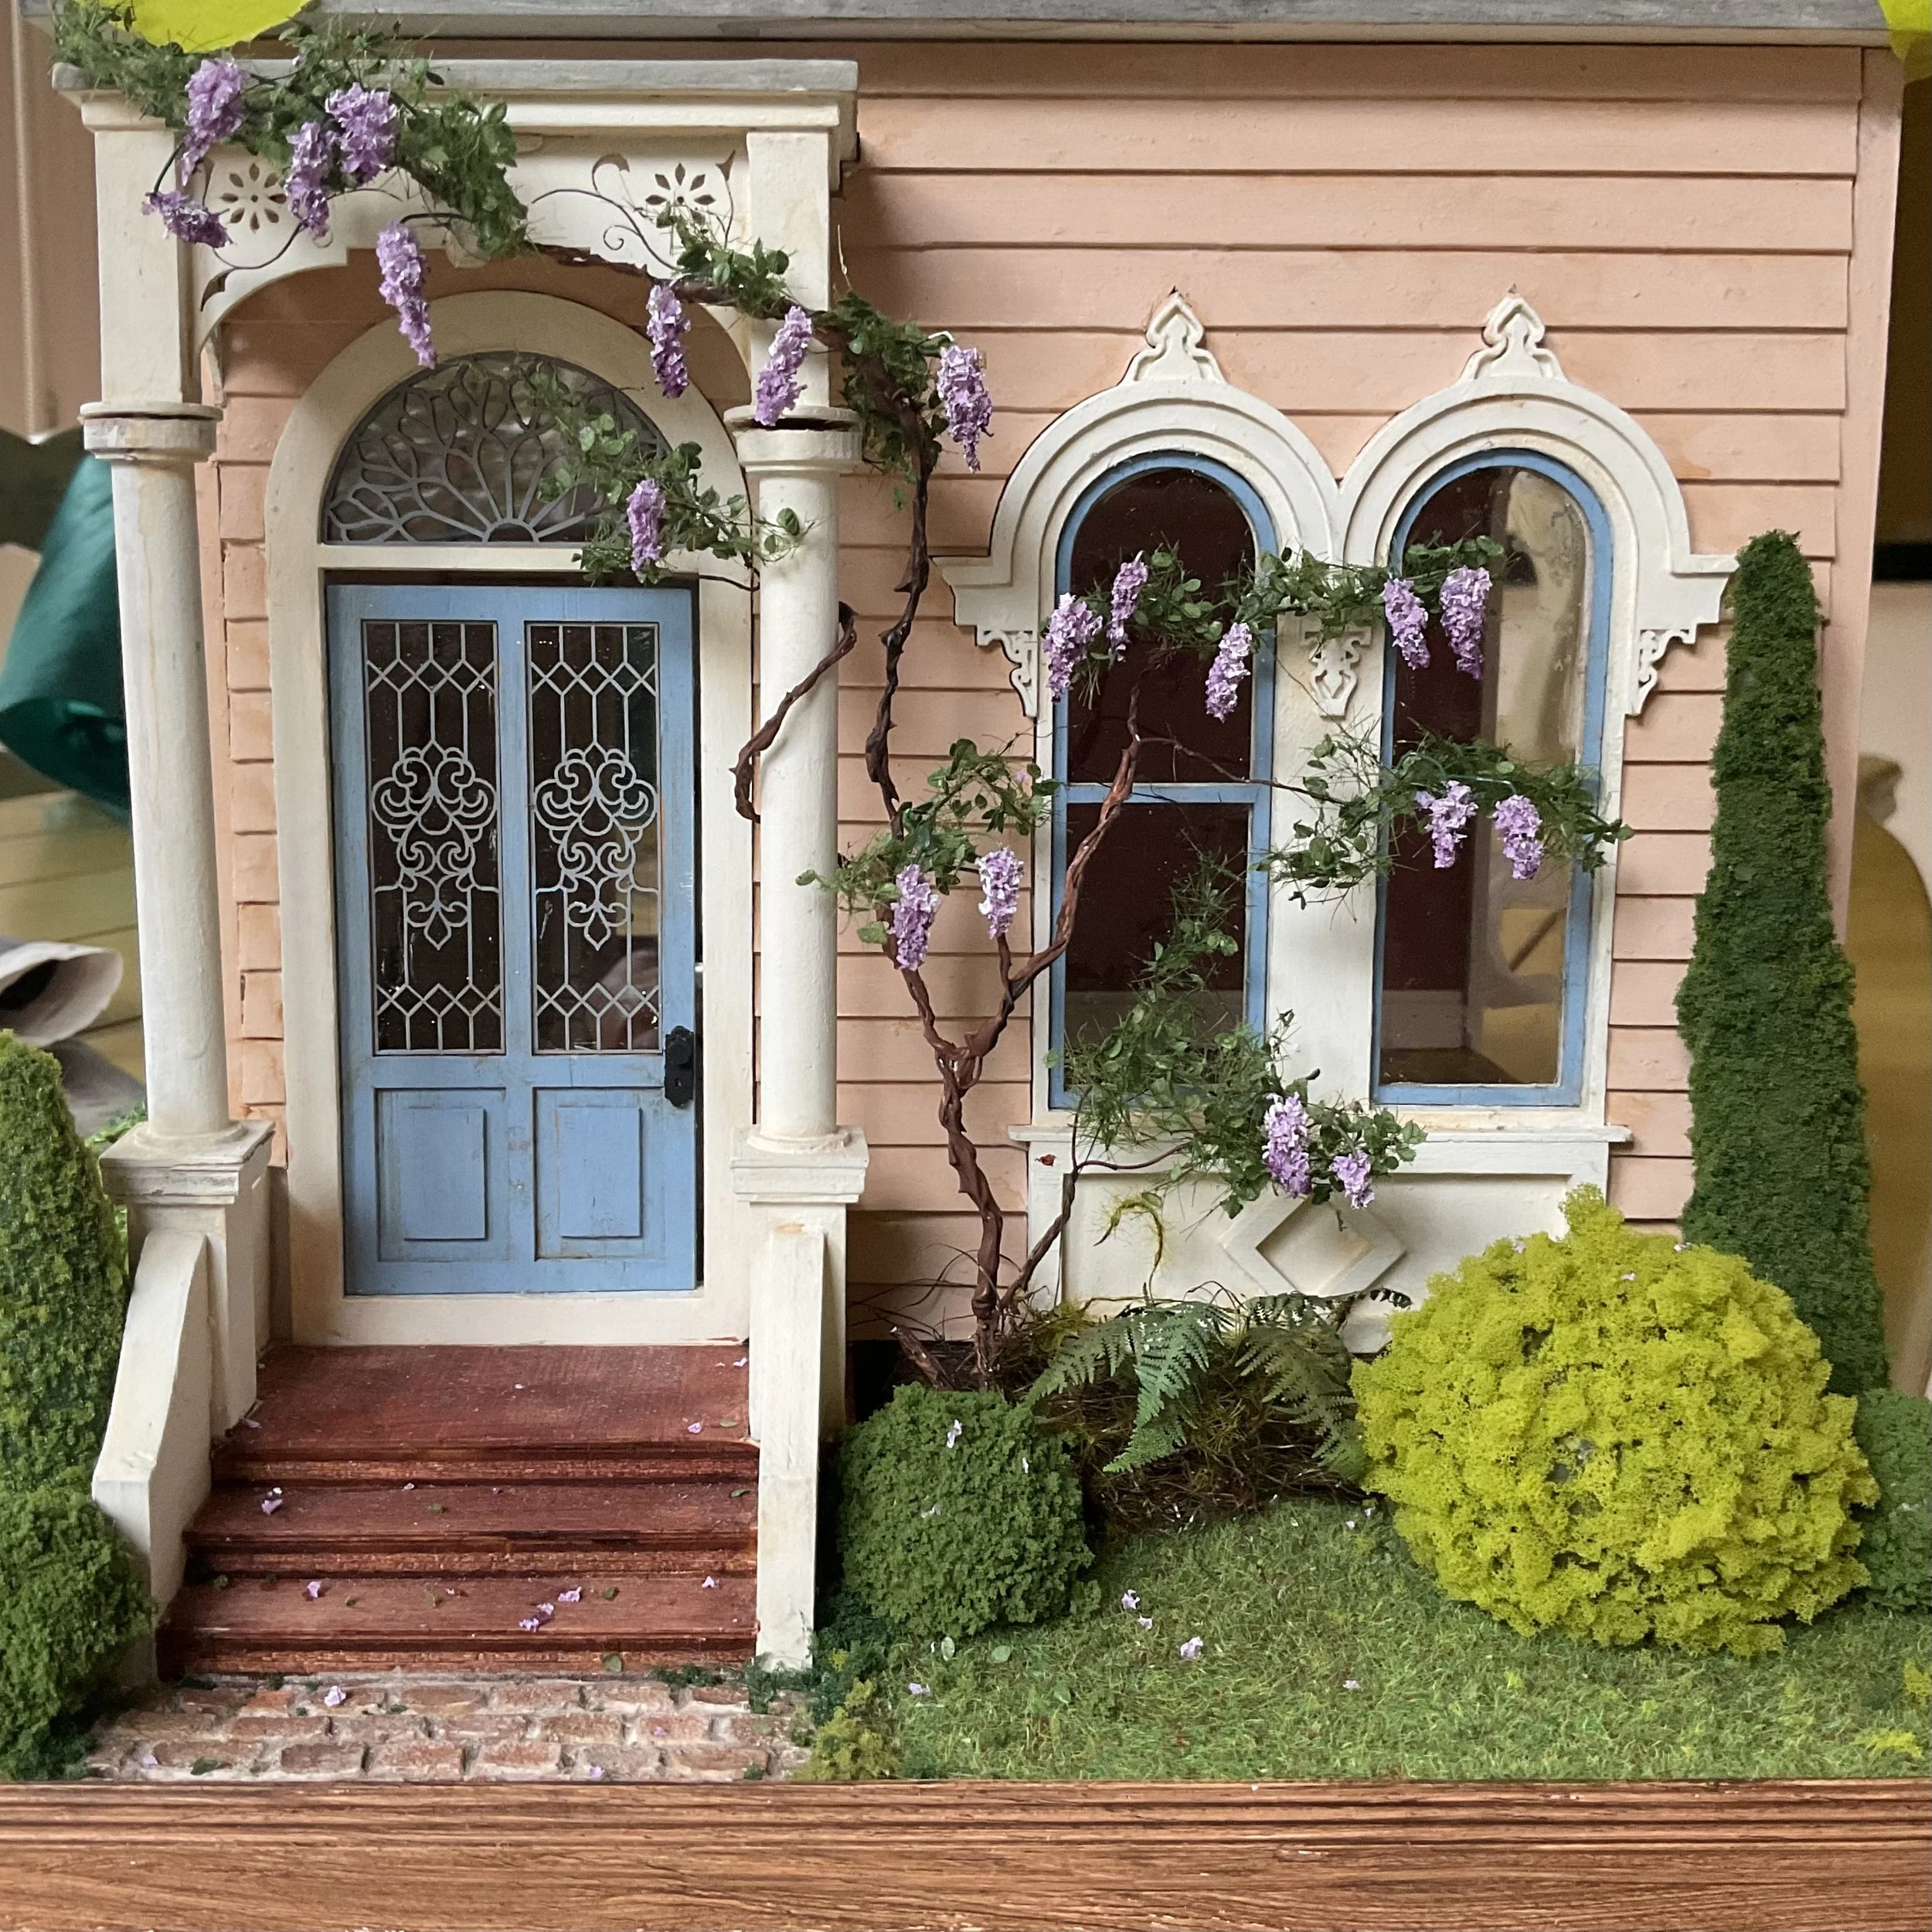
Landscaping in miniature
I occasionally get asked about or comments on my miniature landscaping, so I have finally done this post with hints, tips and products I find useful.
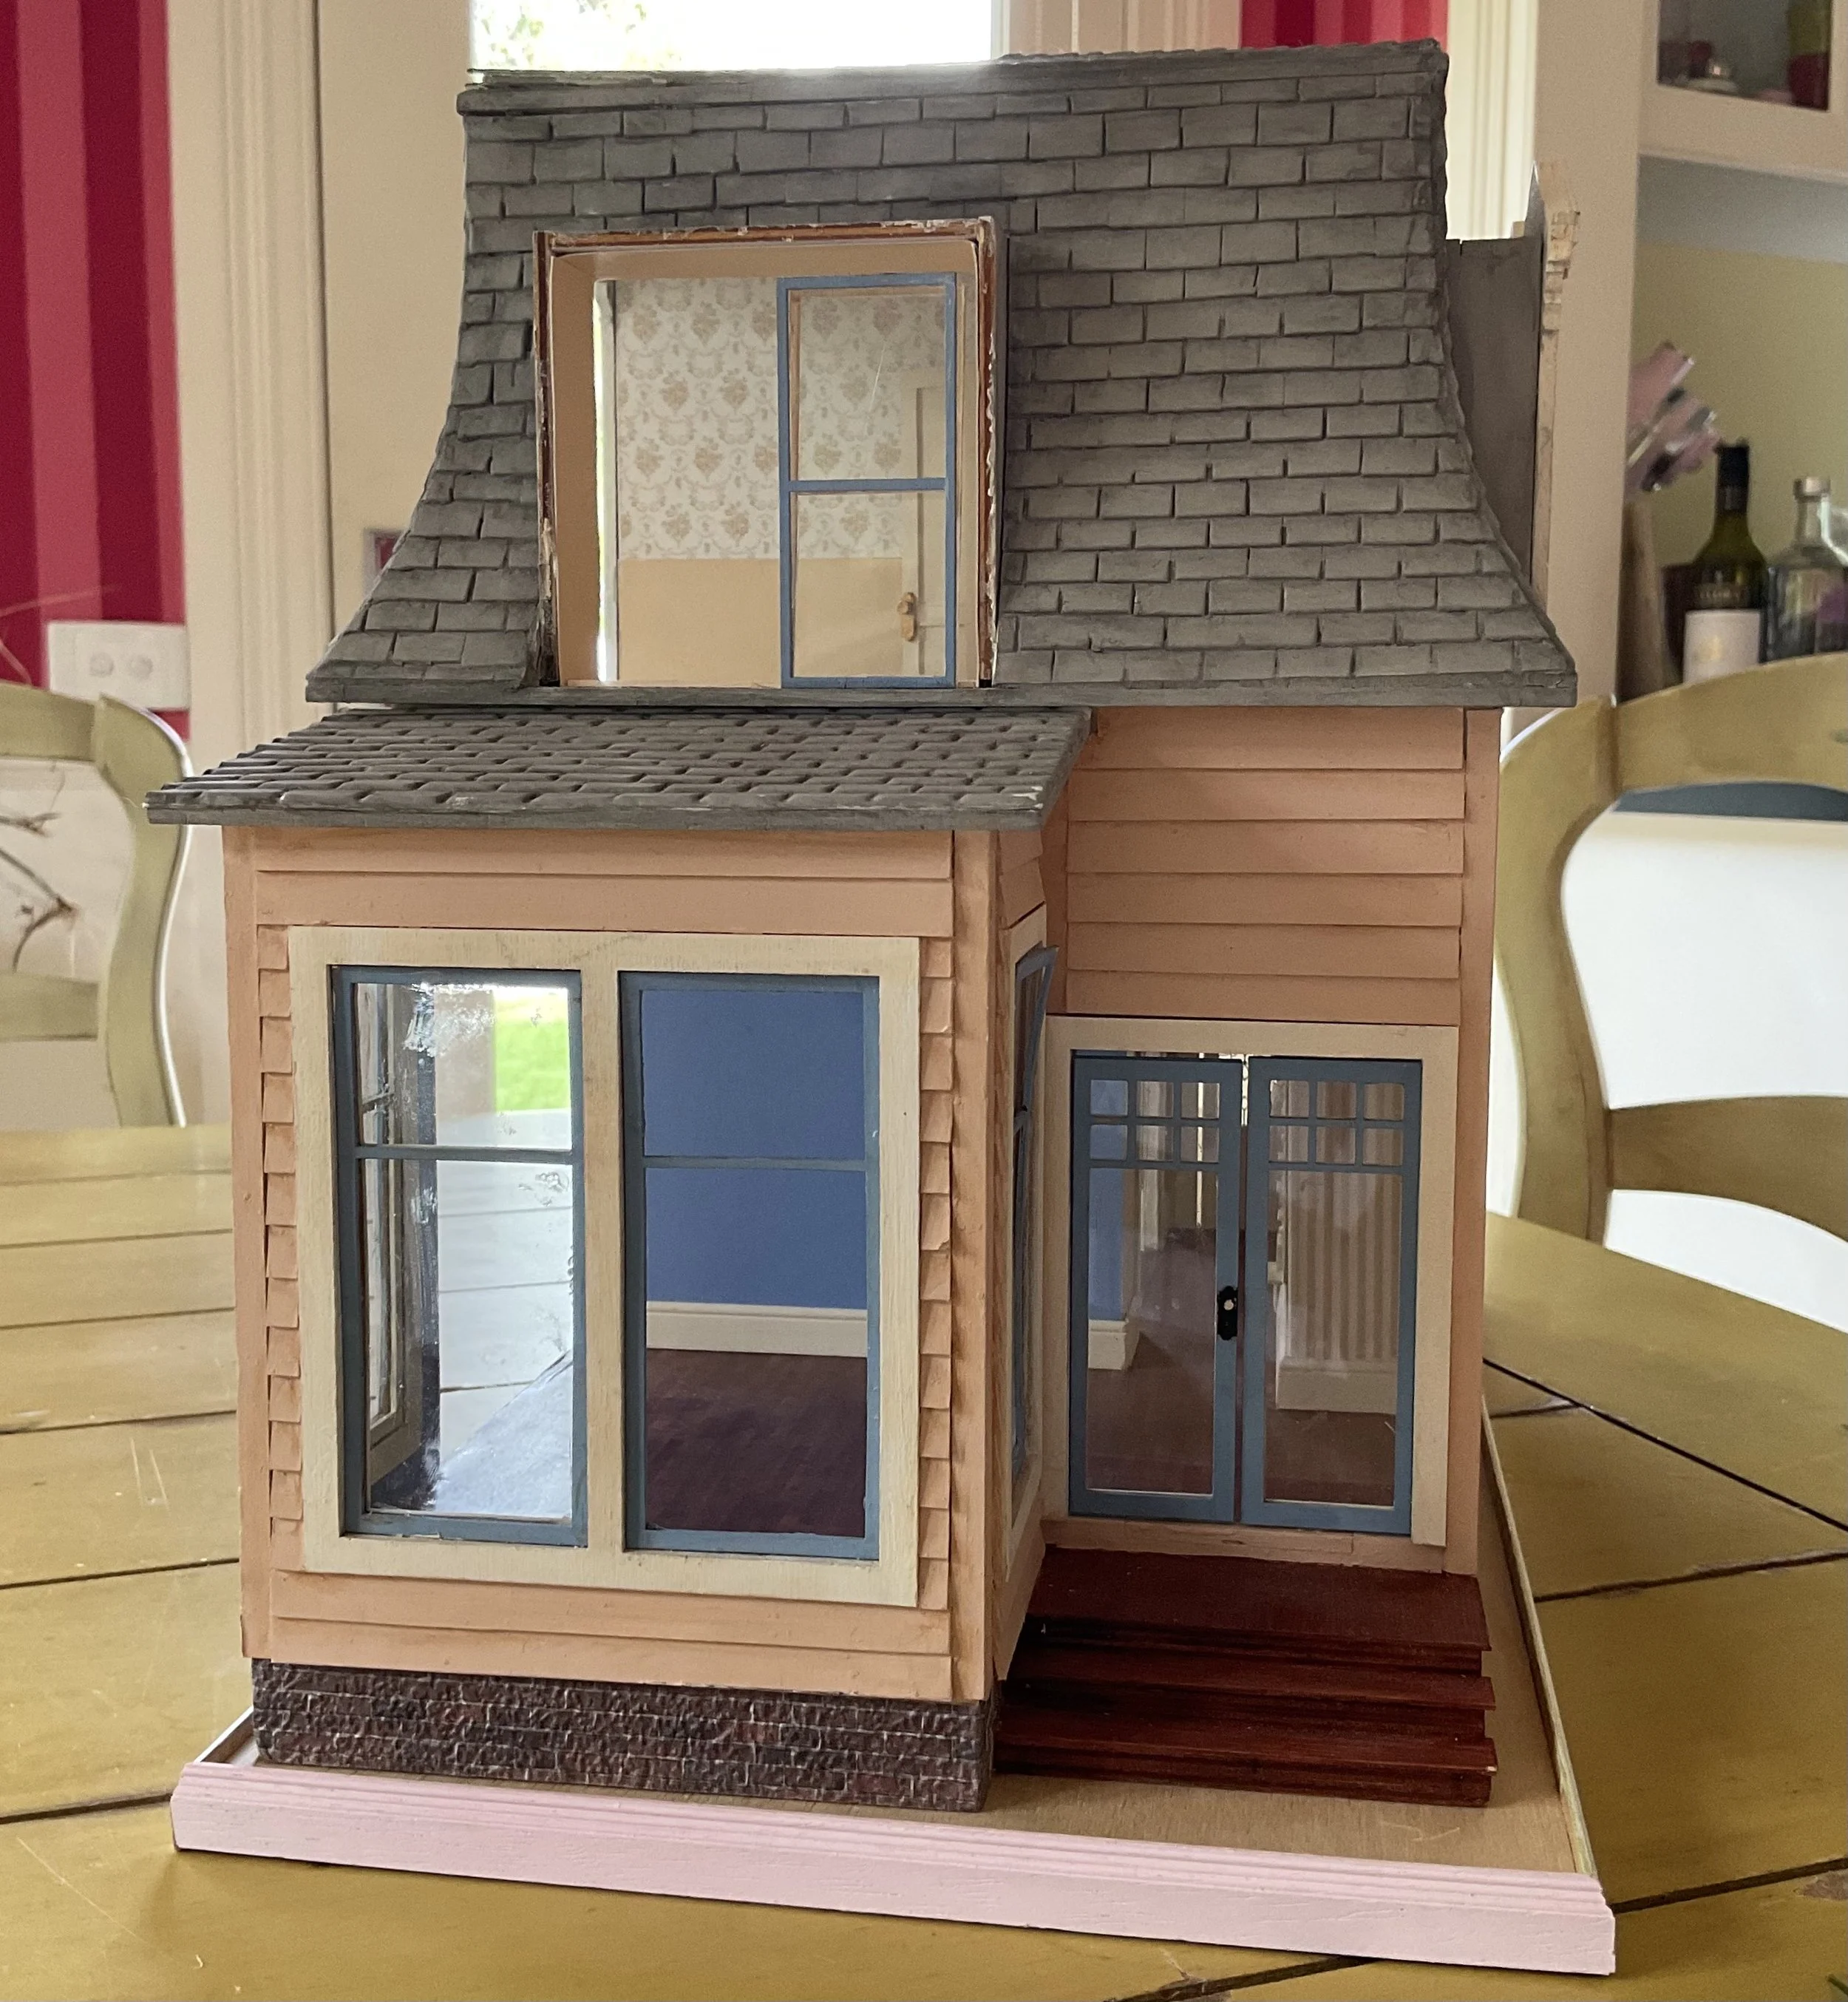
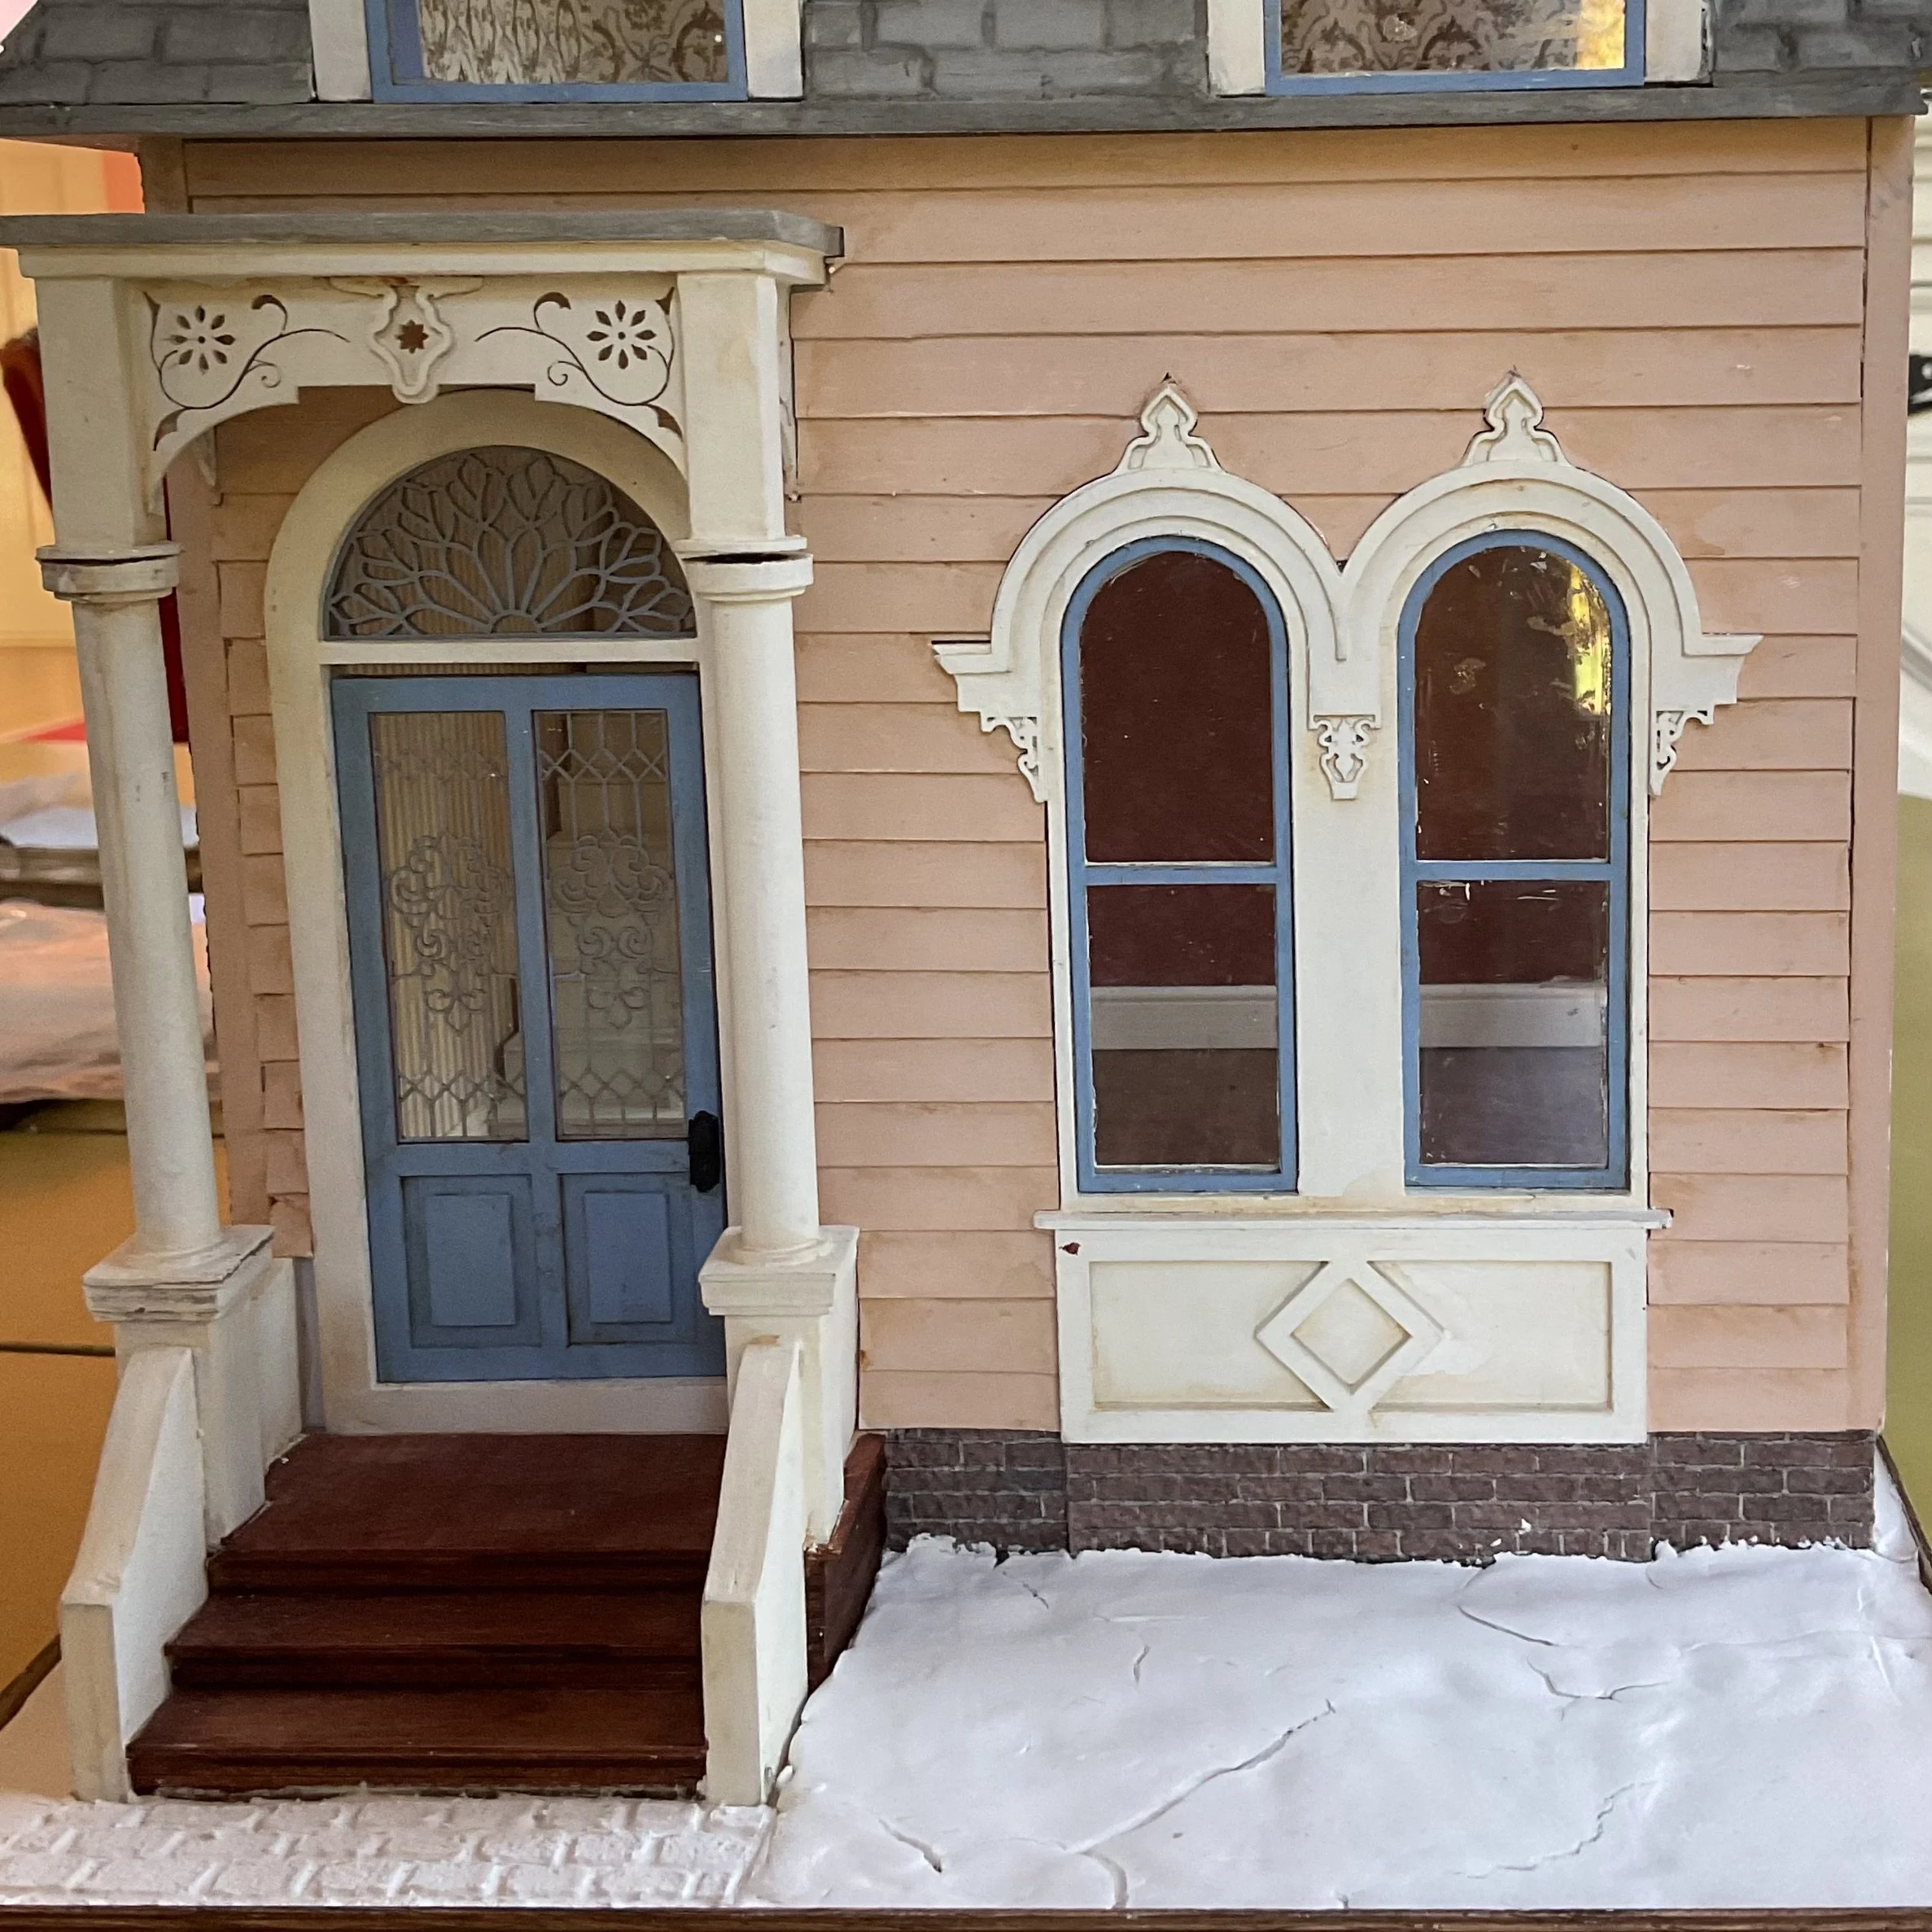
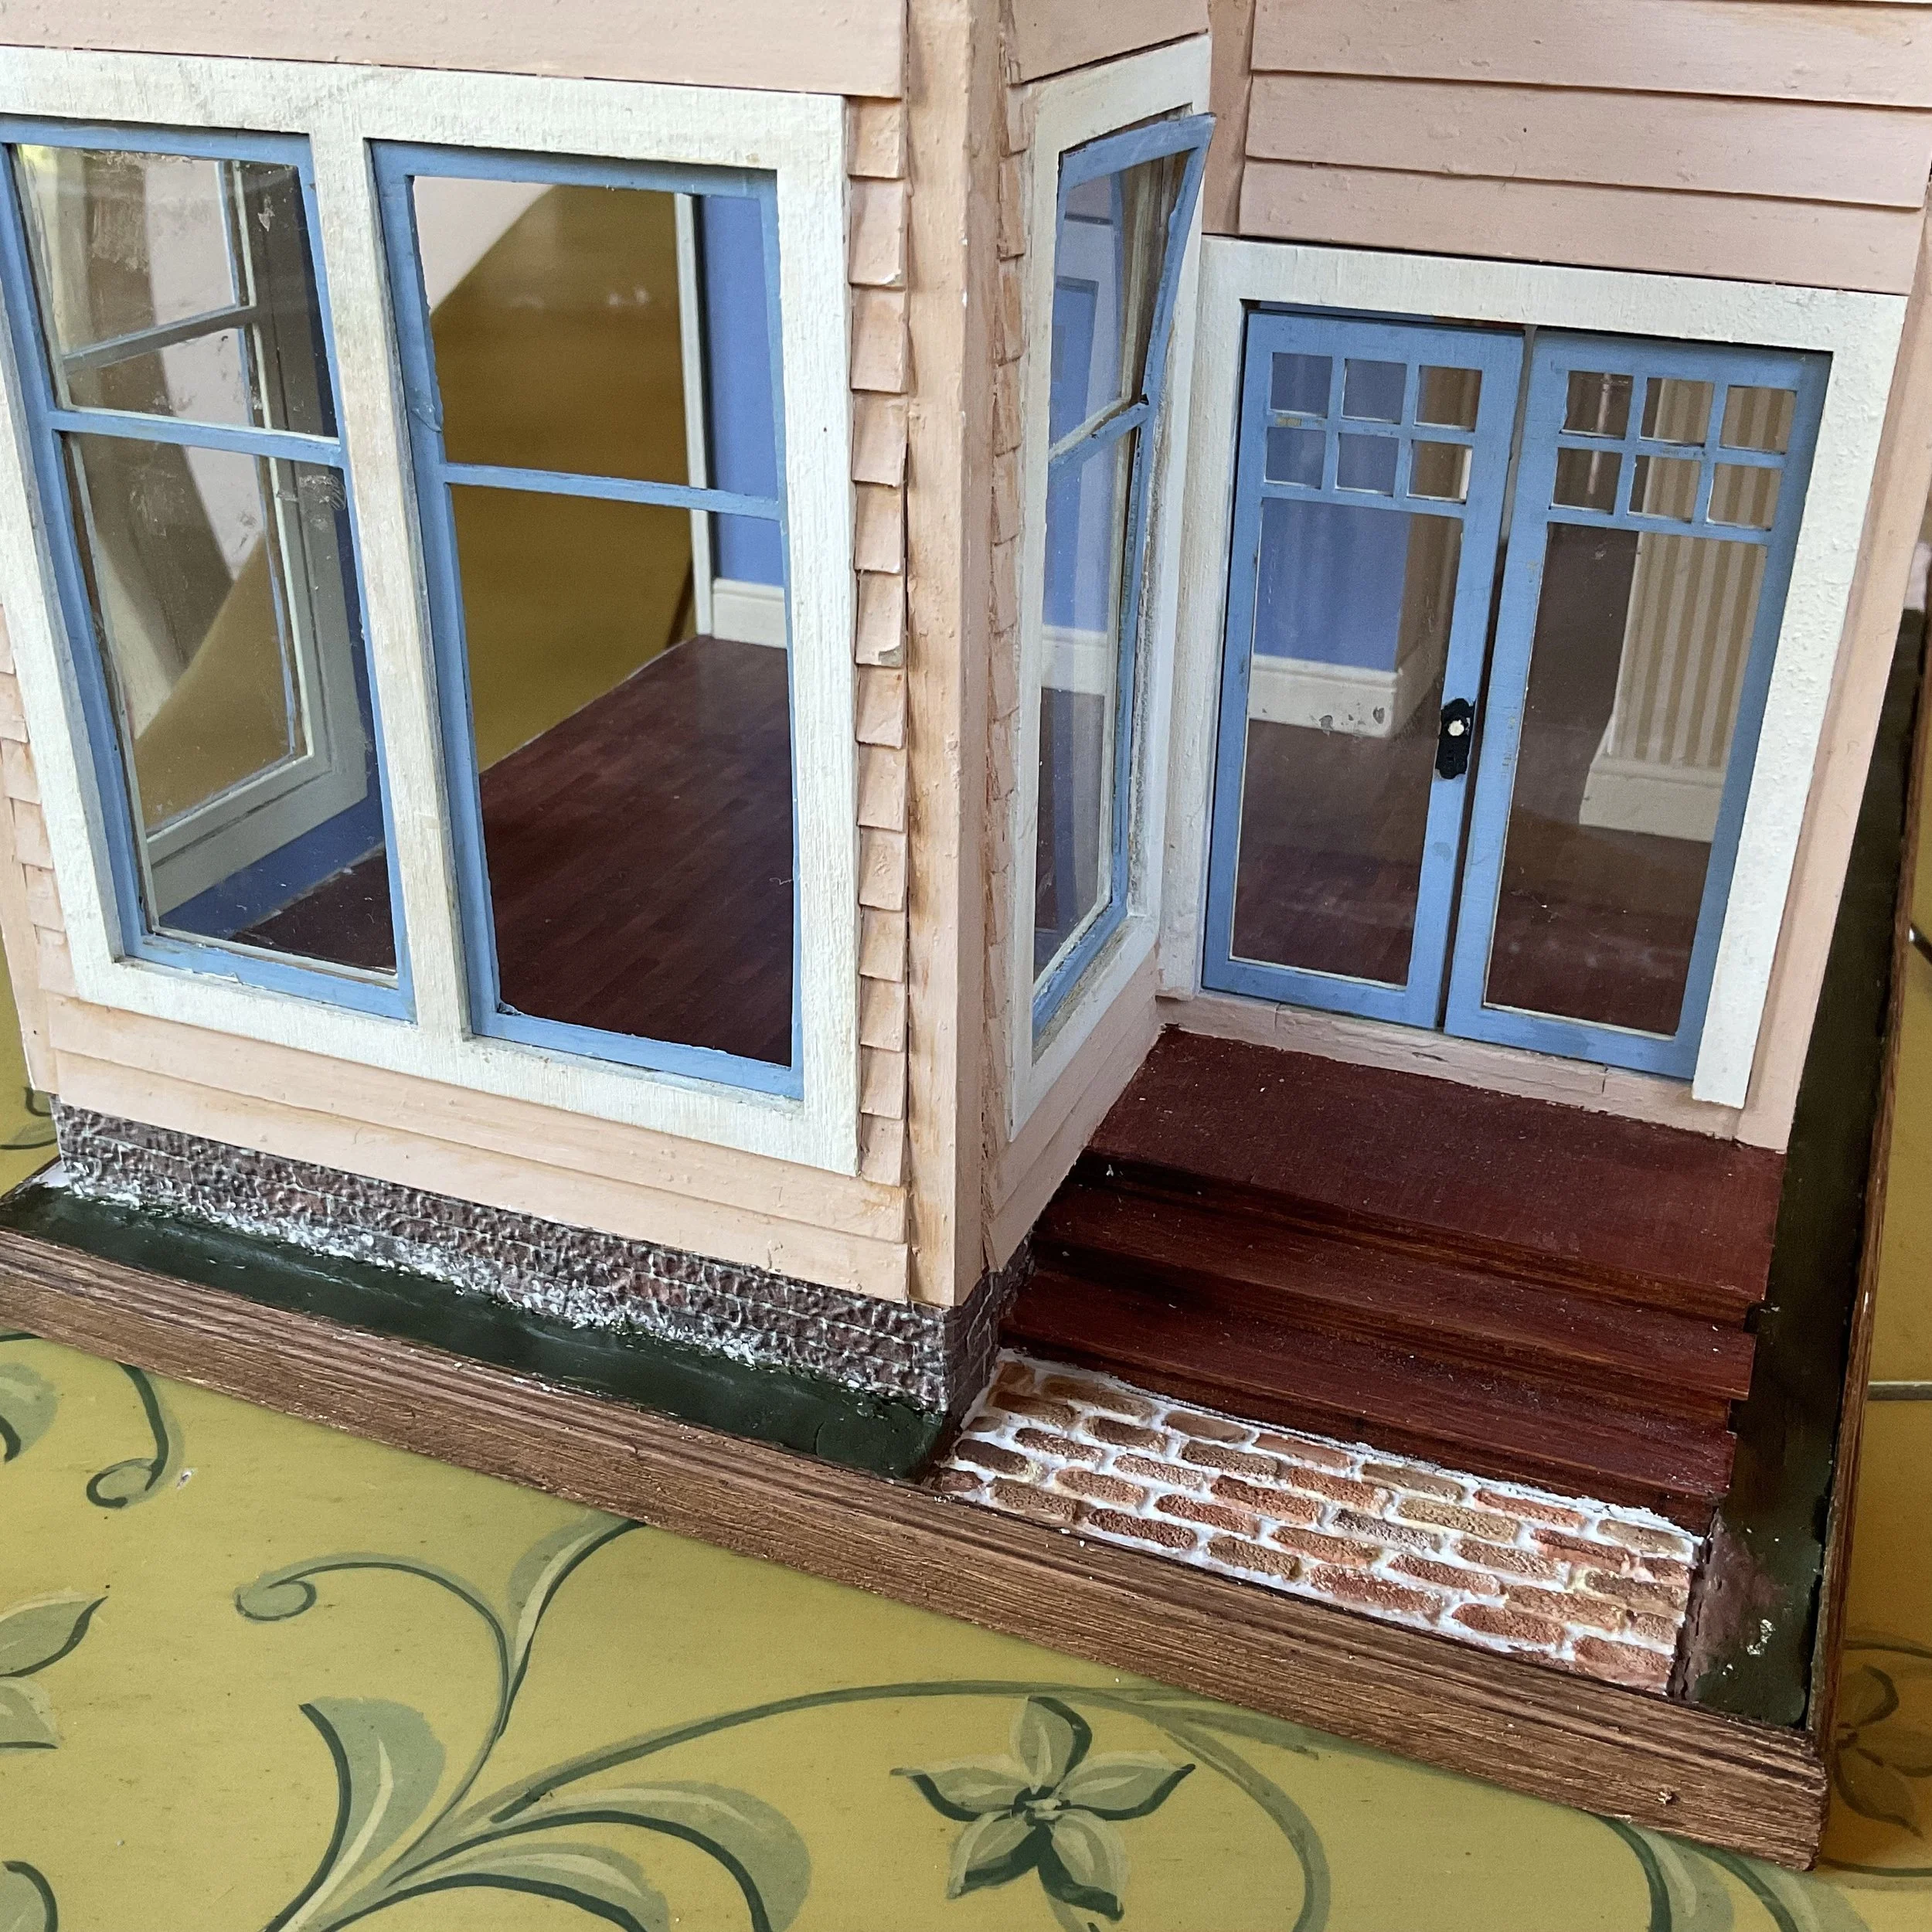
My Nob Hill display house is looking a bit shabby as it gets a bit knocked about being carted to and fro, with the front porch falling off when setting up for the recent Sydney mini show. I have attached it to a small plywood base trimmed with some 1:12 scale skirting. Using air dry clay, I added some paving paths and built up the base so that it was about the same height as the skirting (which was a bit too tall for the base I used and I wanted the grass to be level with it). I painted the paving and bits of the grassed area, especially around the edges, so that the white clay wouldn't peek out of the edge of the grass.
Base added with 1:12 skirting trim around edge.
Air dry clay paving and grass base.
Pavers painted (I used watery washes or terra cotta, brown x2 and yellow ochre) and grass base painted green.
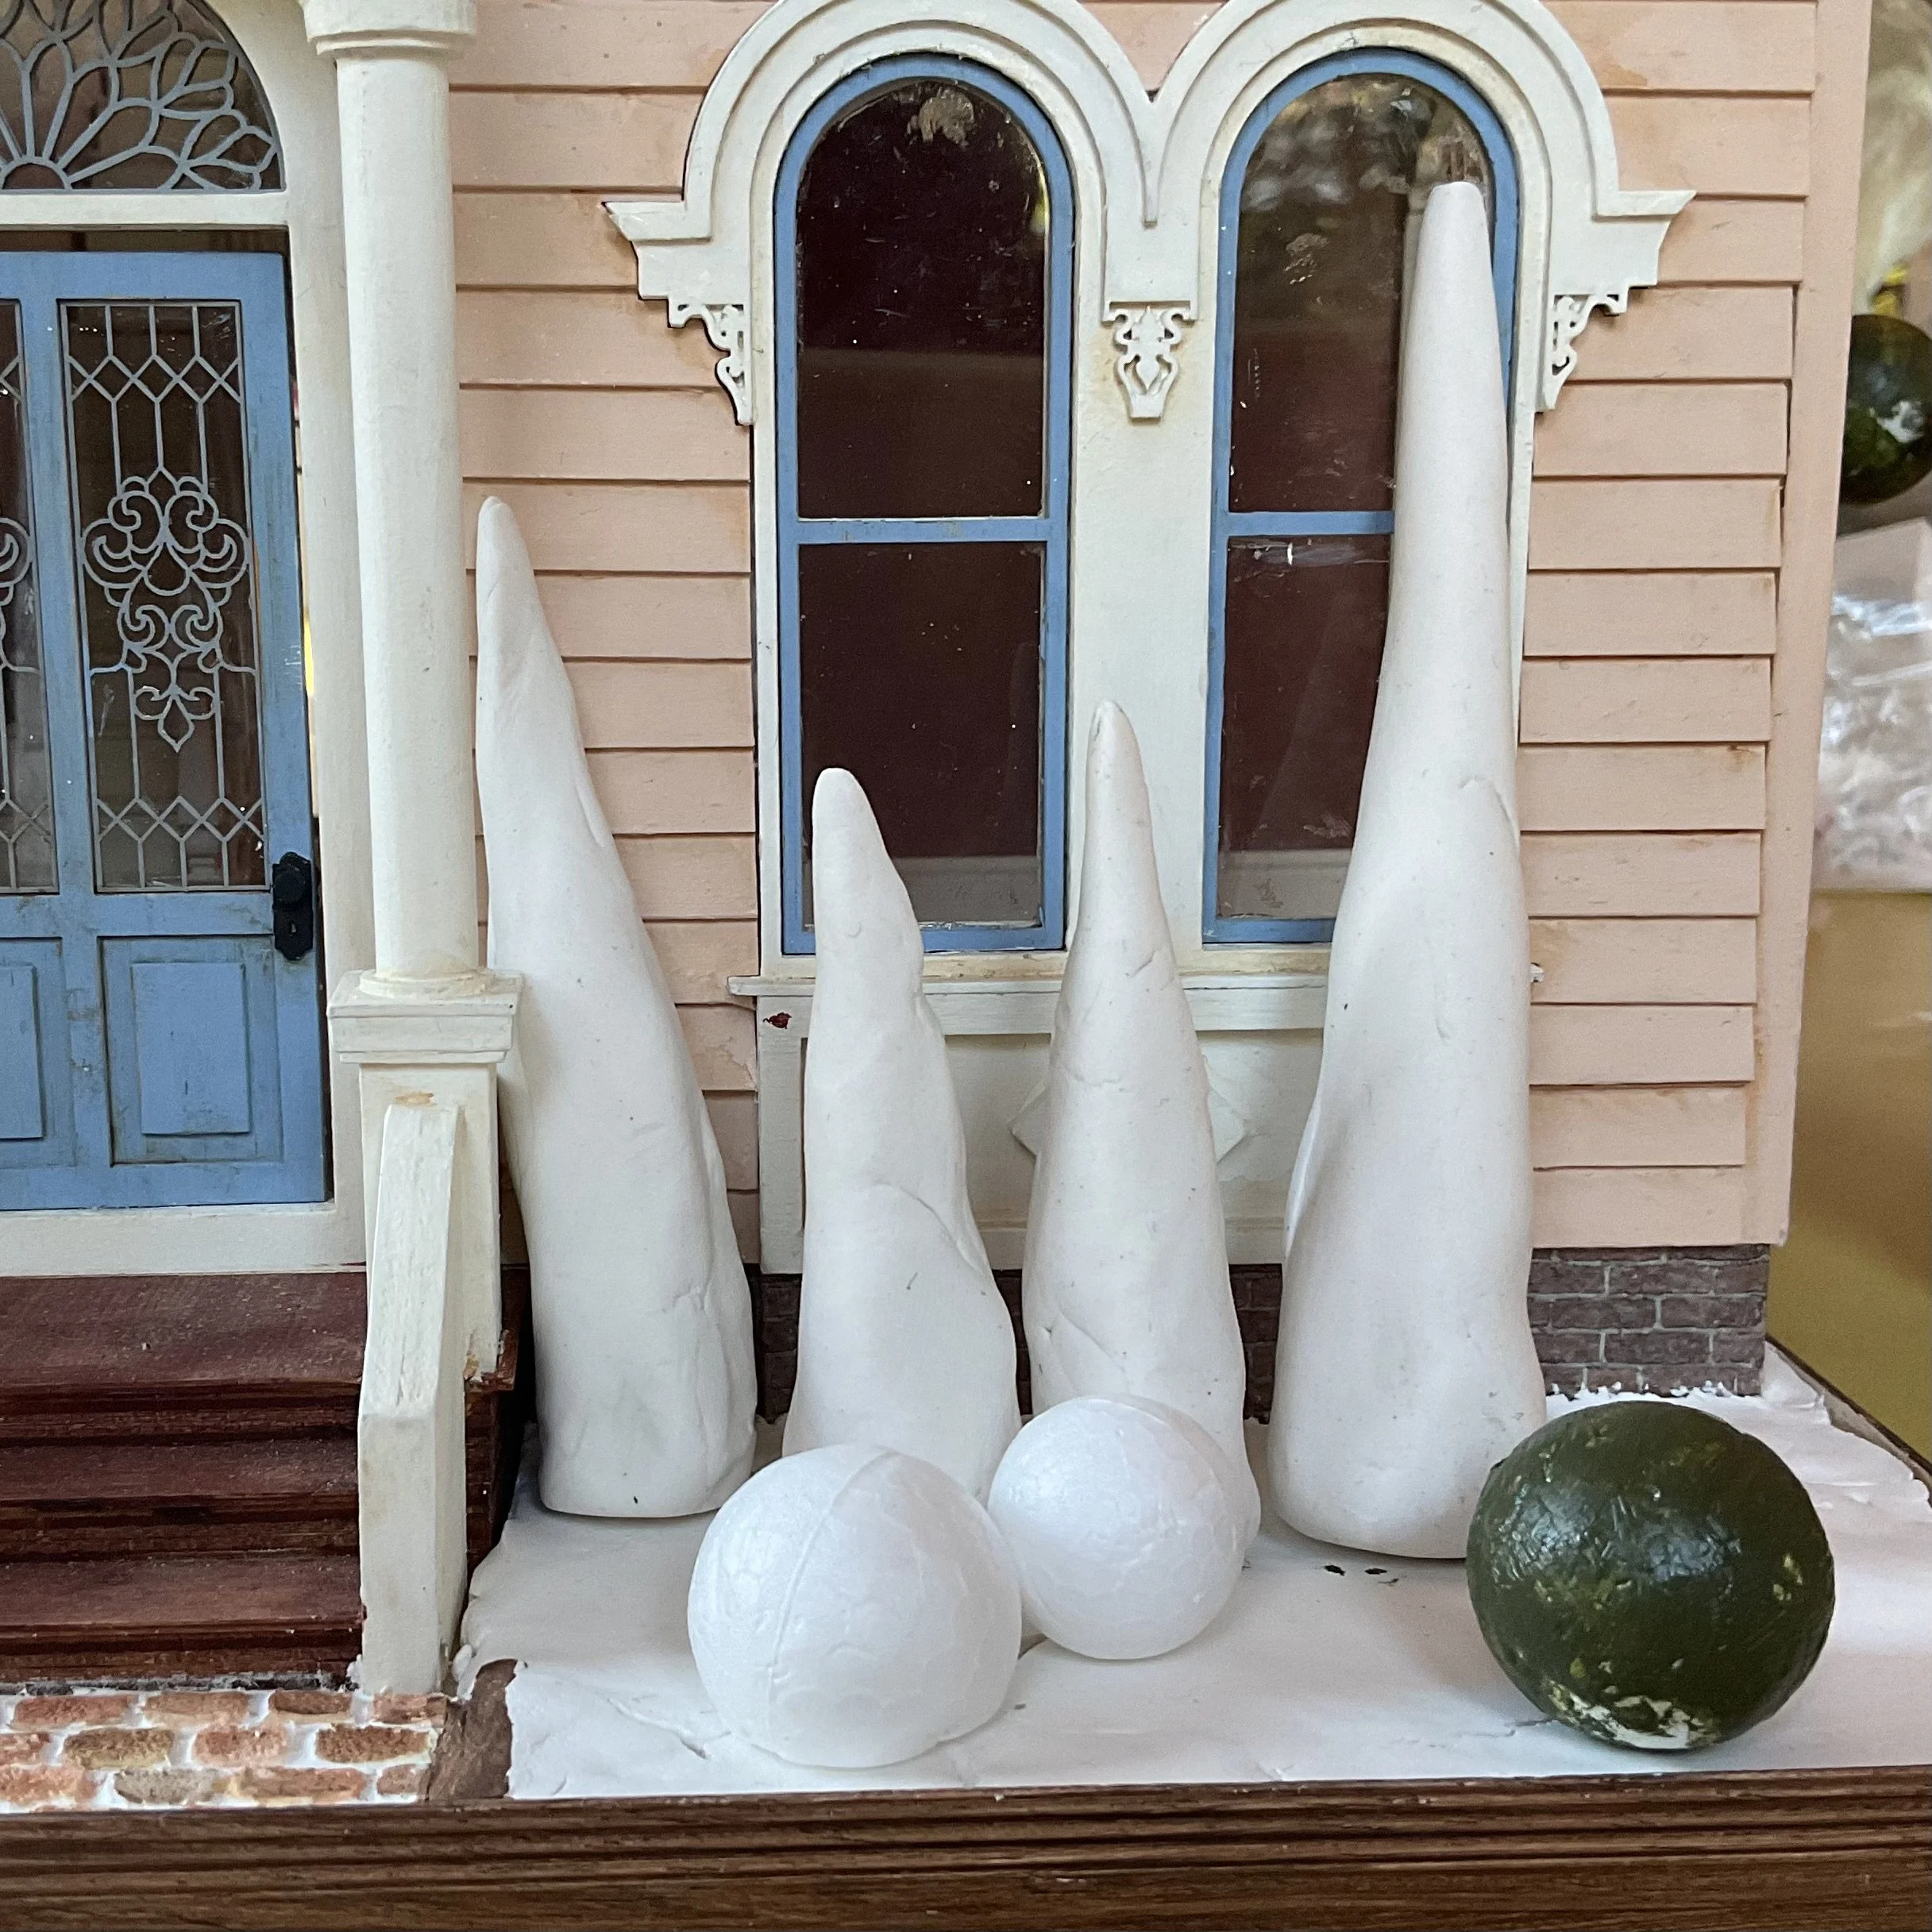
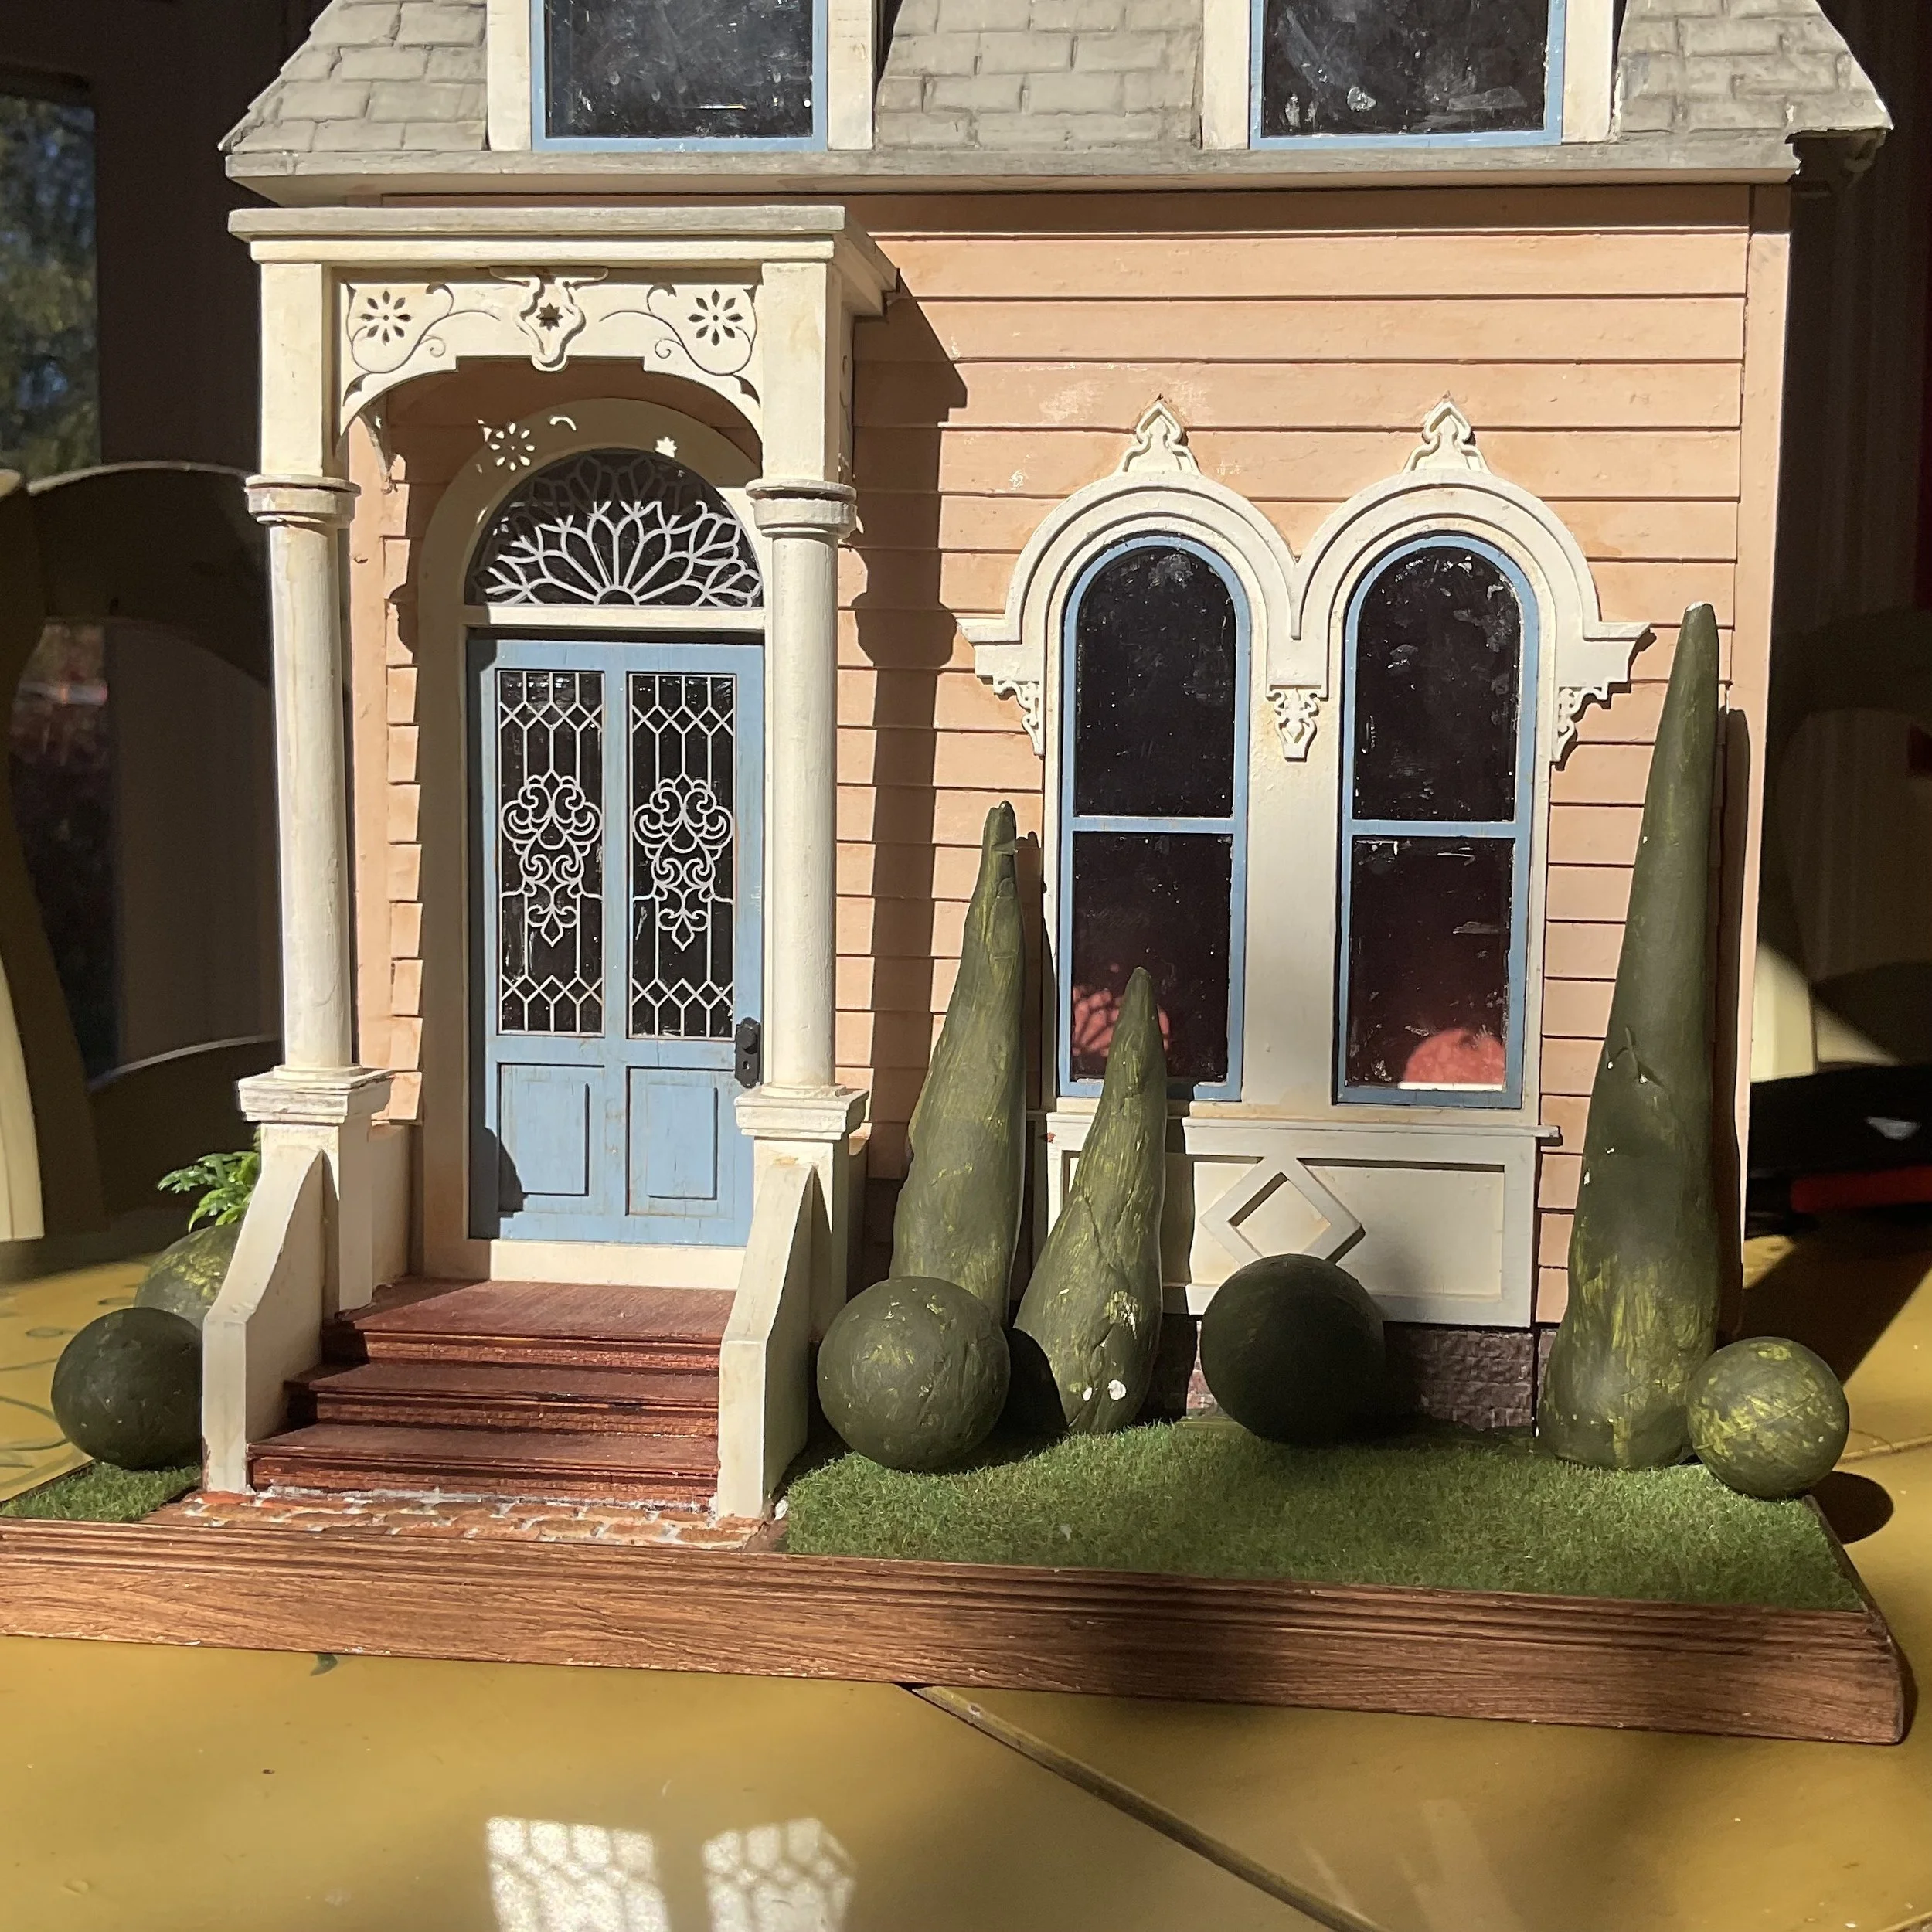
Then we want some grass and shrubs. I've used a sheet of model railroad landscaping grass, which is on a very thin paper back, so it moulds to the substrate really easily. I made up some shrub shapes using airdry clay (a really useful way of using up clay that has dried out a bit) and also some small polystyrene balls. I painted them green and then spent a few days testing a layout. (Tip: test different layouts, take a photo of each and look at them over the space of a week or so. Generally I find that a design will jump out at me.)
Polystyrene balls and air dry clay shrub shapes.
Shrubs painted and model railroad grass added (and not happy with the layout).
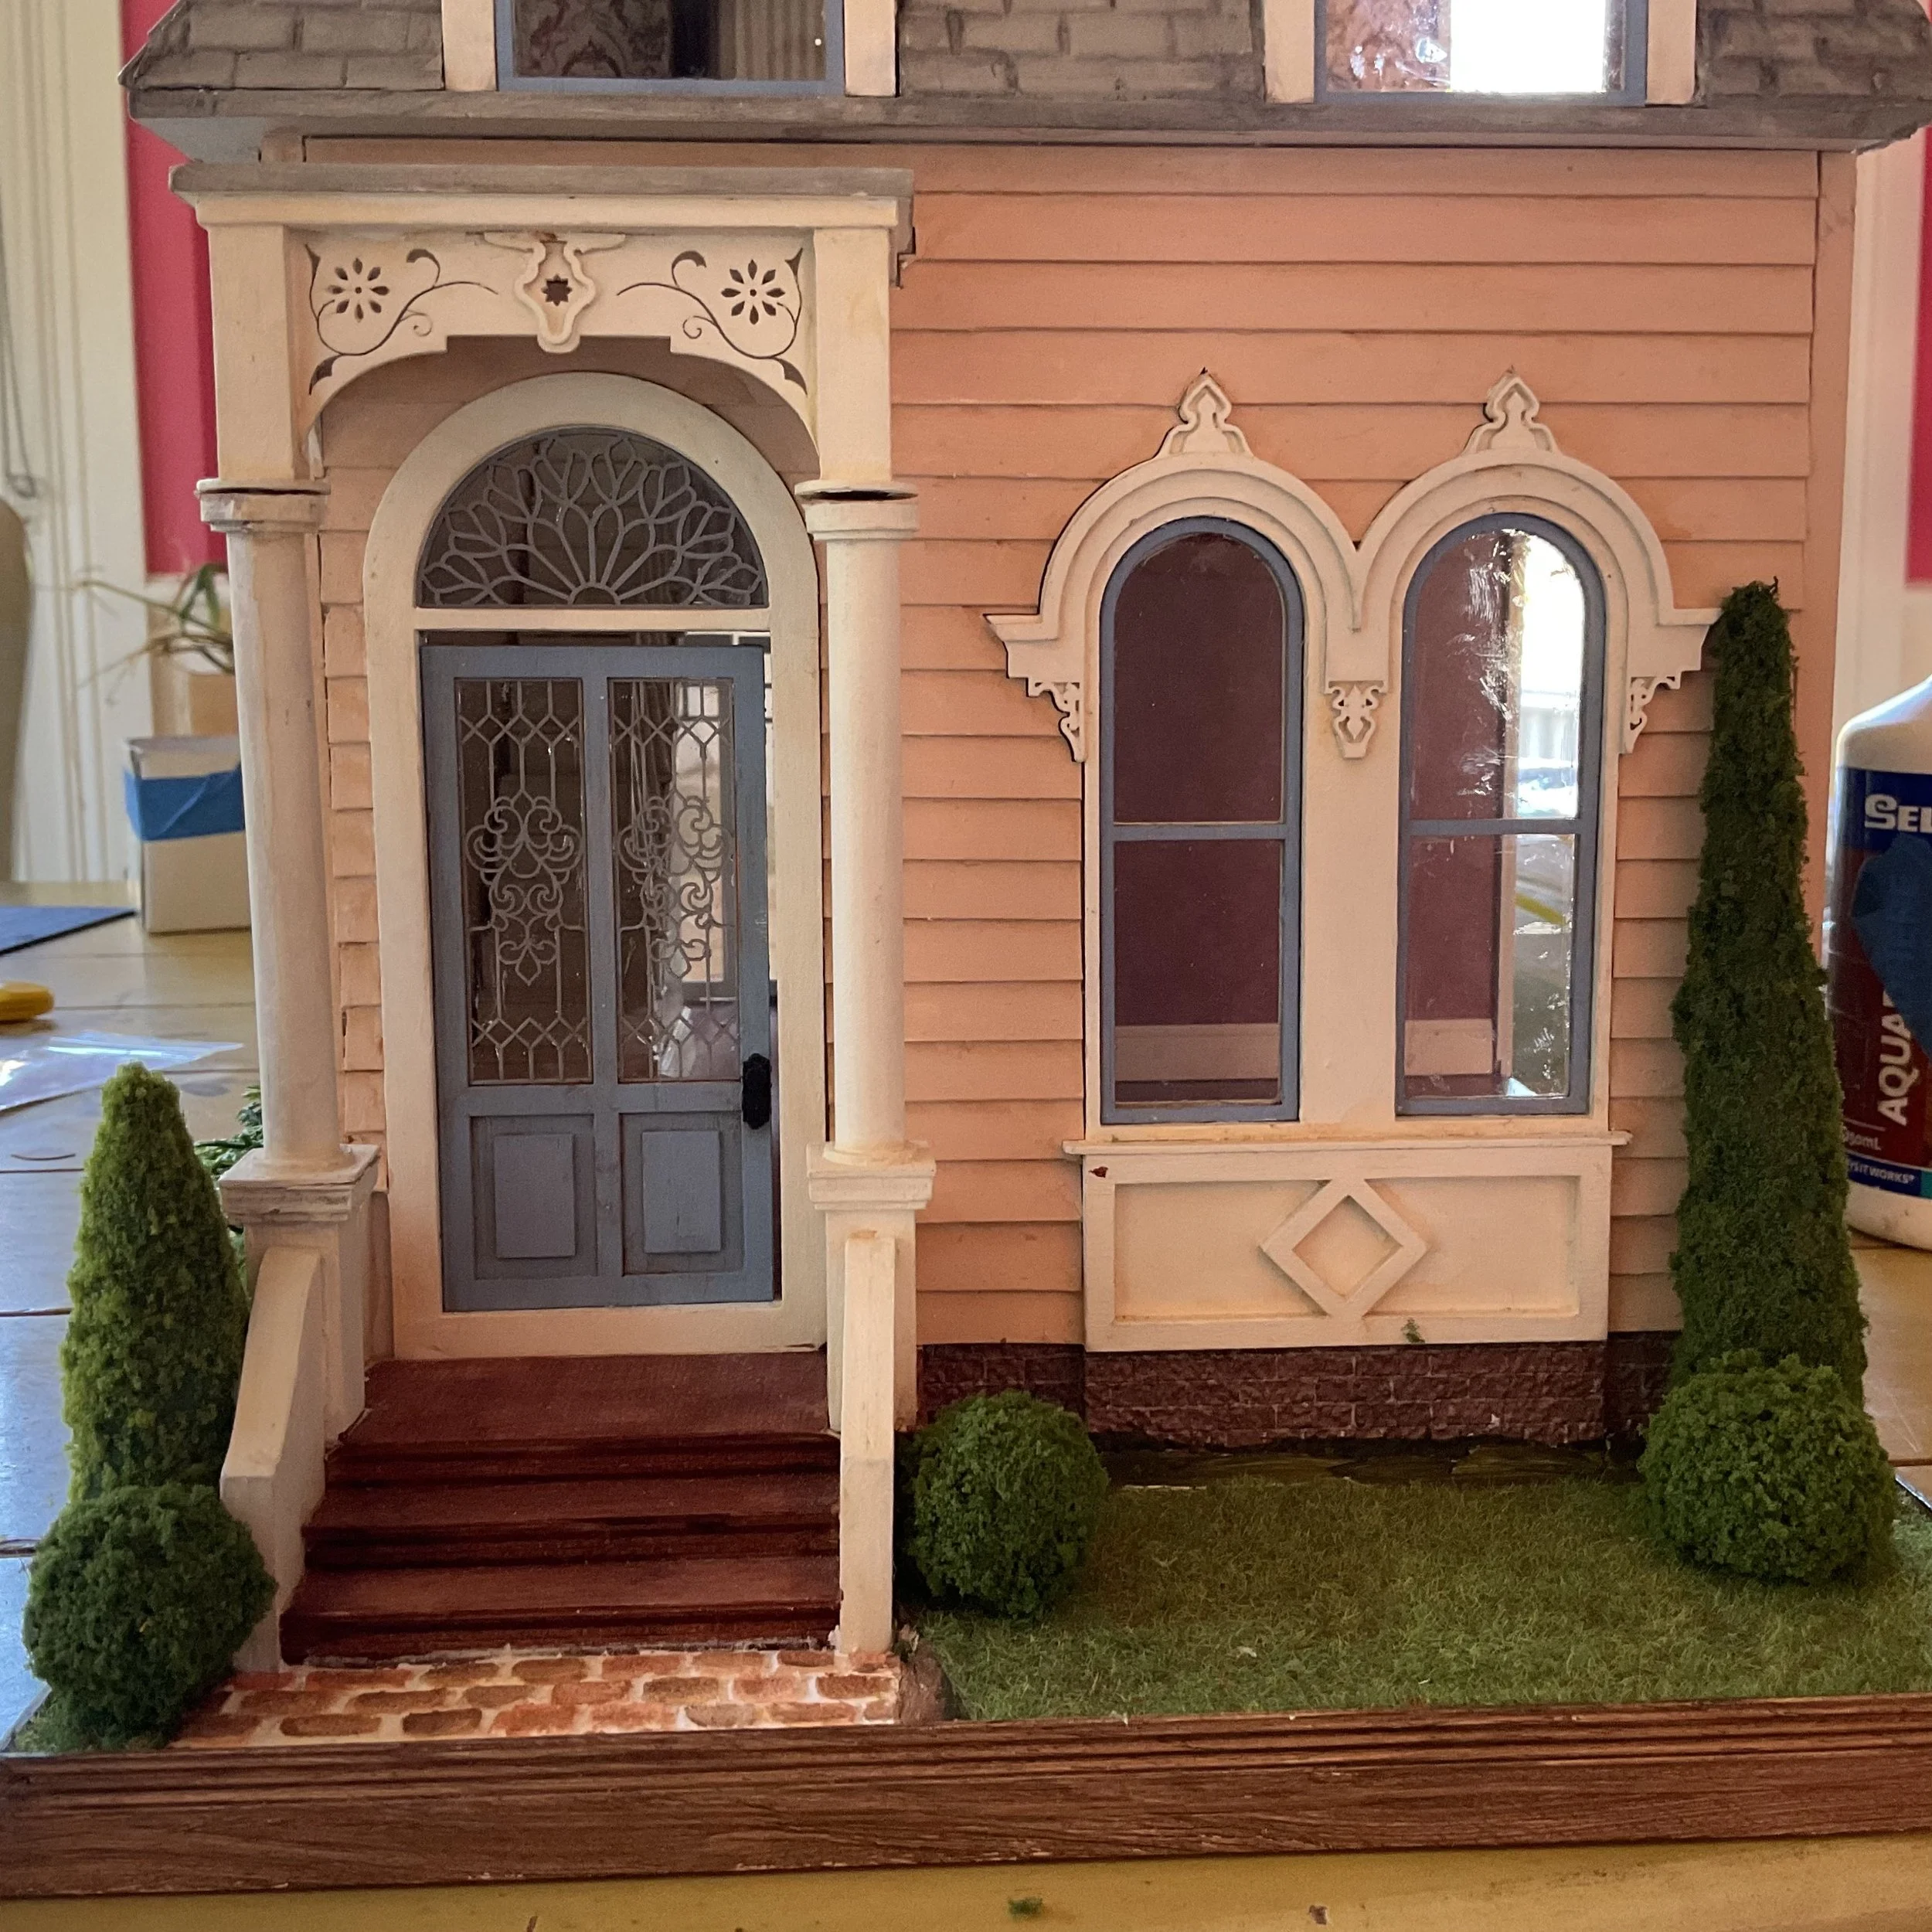
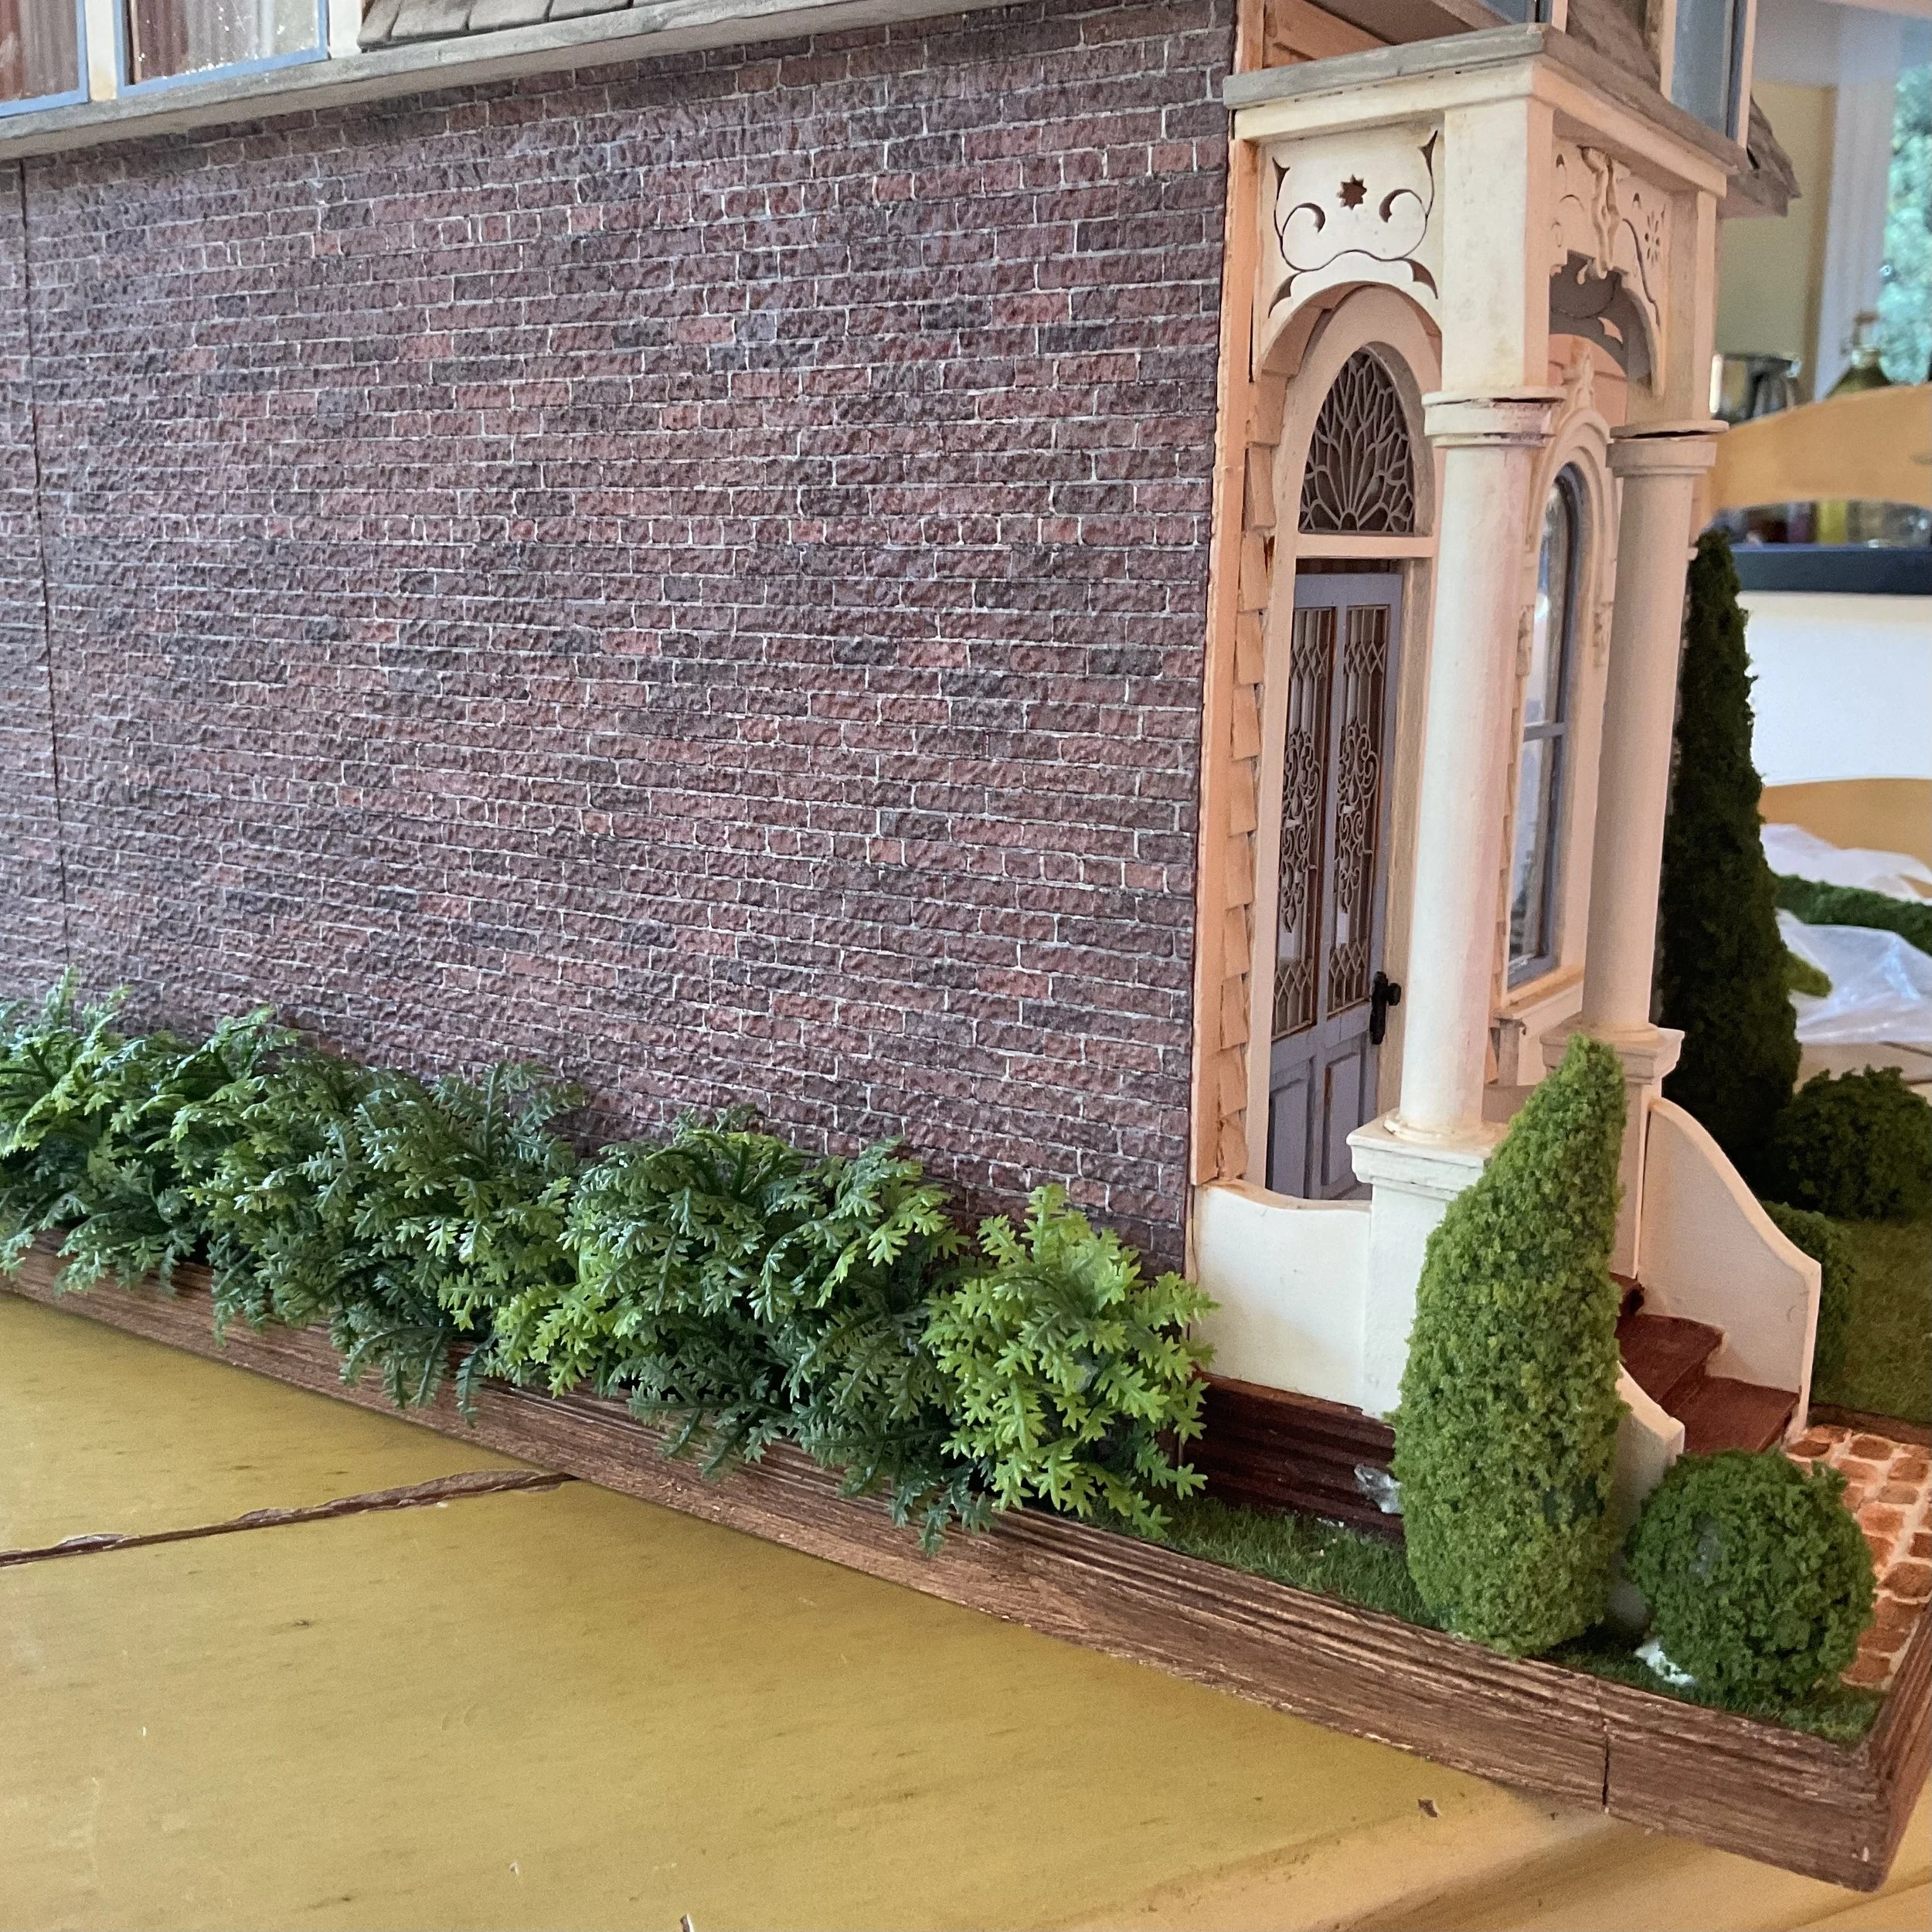
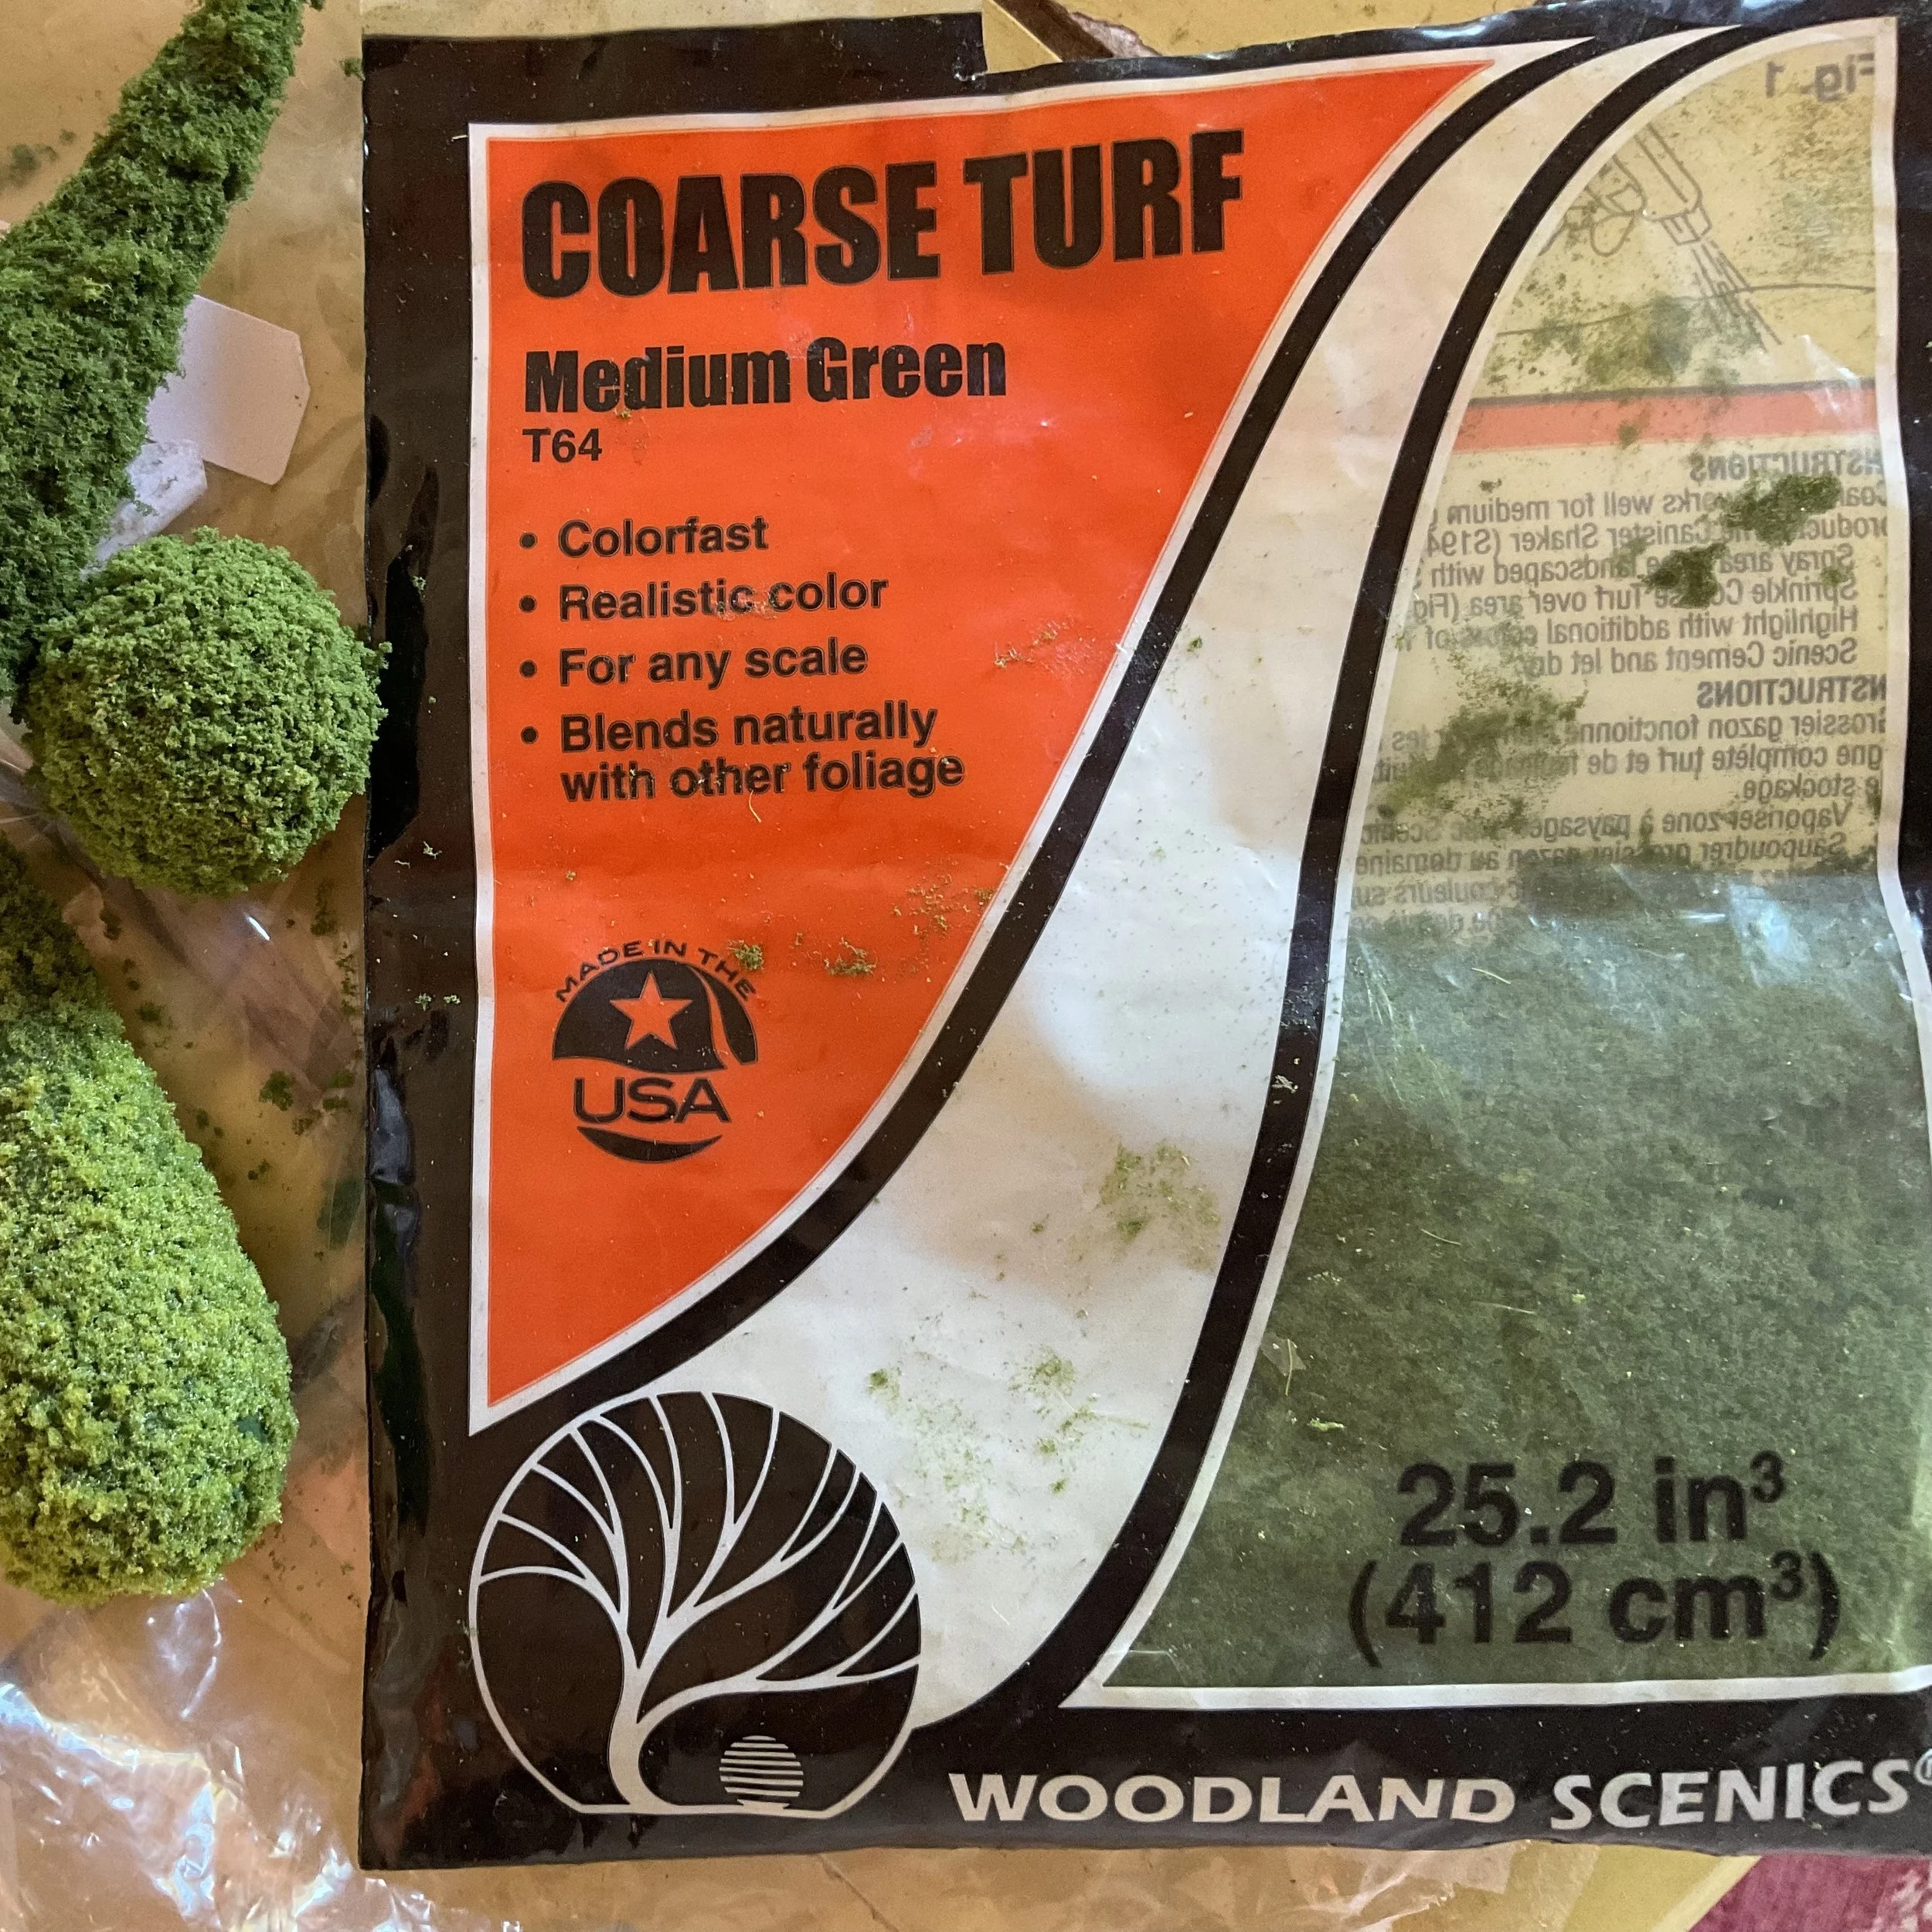
The next step is to cover my little shrub shapes in model railroad landscape scatter. The last photo shows the type of stuff I use (plus other brands/colours of similar stuff). These shrubs make really good fillers and 'bones' for the landscaping, adding structure/form/variation/etc. I think a vine is needed for the right side of the porch. Also the shrubs along the left side are little pieces of plastic parsley type floristry greenery.
My shrub shapes covered in model railroad landscape scatter.
These bushes along the side are plastic floristry parsley type plants from my local craft shop (I cut little tufts and ‘planted’ then, then filled in gaps with individual fronds).
One type of scatter I used for some shrubs.
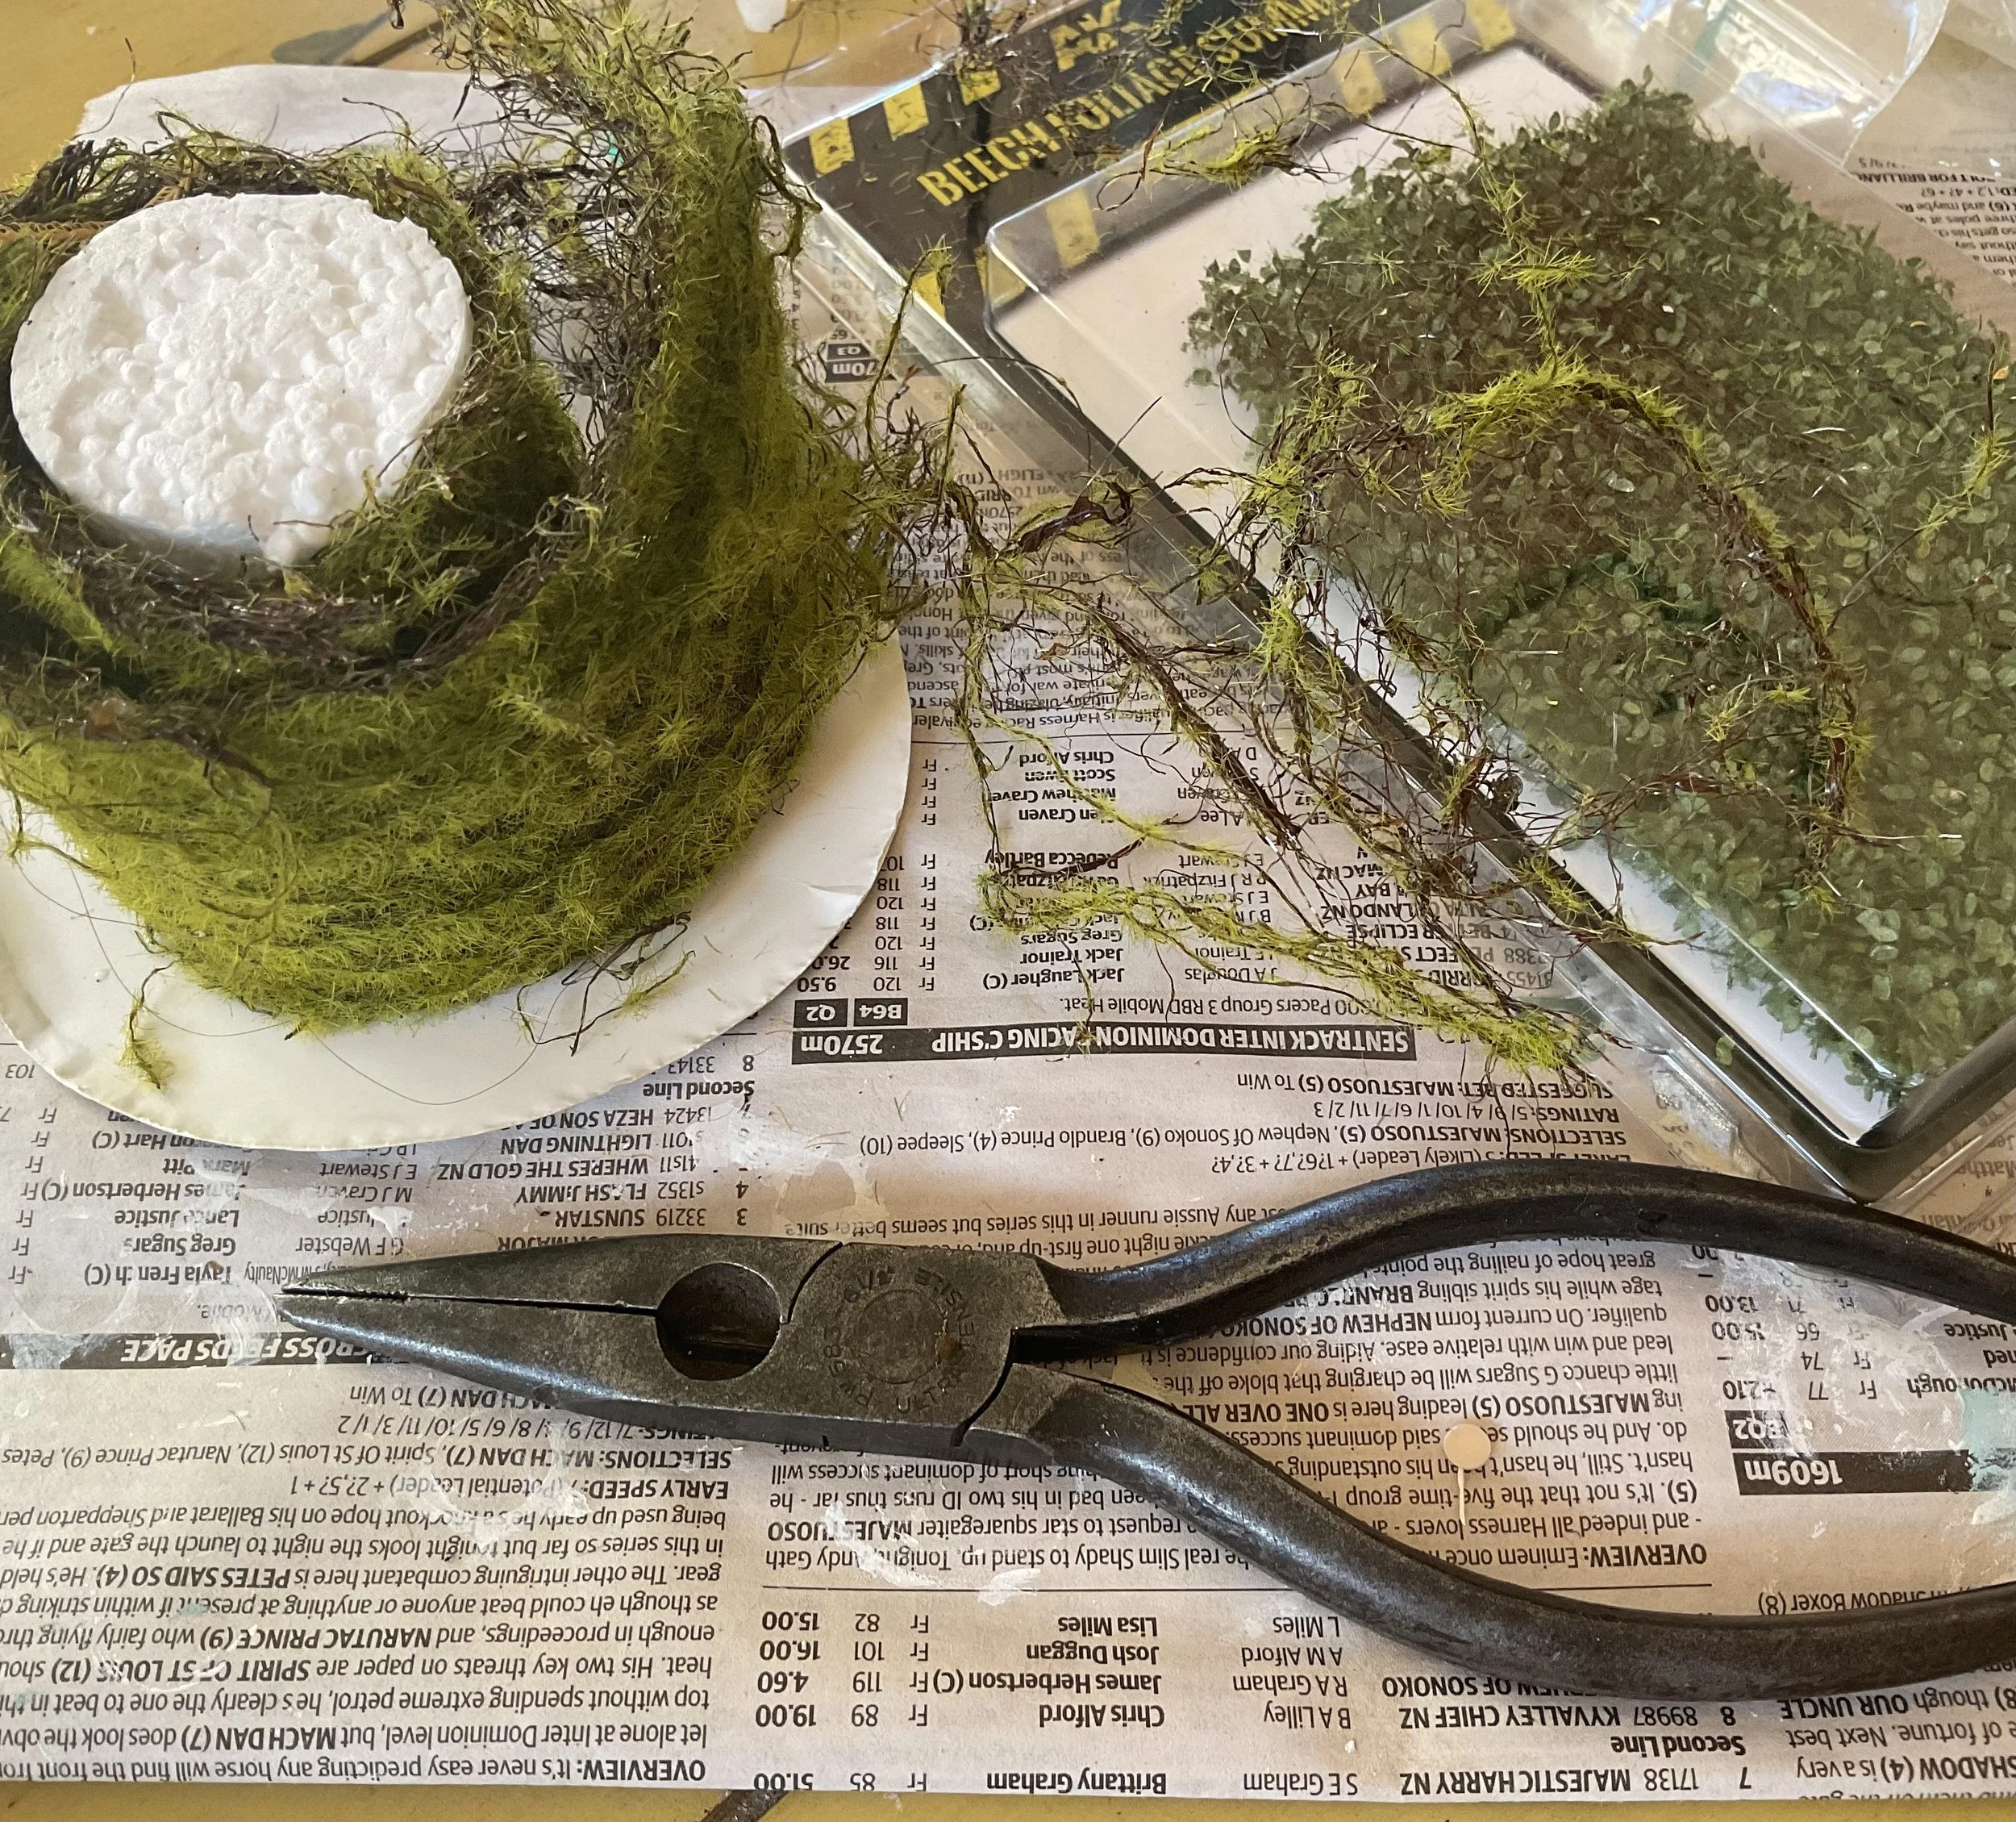
Here are some more materials I have found handy. Firstly is a roll of mossy type stuff, again from the local craft shop floral supplies (be so careful with this - it's fine wire and I have cut/spiked myself so many times, hence the pliers!) and some tiny leaves on a vine material from AK Interactive.
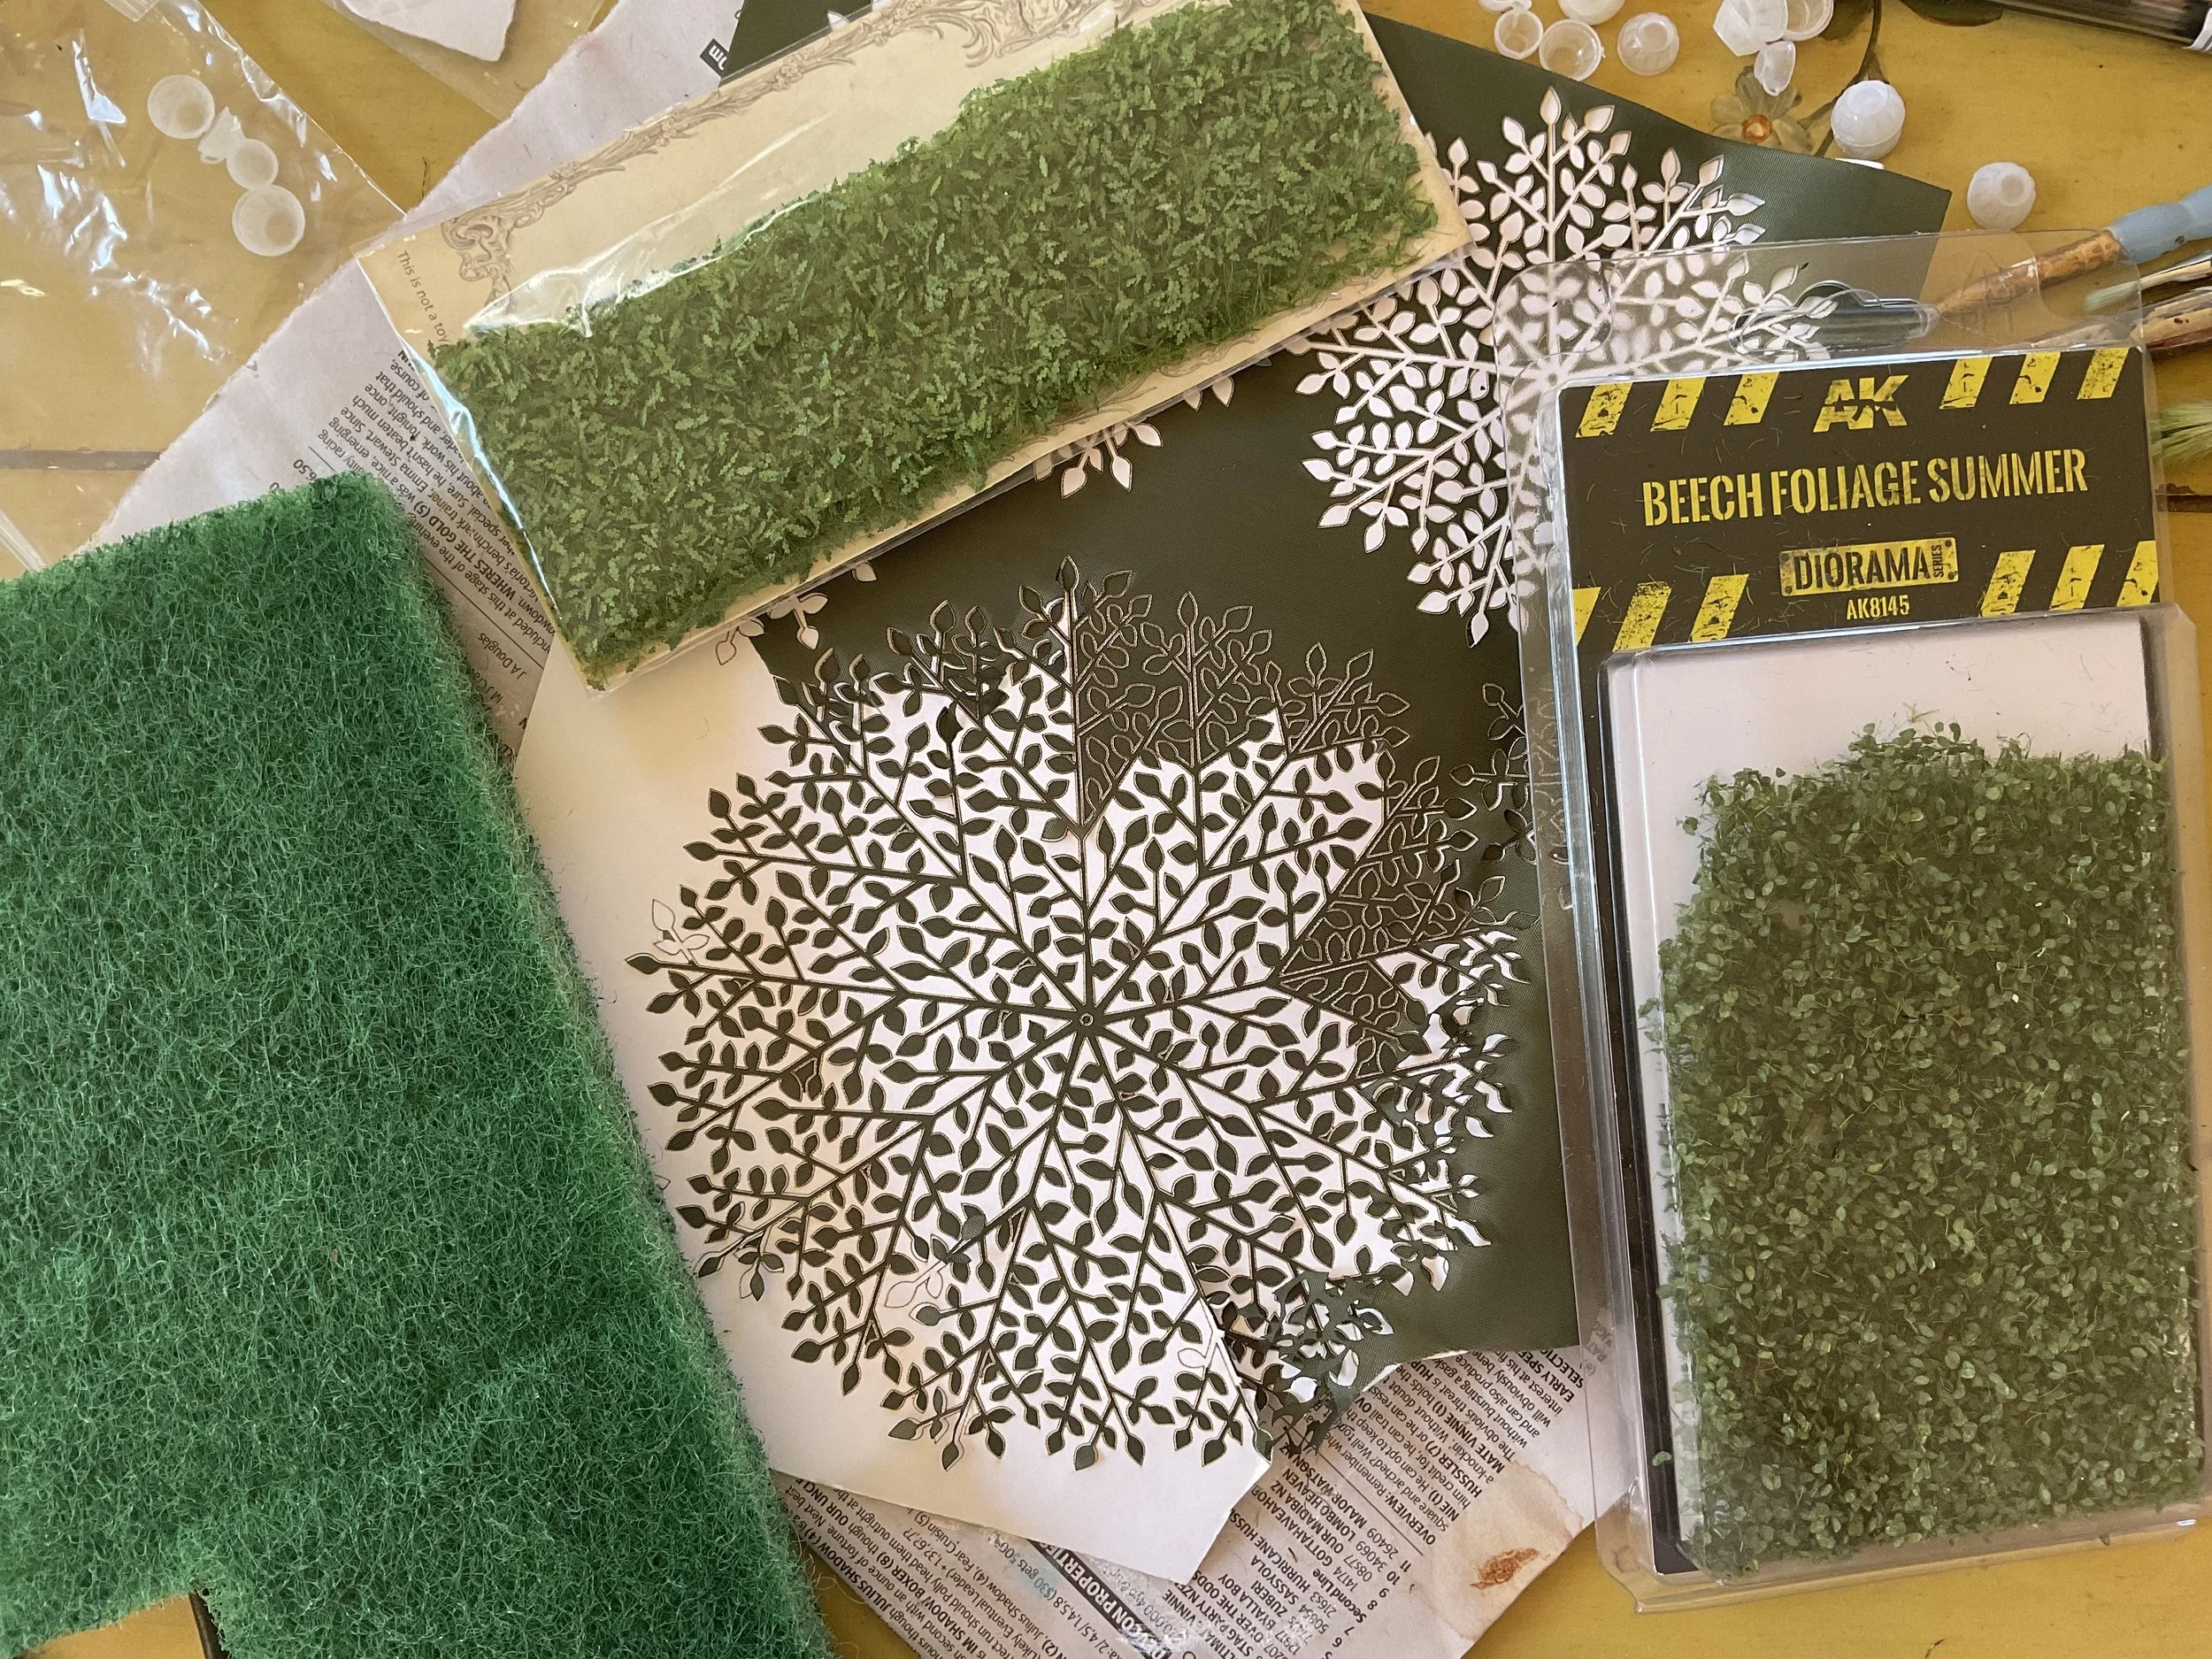
Next photo is leaves on vine material from Art of Mini, fabric leaves that are really great for roses (I just can't remember the name) and green kitchen scrubbers (cut into hedges and glue the landscape scatter over these for really convincing hedges).
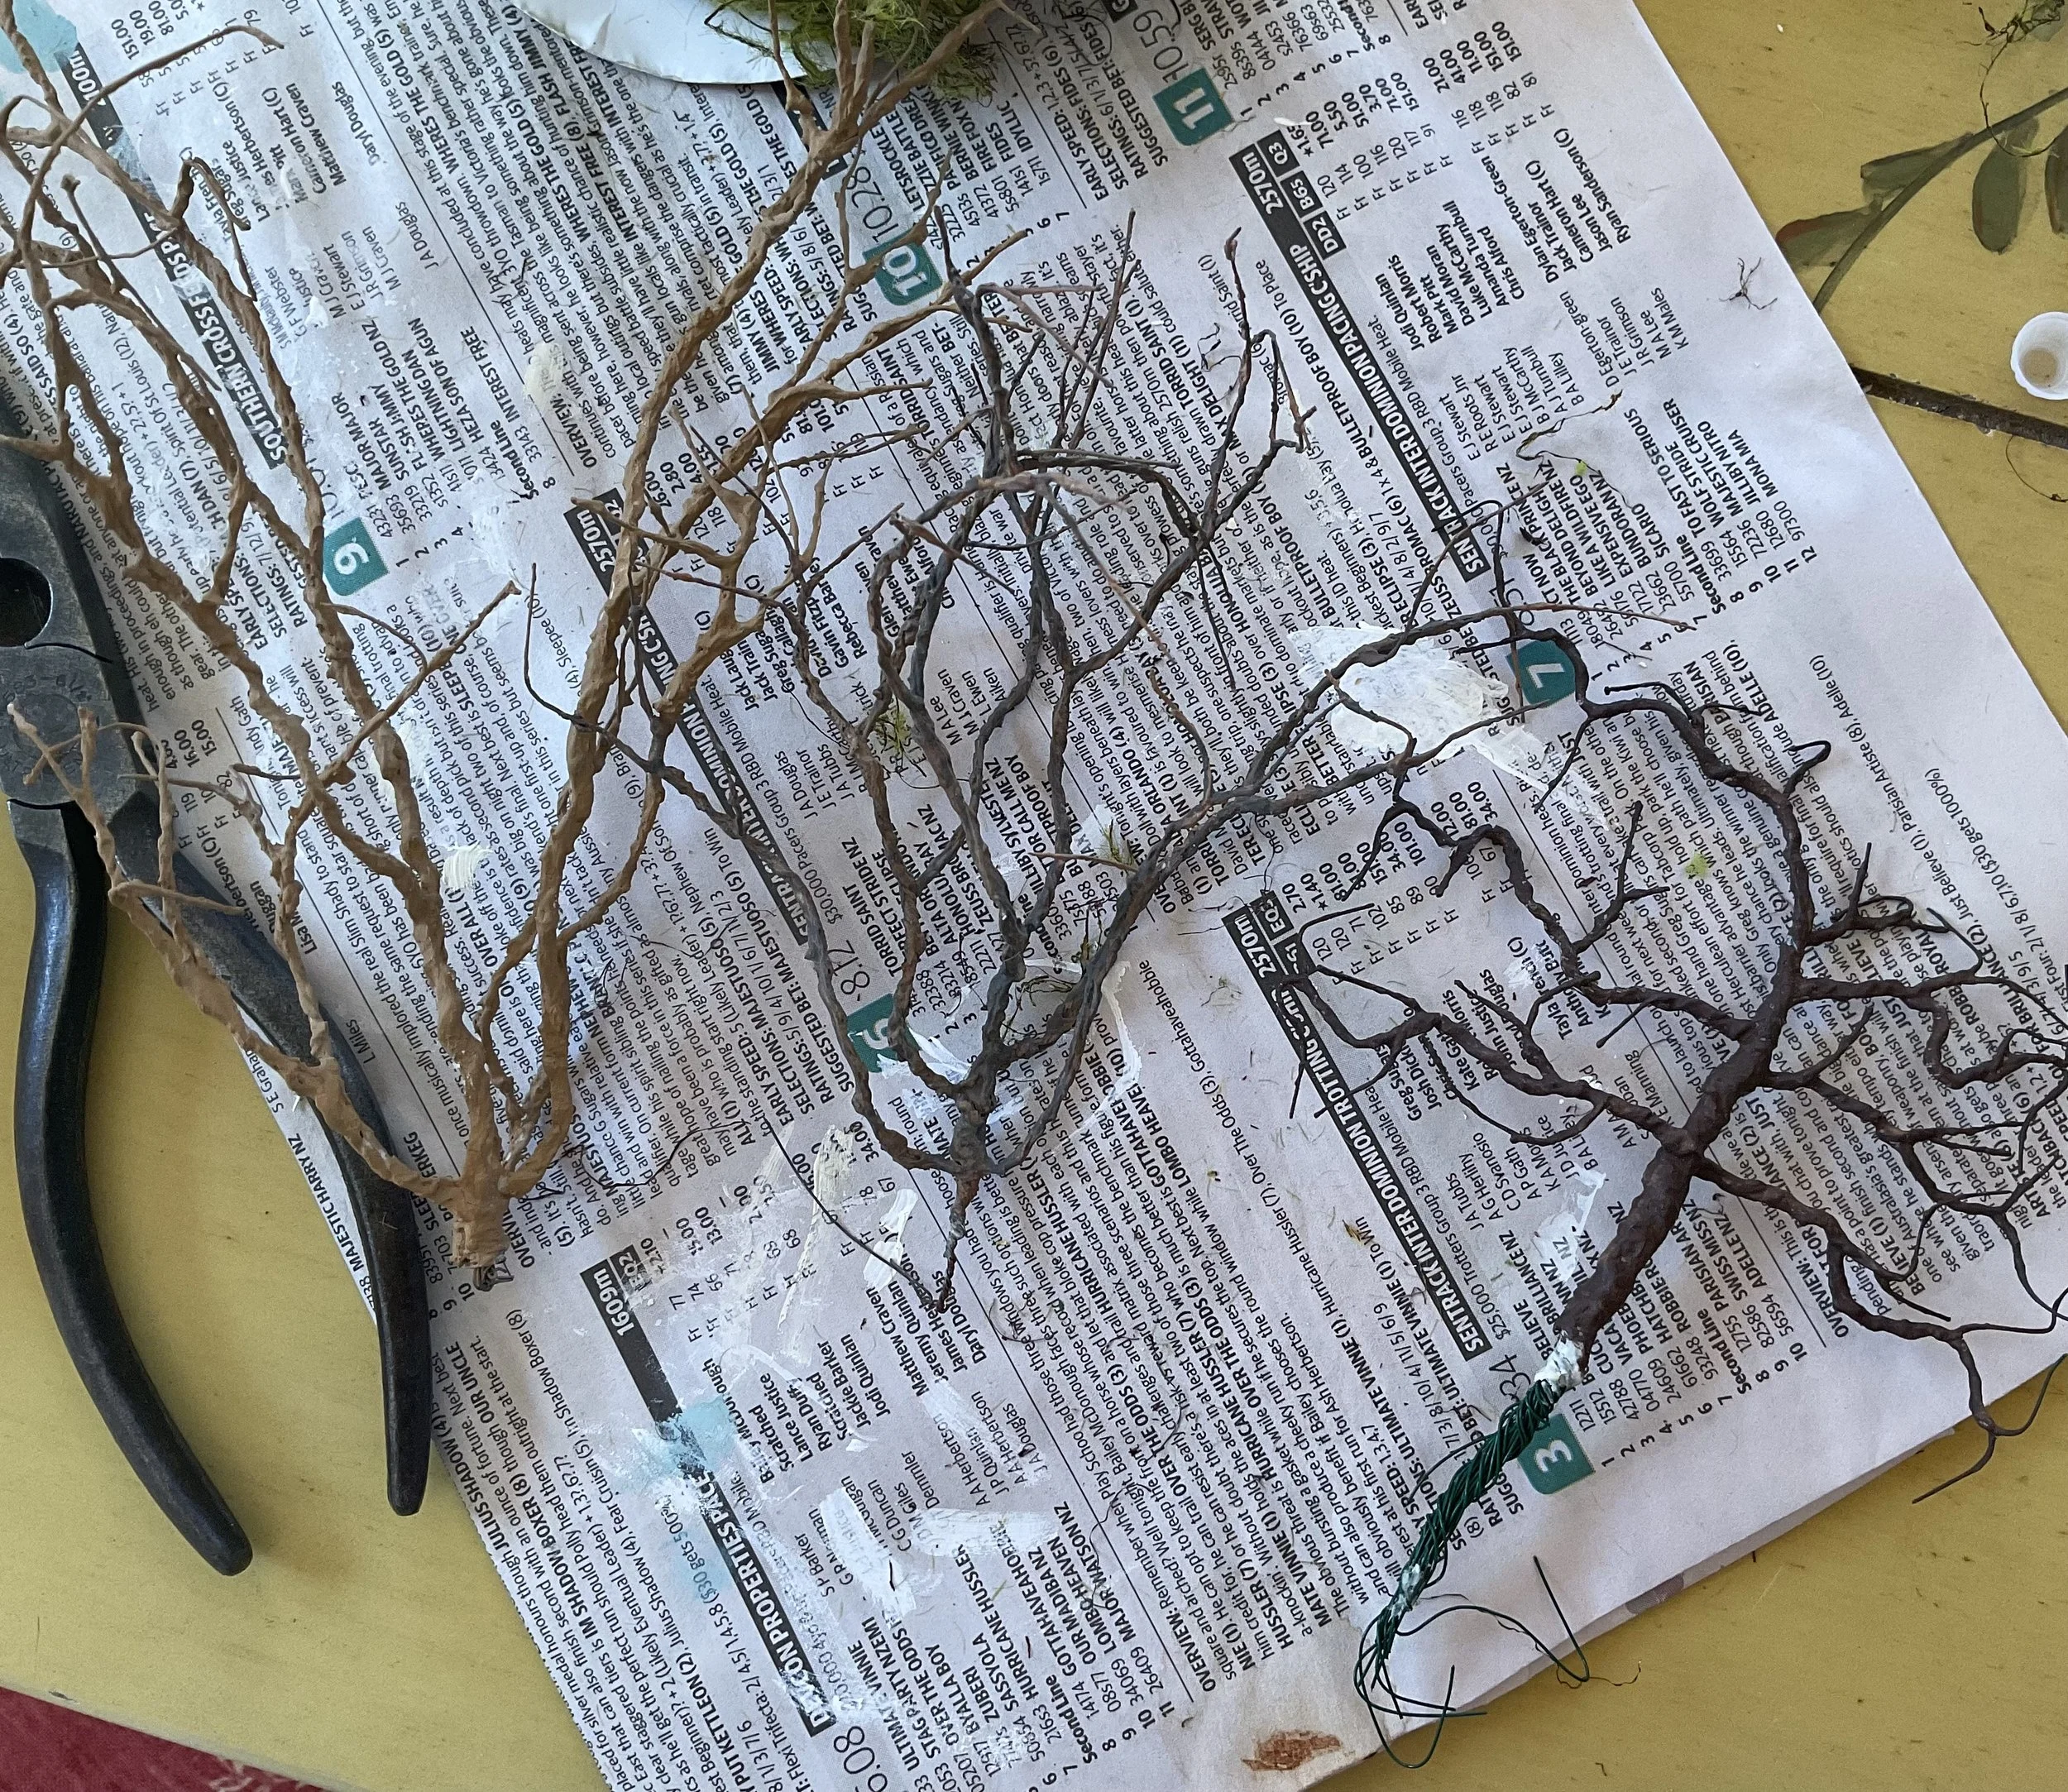
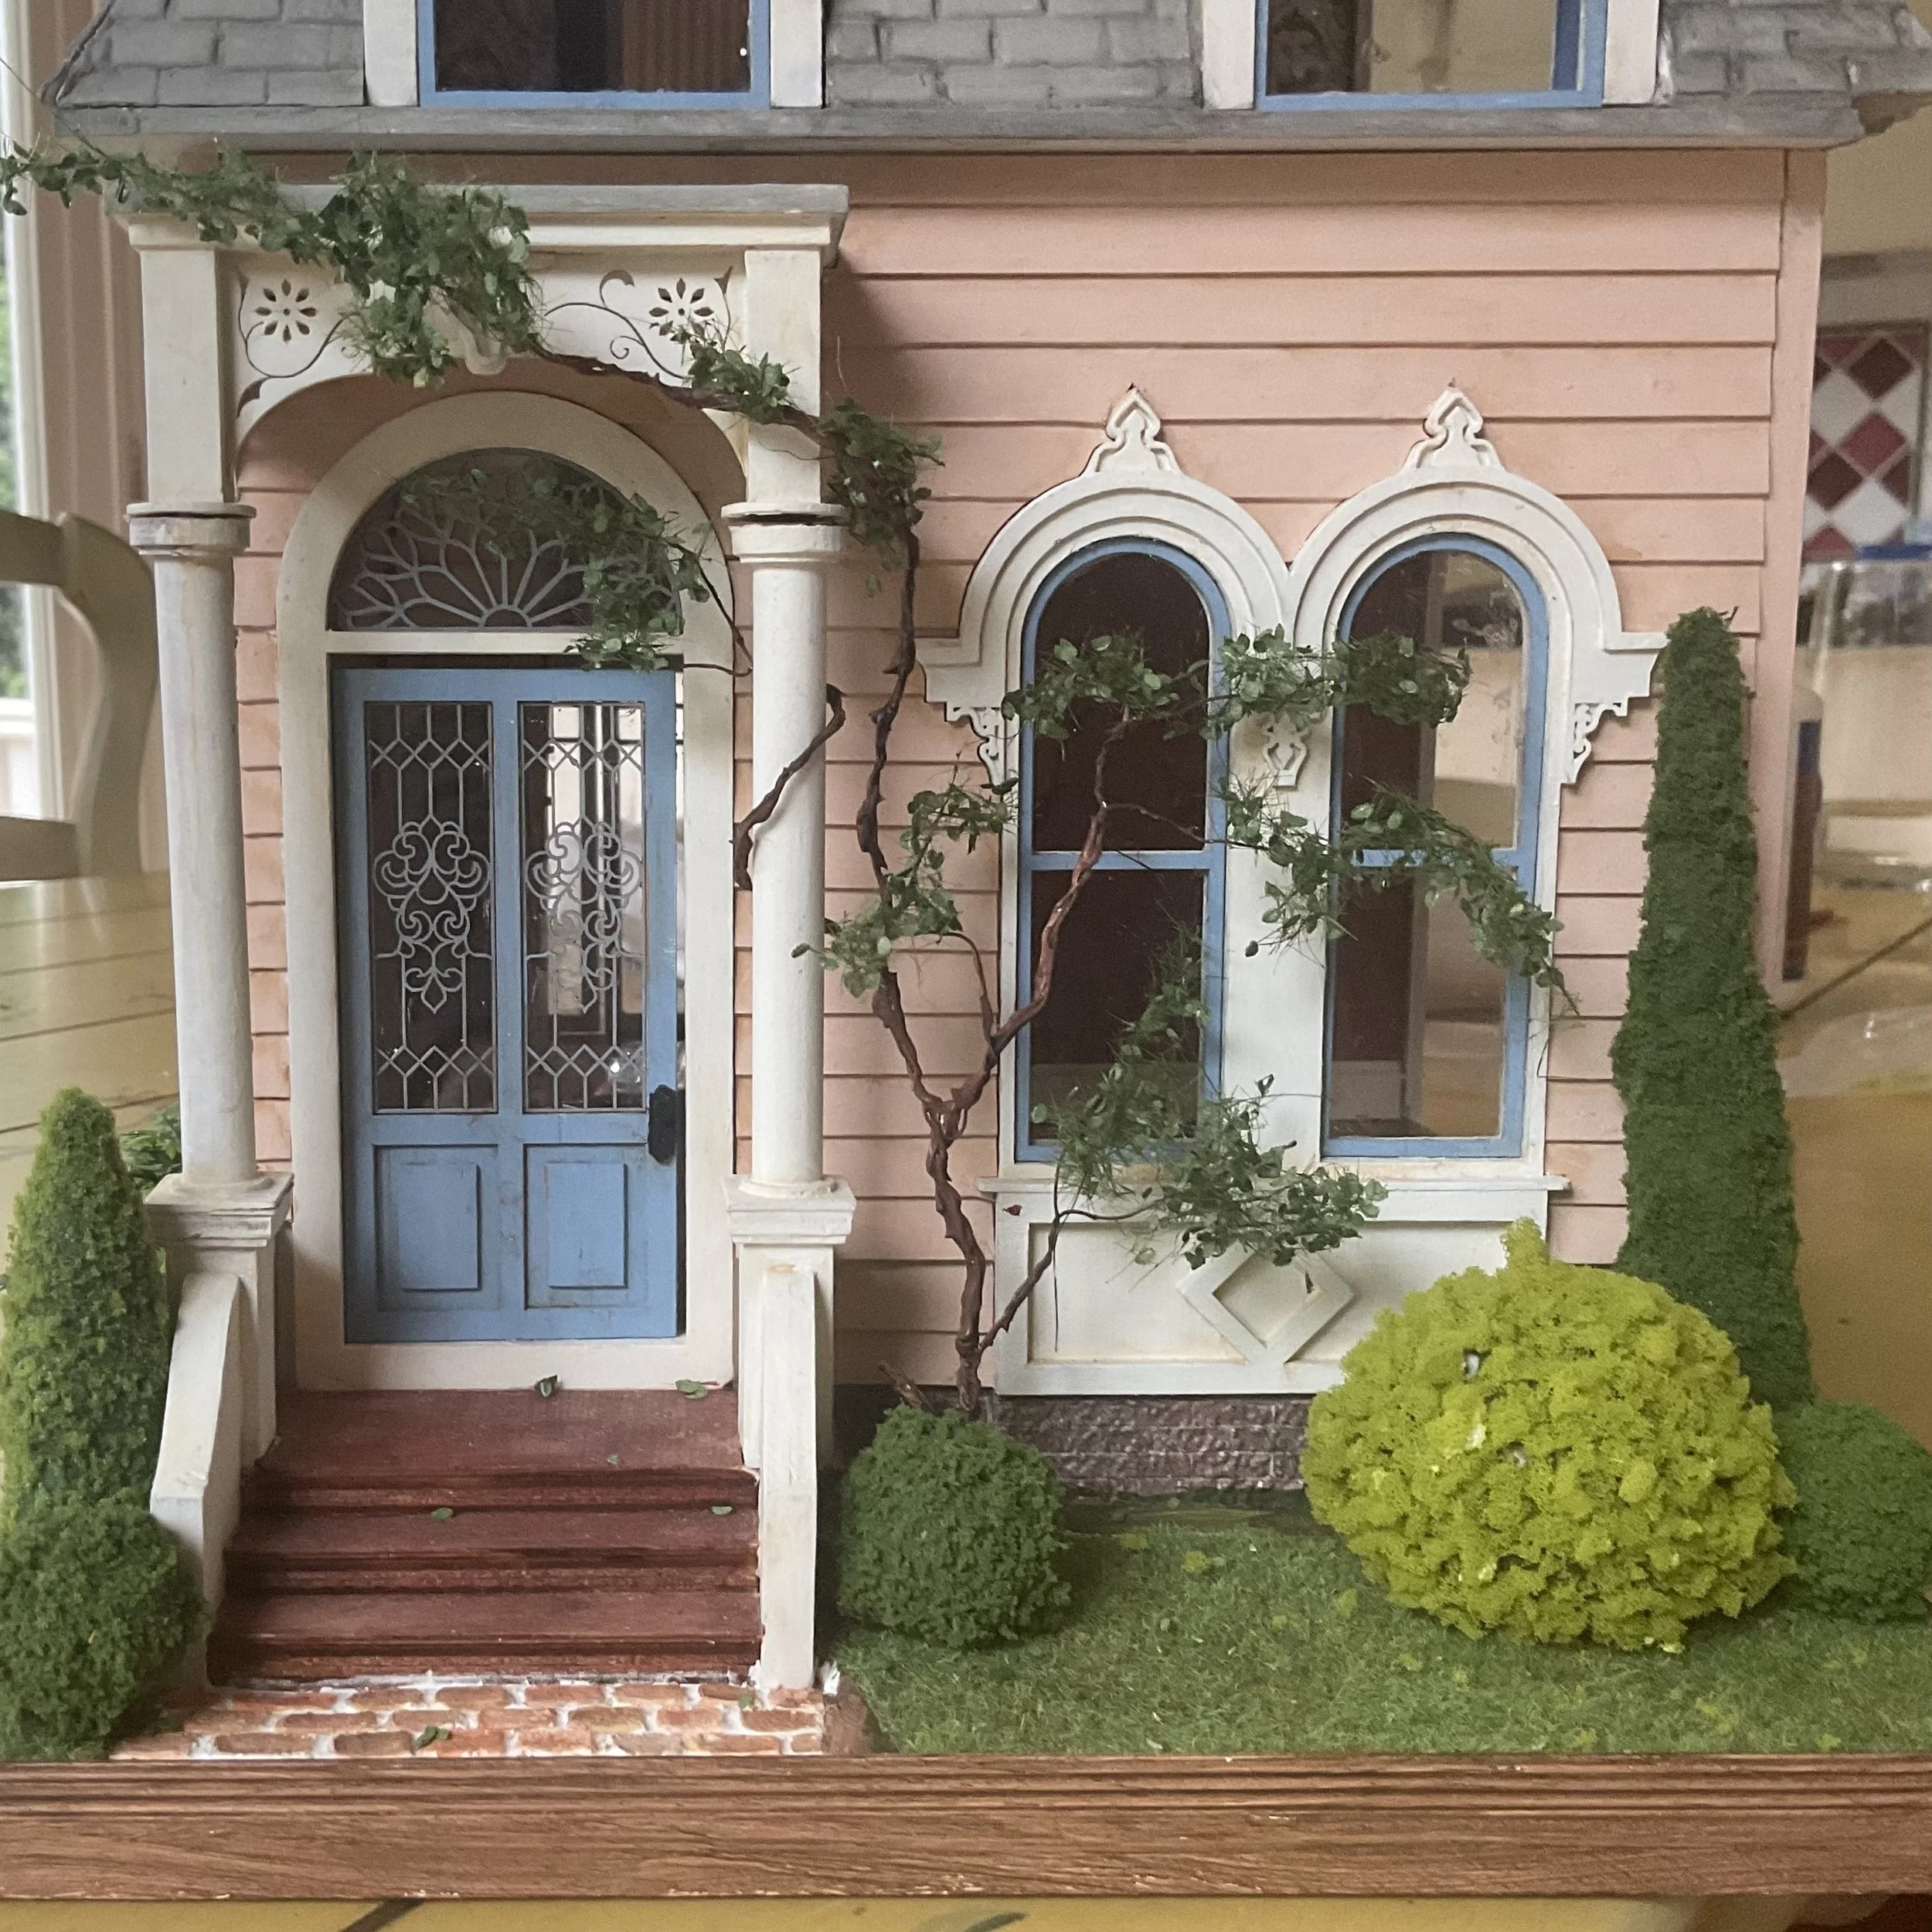
I have also made tree armatures from wire twisted together, roughly painted with a texture paste/gel medium or similar to add texture and then painted. I have used one of these as the basis for my vine and wrapped it around my porch. I have glued some of the little leaves on vine stuff to a couple of branches and let the glue dry. I am keeping the vine leaves sparse because wisteria is often sparse, but also because I want contrast - the shrubs are all dense and compact so a sparse vine creates some interest and variety.
The white you can see on the light green shrub is undried glue!!
Now, I have done the old Rik Pierce aging trick of mixing black and dark brown paint with some water (make it quite watery) and washing that over my paving (yes I should have done this first, before gluing stuff on!!!!). When it dried, I went back and put some more along the edges. You can also dust a little soft pastel dust into corners and along bottom edges with a soft brush - browns for dirt or a mossy green for a bit of moss.
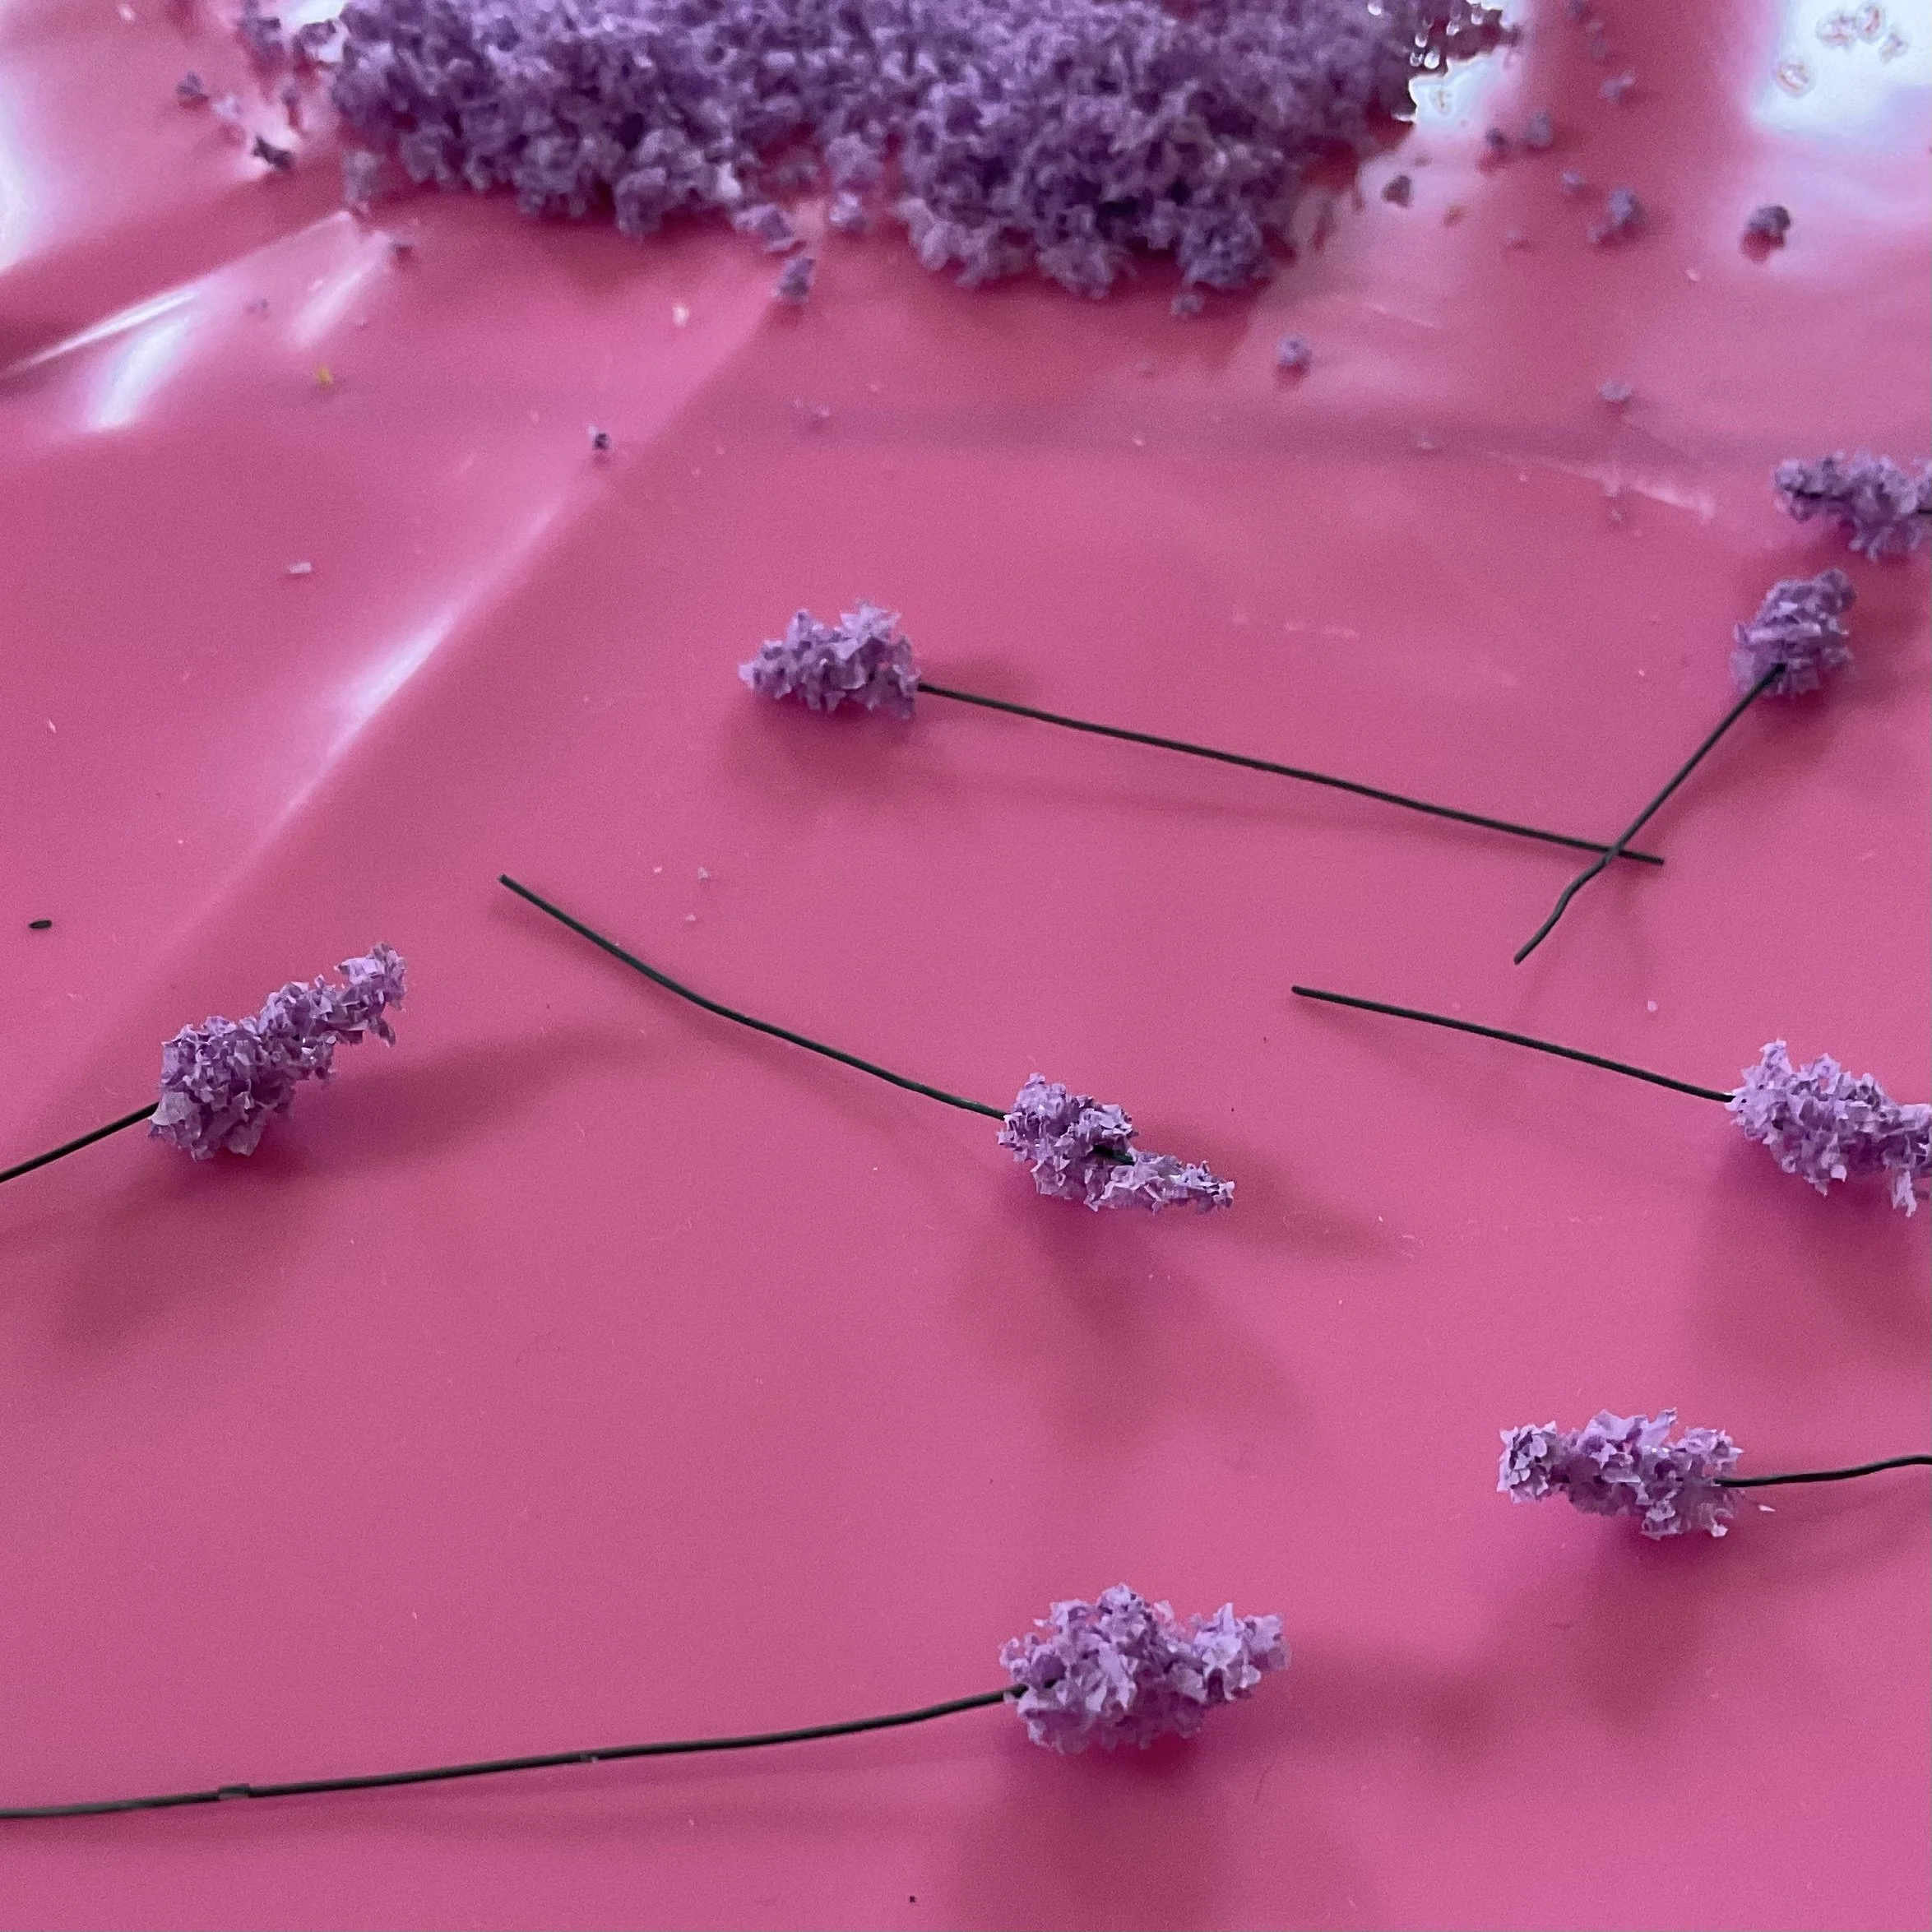
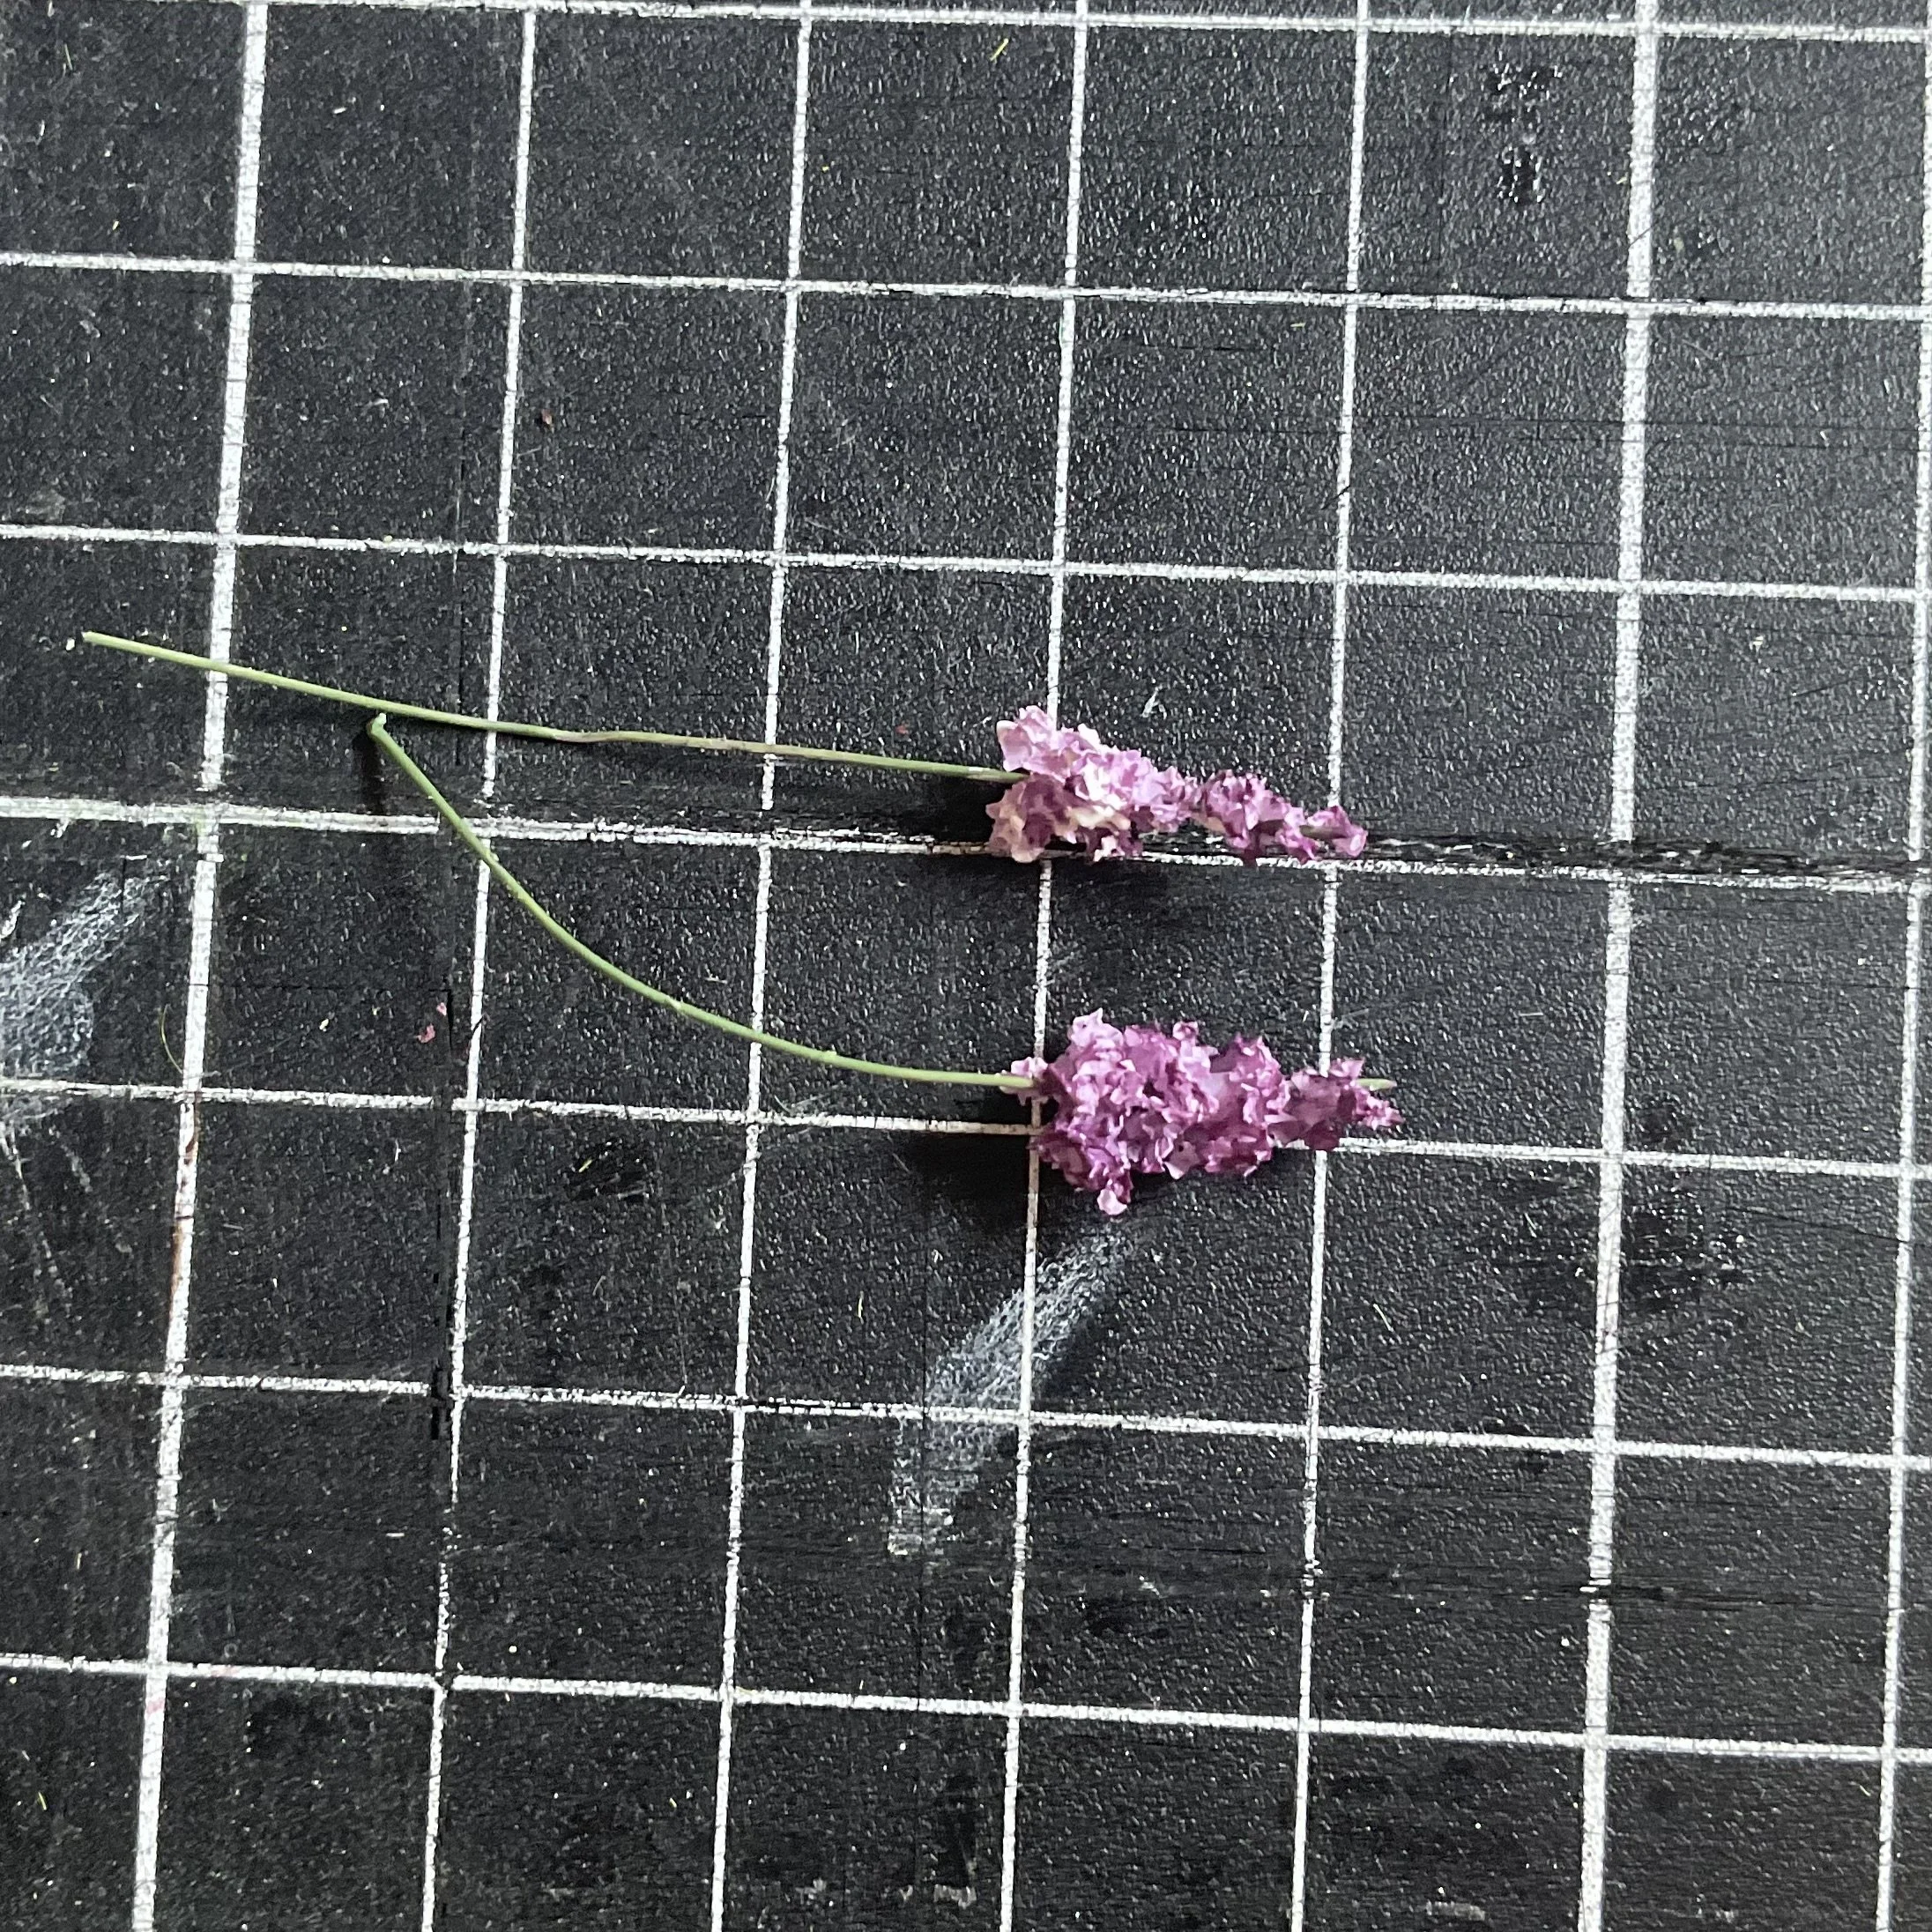
To make the wisteria, I painted thin wire green and cut into short lengths (4cm long is fine), dipped one end into PVA glue about 1cm (get a good globbit on there) then dip into floral foam. Shape into teardrops and press the floral foam on. When dry, I add more foam as needed to get a good shape. When that's dry, I brush a little purple paint on the lower half and a little ivory over the top half (second photo). Just a little, to get paint on the outer edges of flowers. Note too, that you can dab a little paint on your shrubs to add new growth or enhance shadows.
The top flower has purple paint on the pointy end and and ivory paint on the fat end; the bottom one just has purple paint (sorry, it was hard to photograph!!).
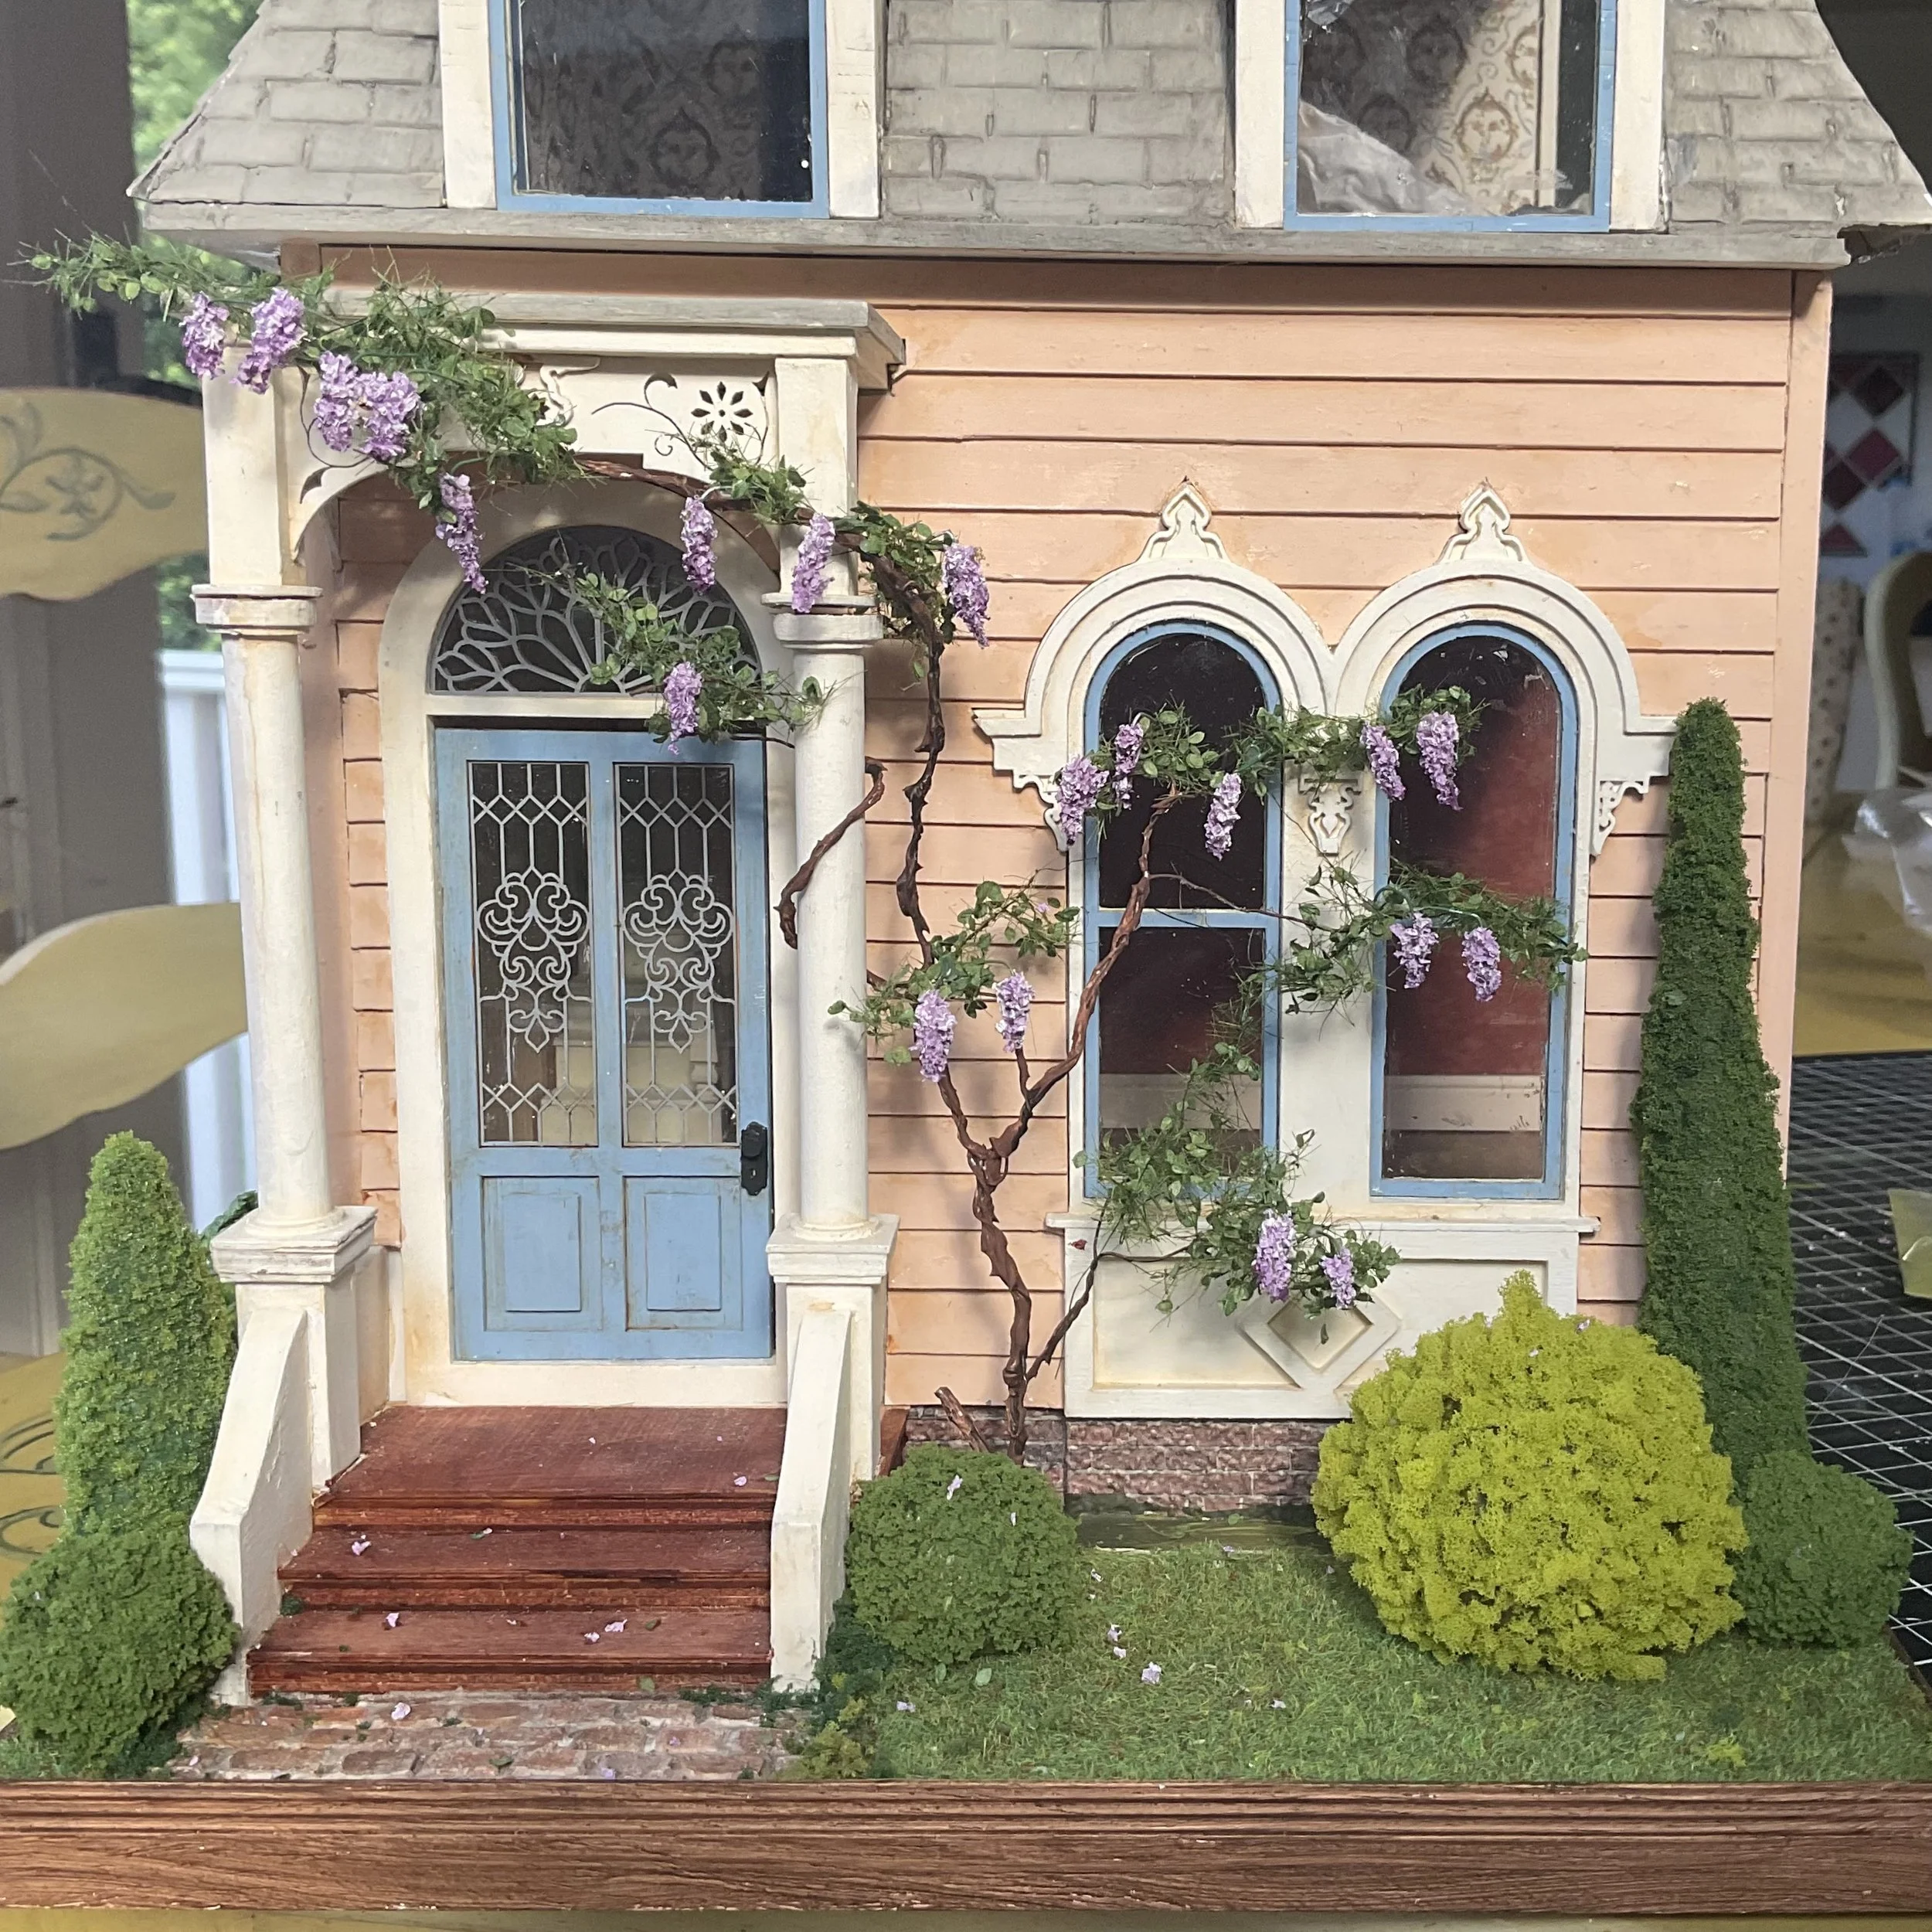
When they are dry, snip the wire shorter if necessary, bend the wire at the flower top at a 90 degree angle and glue to your vine. Again, make the spacing random, not even. Have some clumps and some naked spots.
The vine is done.
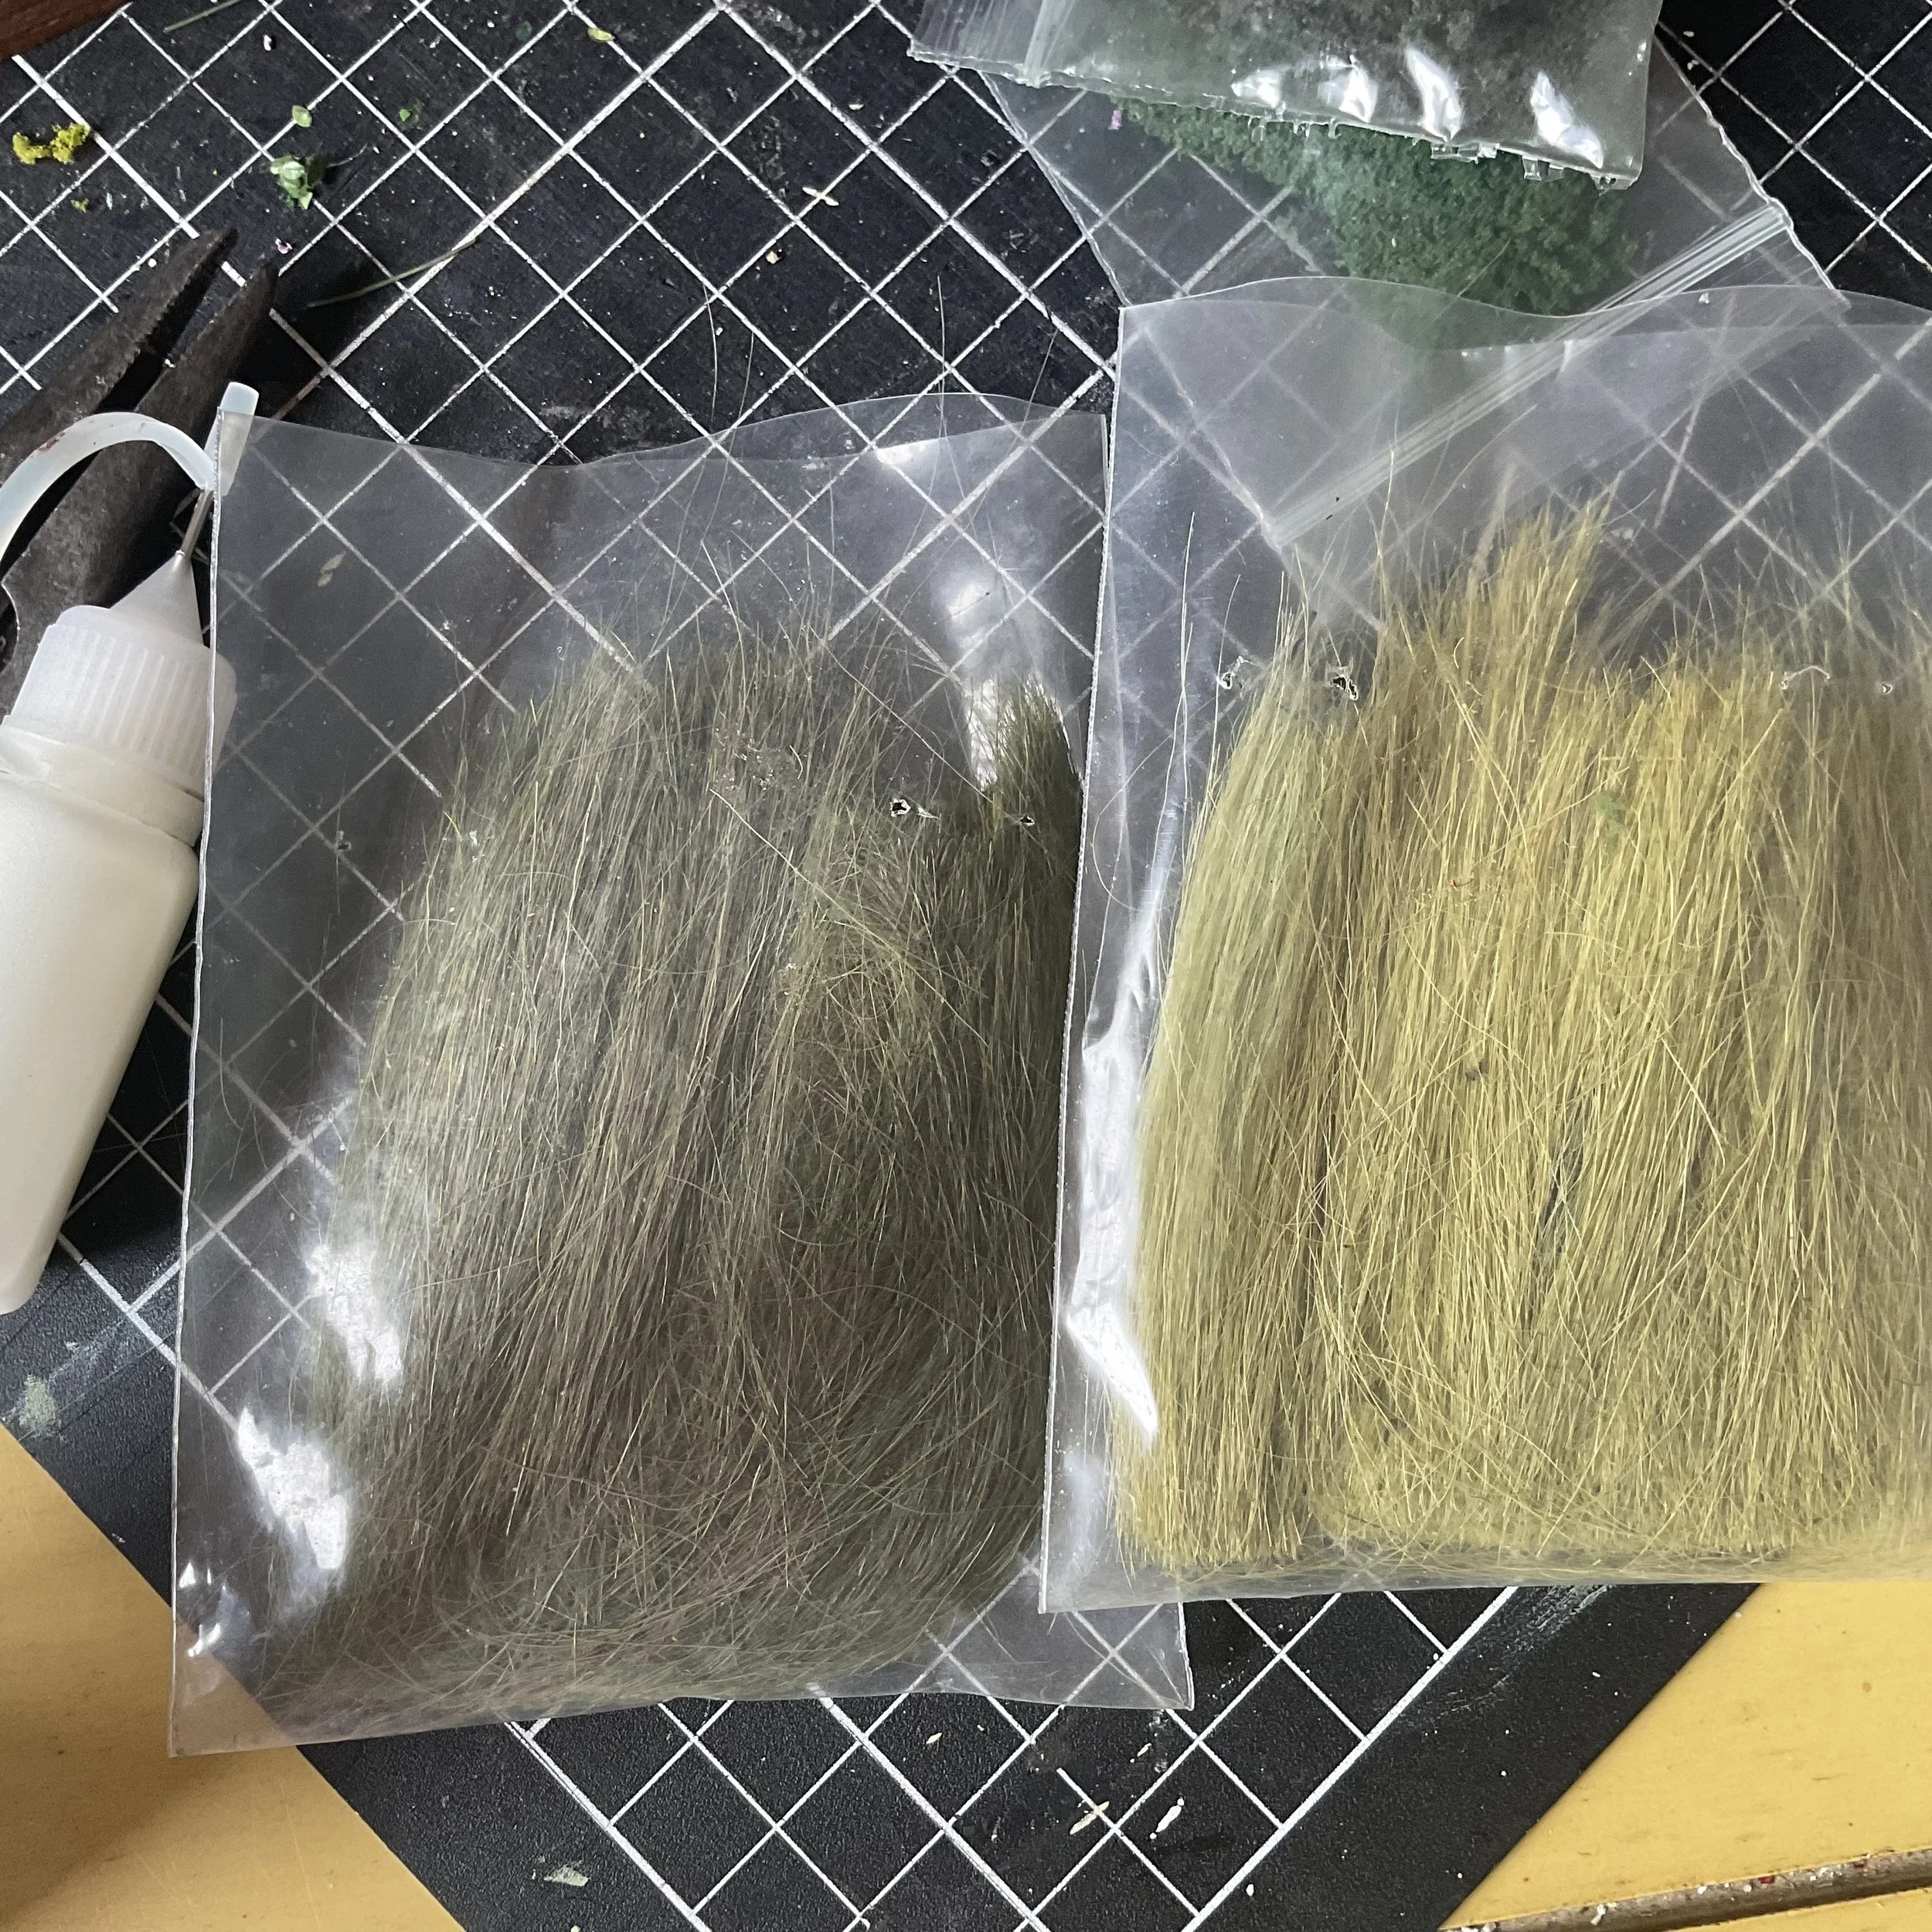
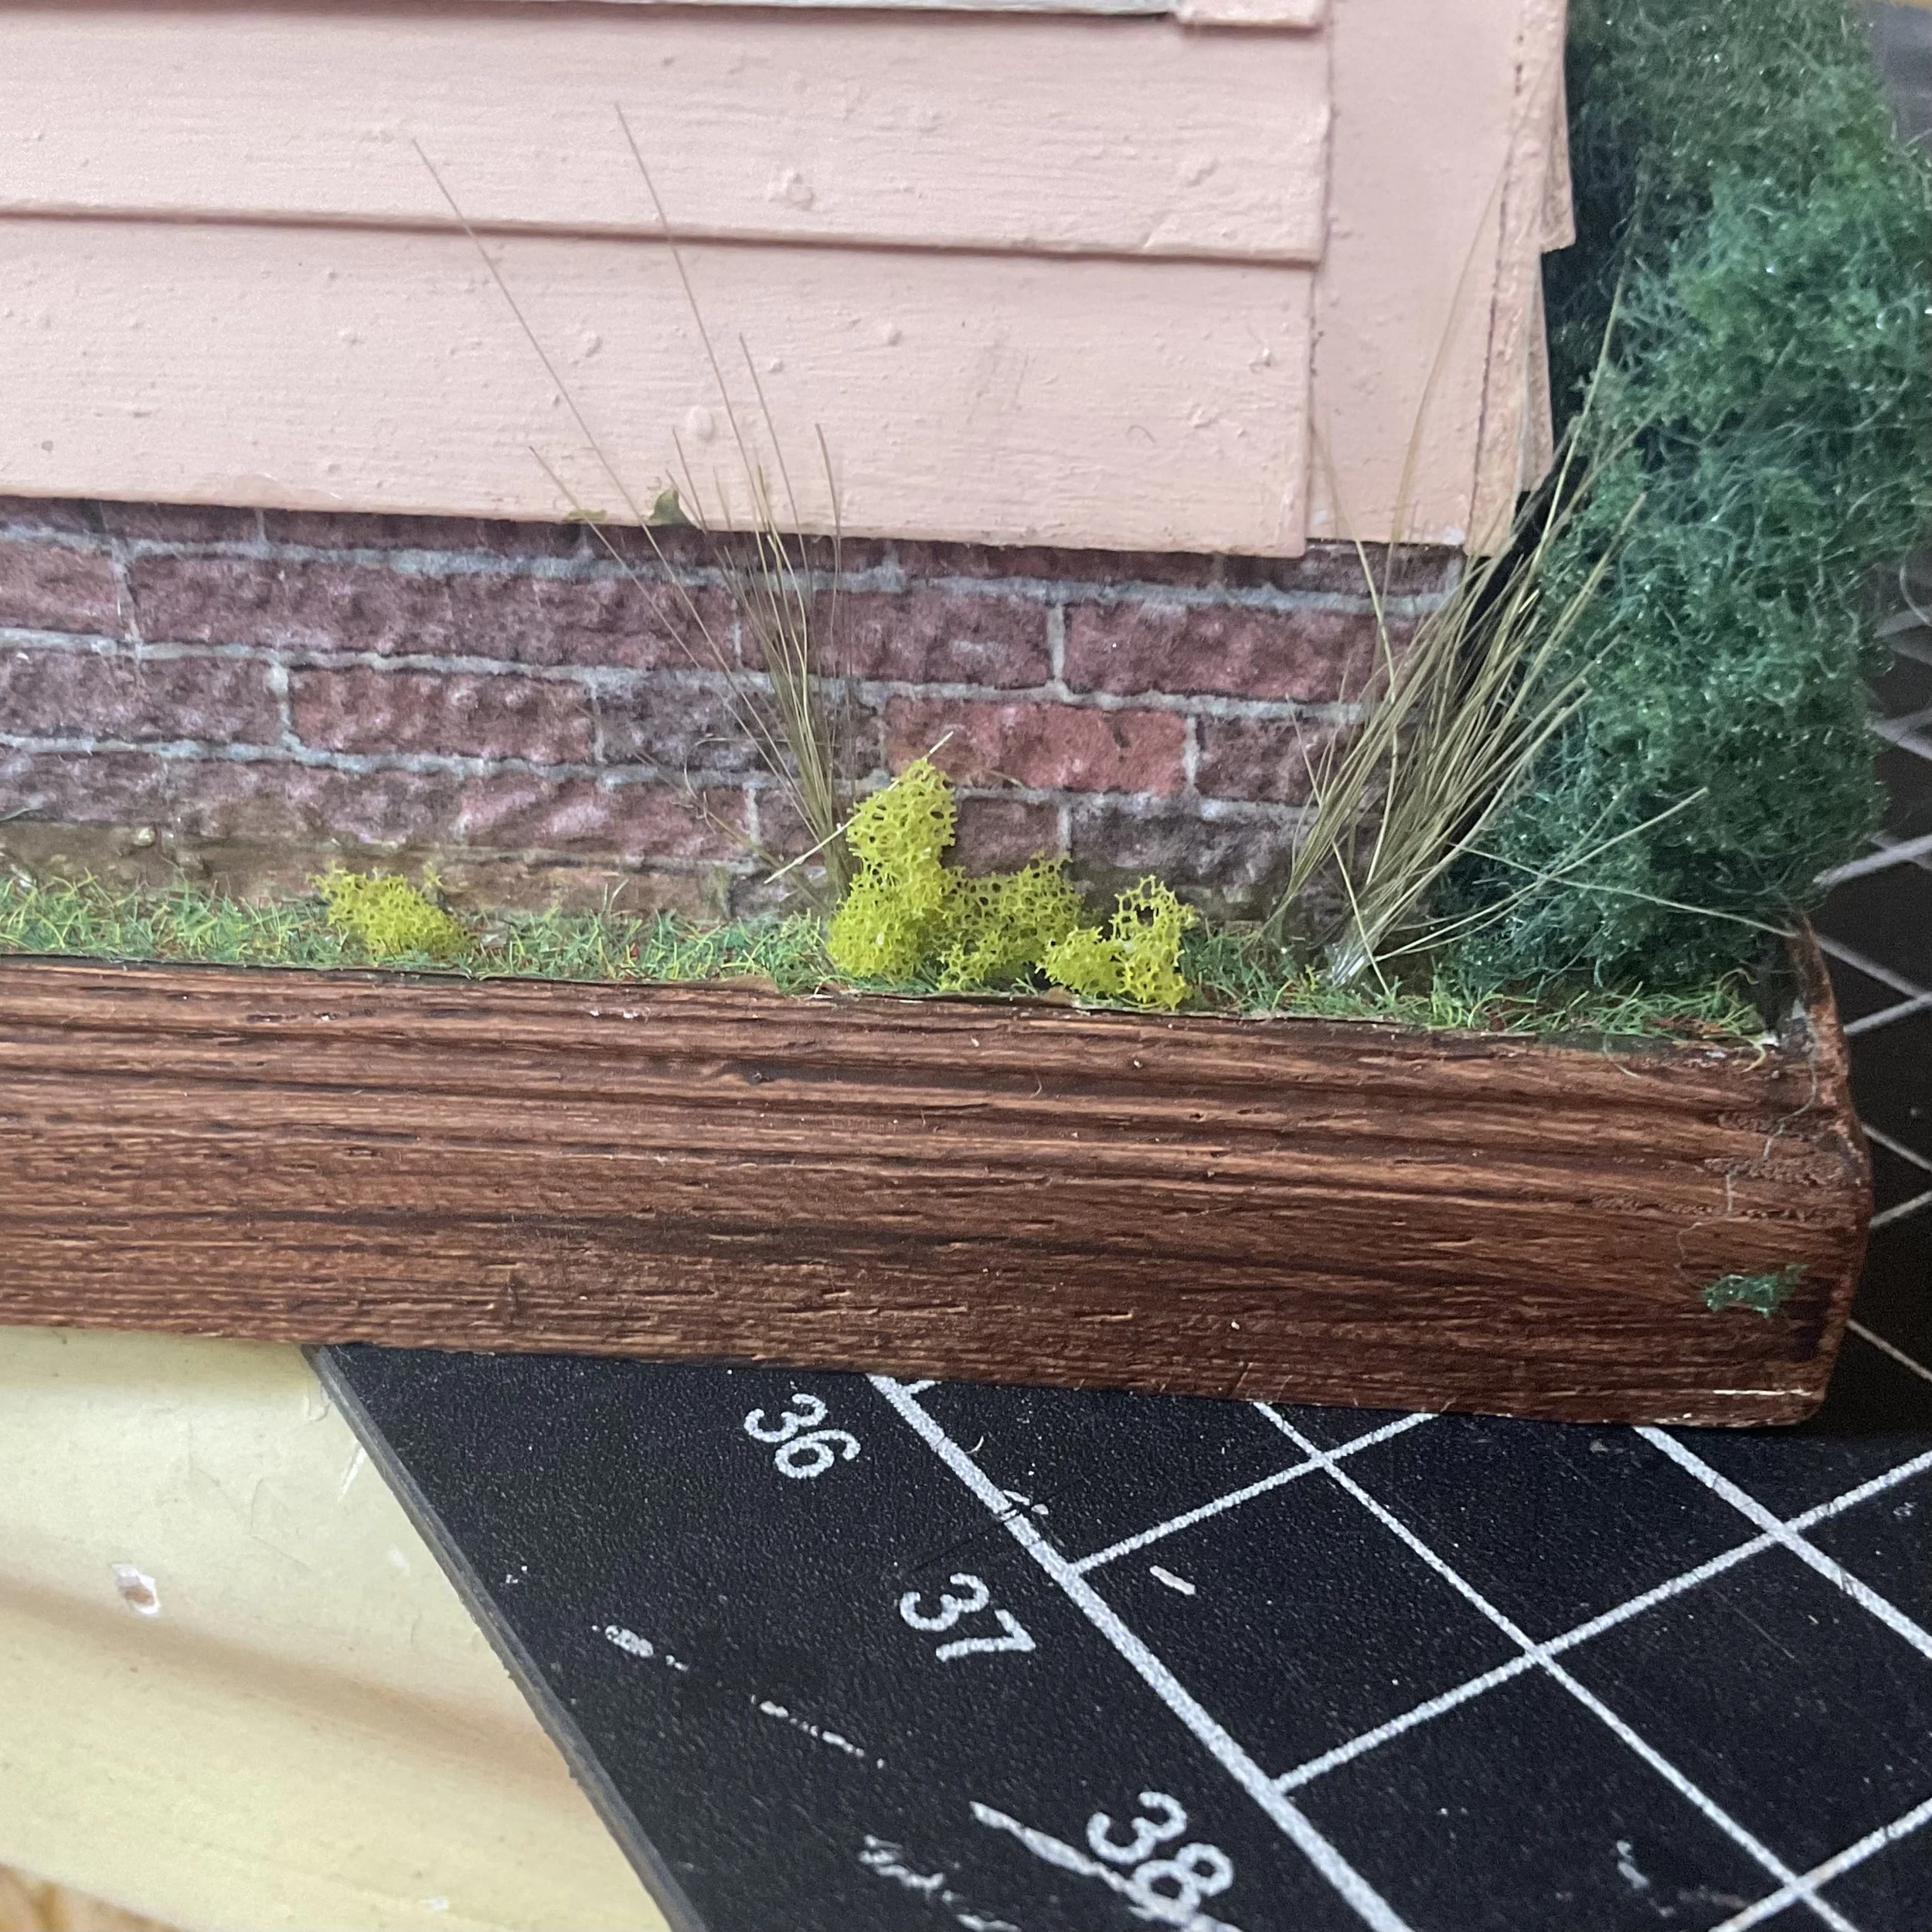
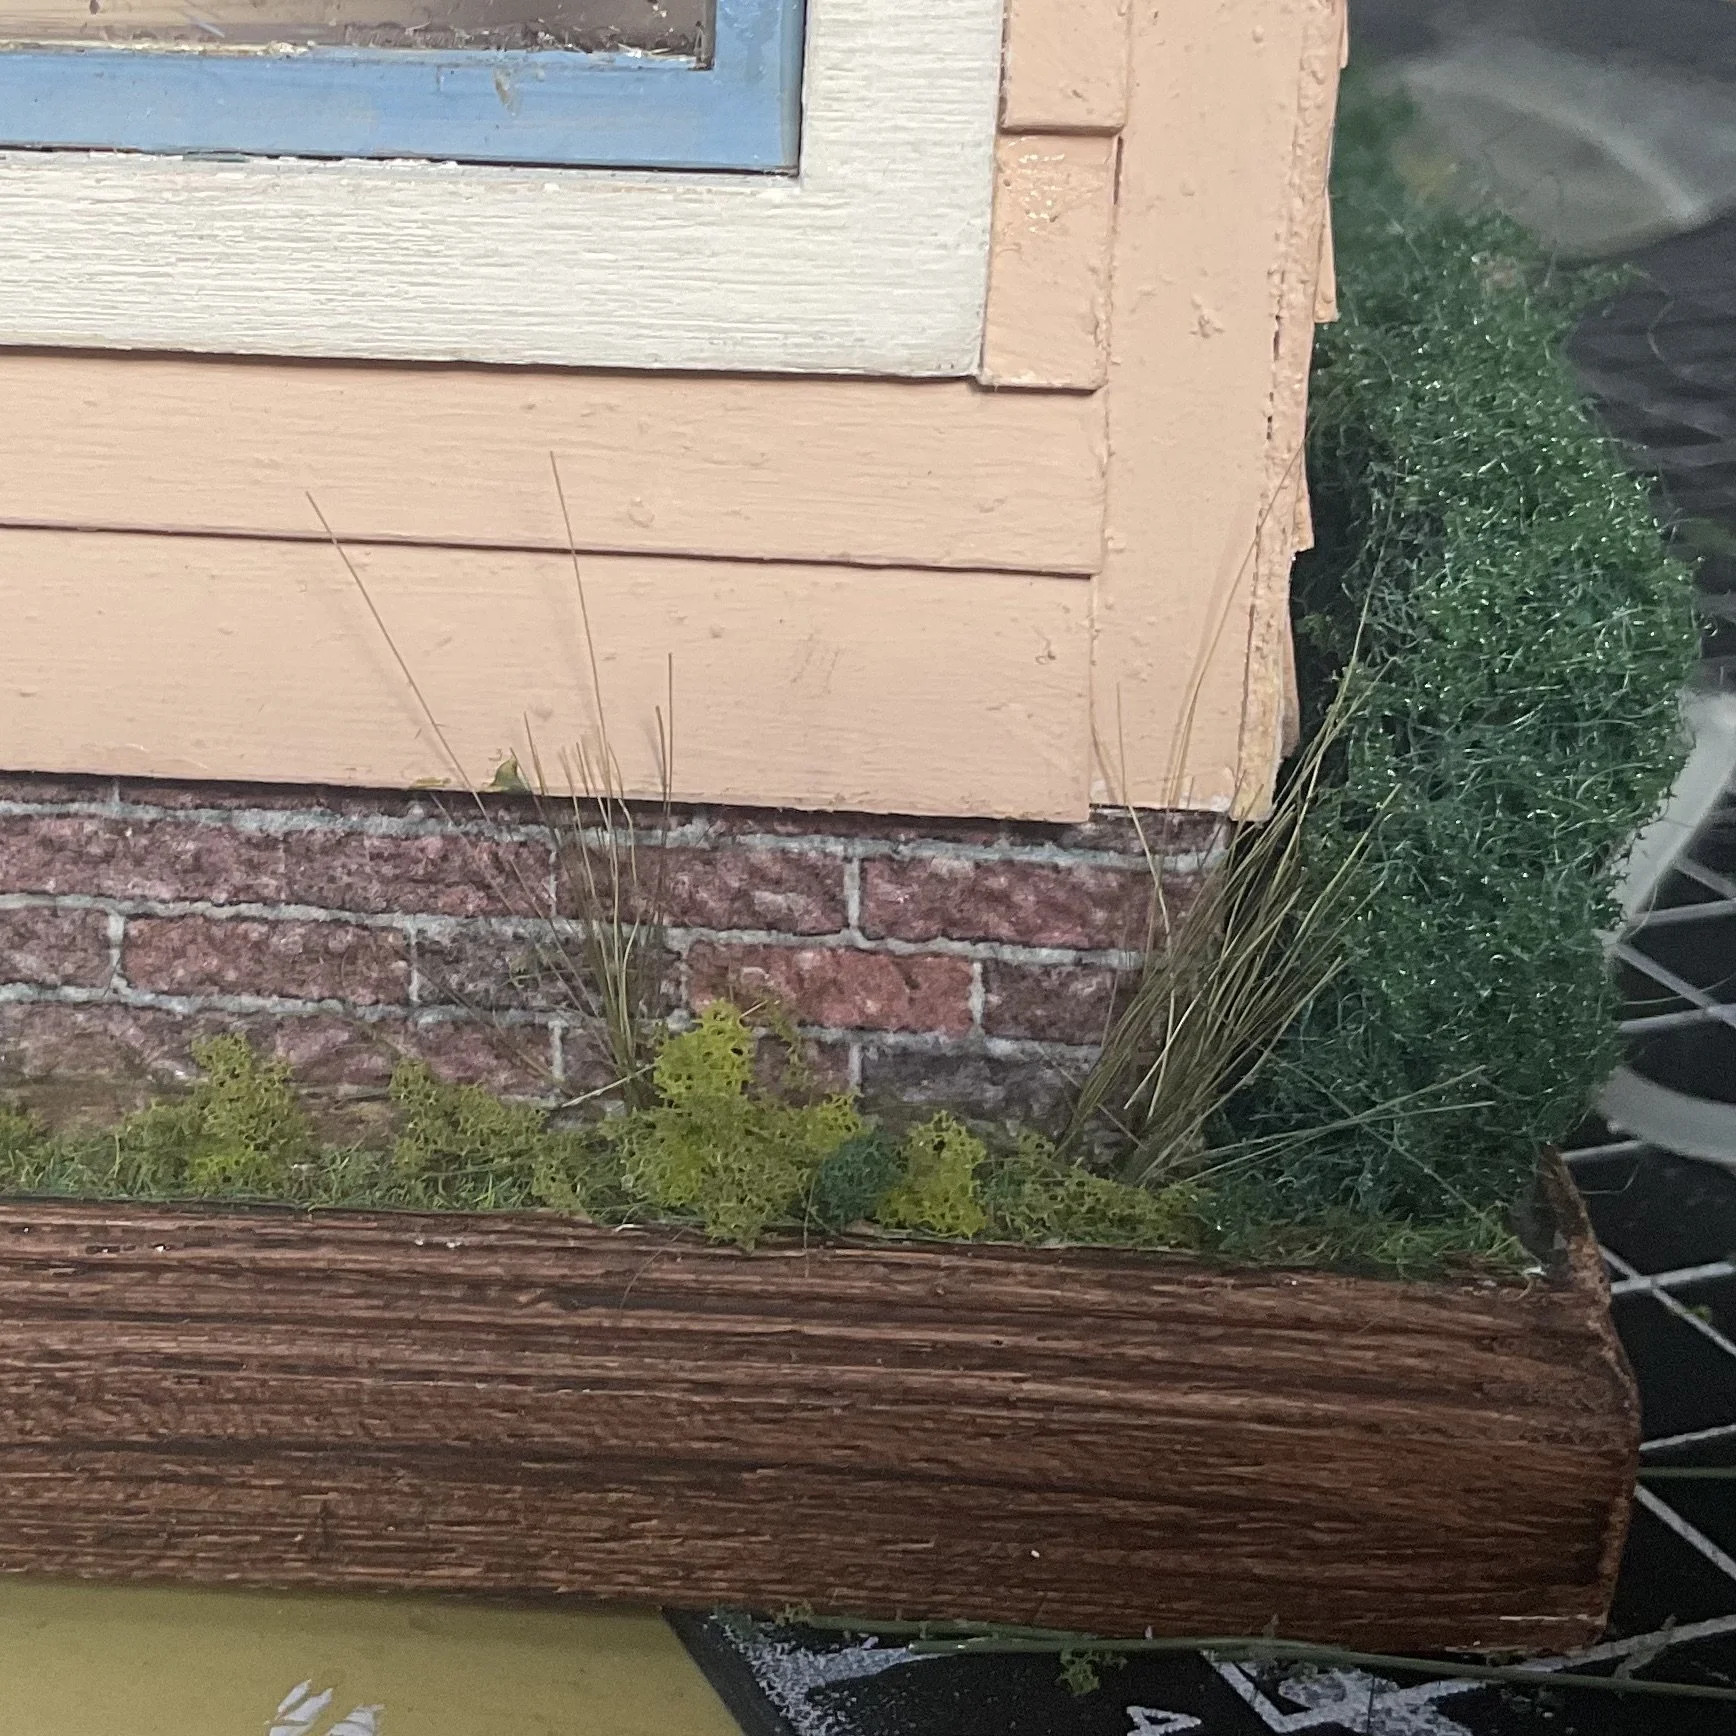
And now you want to add random little bits of weeds and grass. Think about where these grow in a real garden - tucked in between or on the edges of shrubs and garden beds, close to buildings or paths and scattered amongst lawn. For grass tufts, I use a model railroad grass (sorry, the label is long gone). I have a light green and a dark green. I pull a little tuft of each, lay them together and roll to combine them. I bunch it up into a tuft, cut to length (about 2cm), put some glue on the end and glue tufts here and there. Gently tease out the grass to splay it. Make sure the top ends aren't all the same height! (see photos below)
I use the little bits of landscape scatter leftovers to glue here and there. I am a big believer that less is more with this stuff, unless of course your house is very neglected! Also, don't make it too neat and even or patterned. Leave gaps here and there. Be heavy-handed in some spots and use just a little elsewhere. Here I have used the light green chunky foam as a base and added a tiny amount of fine green scatter on top. Mix up your colours/textures/sizes here. And you really only need tiny amounts.
Some tufts of grass and chunks of scatter.
Tiny bits of fine scatter draped over the chunks and along the edge of the wall.
Glue tiny bits in the grass to break up the evenness of the grass. I glued on tiny bits of the wisteria foam to the steps, grass and shrubs, where the tiny flowers had dropped from the vine (which can be seen in the photo of the finished vine above).
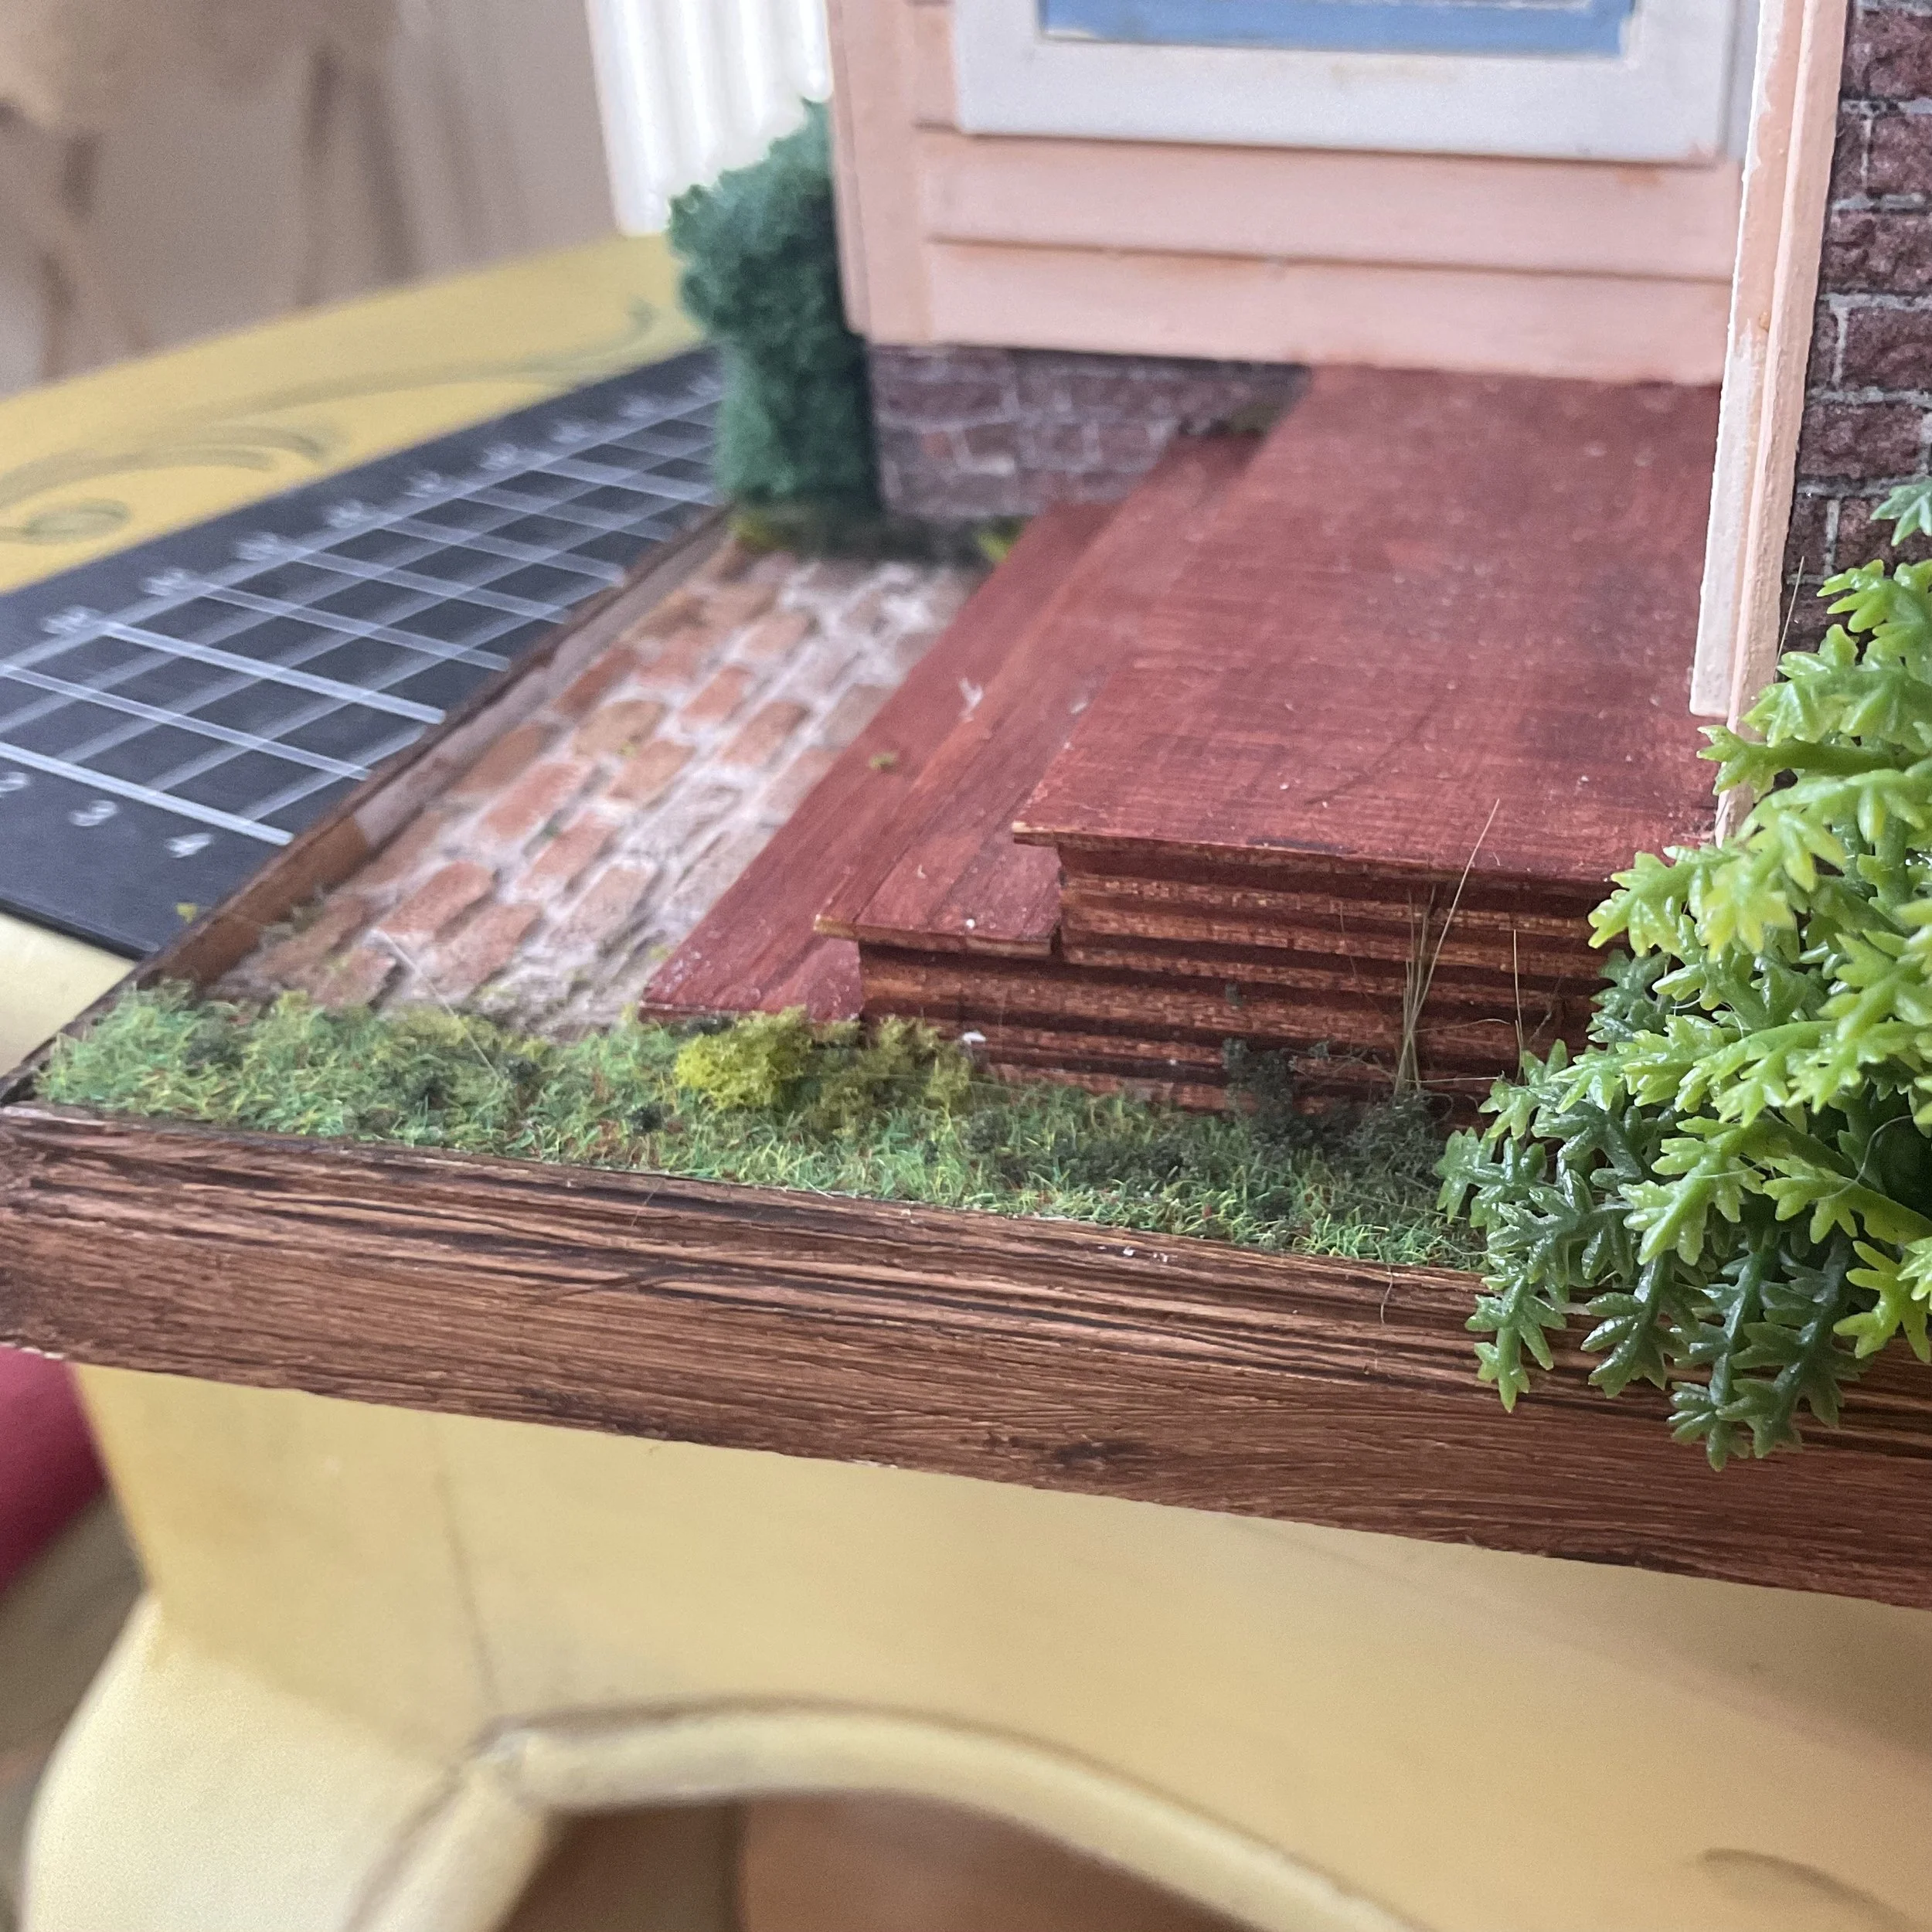
Tiny bits along the edge of the paths and scattered in the grass.
More tiny bits make moss in corners and edges.
Lastly is a somewhat temporary fern to fill in the gap near the front bay window. I scrunched up some of the wire moss and put that in the gap then used laser cut fern leaves, also from AK Interactive, coming out of the wire moss. It’s not ideal but for now will have to do. I anticipate a birdbath will more adequately fill this gap, when I find or make one. I probably also need to paint my bright green shrub to tone it down a little.
